Oil Looks Like Chocolate Milk
Okay, let's talk about something nobody wants to see: oil that looks like chocolate milk. It's a sign something's definitely not right under the hood, and ignoring it can lead to some serious engine damage. Don't panic just yet, though. Understanding what's happening and acting quickly can often save you a lot of money and headaches.
The Problem: Milky Oil – Water in Your Engine
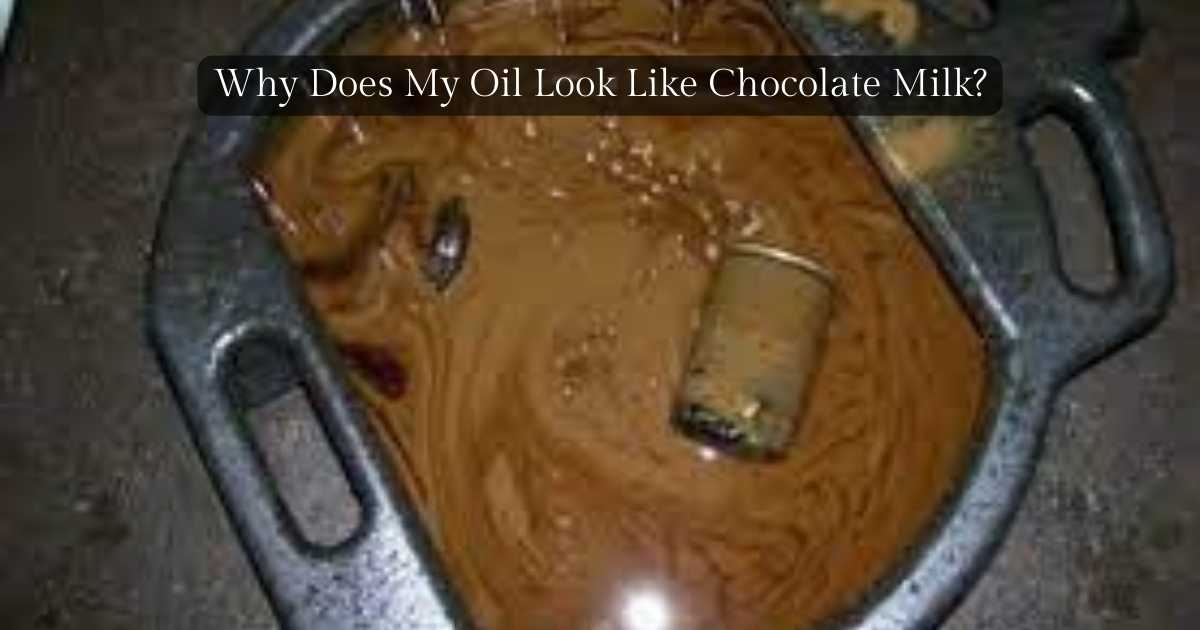
The "chocolate milk" appearance of your oil is almost always caused by coolant (antifreeze) mixing with your engine oil. Think of it like this: your engine oil is designed to lubricate and cool the engine components, while coolant is specifically designed to regulate engine temperature. They're supposed to stay in their own separate areas. When they mix, the oil loses its lubricating properties, and the coolant contaminates the oil system, causing a host of problems.
The telltale sign is a milky brown or tan color to your oil, often clinging to the dipstick. Sometimes, you might even see a frothy, milkshake-like consistency. This isn't just a visual issue; it's a major red flag indicating internal engine damage or compromised seals.
What are the Immediate Risks?
Driving with coolant in your oil is like slowly poisoning your engine. Here’s what can happen:
- Reduced Lubrication: Coolant significantly reduces the oil's ability to lubricate. This leads to increased friction and wear on critical engine parts like bearings, pistons, and camshafts.
- Corrosion: Coolant contains chemicals that can corrode metal engine components. This weakens the parts and can lead to premature failure.
- Sludge Buildup: The mixture of oil and coolant creates a thick sludge that clogs oil passages. This restricts oil flow, starving vital parts of lubrication.
- Overheating: While it seems counterintuitive since coolant is *in* the oil, the coolant's properties are degraded, and the compromised oil circulation leads to overheating.
- Catastrophic Engine Failure: If left unchecked, all these factors can lead to complete engine failure, requiring a very expensive engine replacement.
Possible Causes of Coolant in Your Oil
Now that you know the risks, let's explore the most common causes:
1. Blown Head Gasket
This is the most frequent culprit. The head gasket seals the cylinder head to the engine block. A blown head gasket allows coolant to leak from the coolant passages into the oil passages or directly into the cylinders.
Symptoms of a blown head gasket often include:
- Milky or chocolate milk-colored oil.
- White smoke from the exhaust (especially noticeable upon start-up).
- Overheating.
- Loss of coolant (you might notice you need to top it off frequently).
- Bubbles in the radiator or coolant overflow tank.
2. Cracked Cylinder Head or Engine Block
A crack in the cylinder head or engine block can create a direct pathway for coolant to enter the oil system. These cracks can be caused by overheating, freezing temperatures (if the coolant wasn't properly mixed), or manufacturing defects.
Identifying a crack is more challenging, but common signs include:
- Persistent milky oil even after replacing the head gasket (if you've already gone that route).
- Unexplained coolant loss.
- Engine knocking or unusual noises.
- Sometimes, visual inspection (with the head removed) will reveal the crack.
3. Damaged Oil Cooler
Some vehicles have an oil cooler, which helps regulate oil temperature. If the oil cooler develops a leak, coolant can mix with the oil. This is more common in vehicles that are frequently used for towing or heavy-duty applications.
Signs of a leaking oil cooler include:
- Milky oil.
- Coolant loss.
- Visible leaks around the oil cooler.
4. Intake Manifold Gasket Leak
While less common, a leak in the intake manifold gasket can, in some engine designs, allow coolant to enter the engine and eventually contaminate the oil.
The Solution: Repairing the Damage and Preventing Future Problems
The solution depends entirely on the cause. Here's a breakdown:
1. Blown Head Gasket Repair
This typically involves removing the cylinder head, having it inspected and machined (if necessary), replacing the head gasket, and reassembling the engine. It's crucial to have the cylinder head checked for warping to ensure a proper seal. Tools Needed: Socket set, wrench set, torque wrench, head bolt socket, head gasket scraper, valve spring compressor (optional), and various other hand tools. Approximate Cost: $800-$2000+, depending on the vehicle, the extent of damage, and labor rates. Some engines are simply more complex to work on than others.
2. Cracked Cylinder Head or Engine Block Repair/Replacement
If the cylinder head is cracked, it may be possible to repair it by welding. However, this is not always a reliable long-term solution, and replacement is often recommended. If the engine block is cracked, engine replacement is usually the only option. Tools Needed: This repair is best left to professionals due to the complexity involved. Engine replacement requires specialized tools and equipment. Approximate Cost: $3000-$8000+ for cylinder head replacement, $5000-$10,000+ for engine replacement, depending on the vehicle and the new/remanufactured engine cost.
3. Oil Cooler Replacement
Replacing the oil cooler is usually a straightforward process. Tools Needed: Socket set, wrench set, torque wrench, and potentially specialized wrenches for oil cooler lines. Approximate Cost: $300-$800, depending on the vehicle and the cost of the replacement oil cooler.
4. Intake Manifold Gasket Replacement
Replacing the intake manifold gasket is less invasive than head gasket replacement, but still requires careful attention to detail. Tools Needed: Socket set, wrench set, torque wrench, and potentially specialized tools for disconnecting fuel lines and vacuum hoses. Approximate Cost: $400-$1000, depending on the vehicle and labor rates.
Important Steps After Repair
Regardless of the repair, it's essential to take these steps:
- Flush the Cooling System: Thoroughly flush the cooling system to remove any residual oil. Use a coolant flush product specifically designed for this purpose.
- Oil Change with a High-Quality Filter: Change the oil and filter immediately after the repair. Use a high-quality oil filter to help remove any remaining contaminants. Consider using a heavier weight oil than normal for the first oil change post repair to help flush out any residual contaminants.
- Monitor Oil and Coolant Levels: Closely monitor the oil and coolant levels for the next few weeks to ensure there are no further leaks or mixing.
- Consider a Second Oil Change: After a few hundred miles, consider another oil change to remove any remaining contaminants that may have been loosened during the initial flush.
Preventative Measures
While you can't always prevent these issues, there are steps you can take to reduce the risk:
- Regular Maintenance: Follow your vehicle's recommended maintenance schedule, including coolant flushes and oil changes.
- Proper Coolant Mixture: Always use the correct coolant mixture (usually 50/50 coolant and distilled water). Using straight water can lead to corrosion and freezing.
- Avoid Overheating: Address any overheating issues immediately. Overheating can damage head gaskets and cylinder heads.
- Inspect Regularly: Periodically check your oil and coolant levels and visually inspect for any signs of leaks or contamination.
When to Seek Professional Help
While some minor repairs can be done at home, dealing with coolant in your oil is generally best left to a professional mechanic. Specifically, seek professional help if:
- You are not comfortable working on your engine.
- You lack the necessary tools or experience.
- You suspect a cracked cylinder head or engine block.
- The problem persists after attempting a repair.
Don't delay! Addressing milky oil promptly can save you from a much more expensive and time-consuming repair down the road. A quick diagnosis and proper repair will get you back on the road with a healthy engine.