Repair Gouge In Plastic Bumper
So, you've got a gouge in your plastic bumper. It happens. Whether it's a rogue shopping cart, a clumsy parallel parking maneuver, or just plain bad luck, those unsightly scratches and deep gouges can really detract from your car's appearance. The good news is, with the right tools and a bit of patience, you can repair most plastic bumper gouges yourself. This guide will walk you through the process, assuming you're comfortable with basic automotive repairs and have some experience using power tools.
Assessing the Damage
Before you even think about grabbing the sandpaper, you need to carefully assess the damage. Consider these factors:
- Depth: How deep is the gouge? Is it just a surface scratch, or does it penetrate deep into the plastic? If it's through-and-through, meaning there's a hole, you'll need to consider a different repair strategy, potentially involving a reinforcement backing.
- Size: How large is the affected area? A small scratch is easier to blend than a large, gaping gouge.
- Material: What type of plastic is your bumper made of? Most modern bumpers are made of a thermoplastic Polypropylene (PP) or Thermoplastic Olefin (TPO), or a blend. You might find a stamp on the inside of the bumper indicating the type. This is crucial because different plastics require different types of fillers and repair techniques. For example, some plastics respond better to heat welding, while others are better suited for adhesives.
- Paint: Is the paint cracked or chipped around the gouge? If so, you'll need to factor in paint repair and blending after the structural repair is complete.
Once you've assessed the damage, you can determine the best approach for the repair.
Tools and Materials You'll Need
Having the right tools is half the battle. Here's a comprehensive list of what you'll likely need:
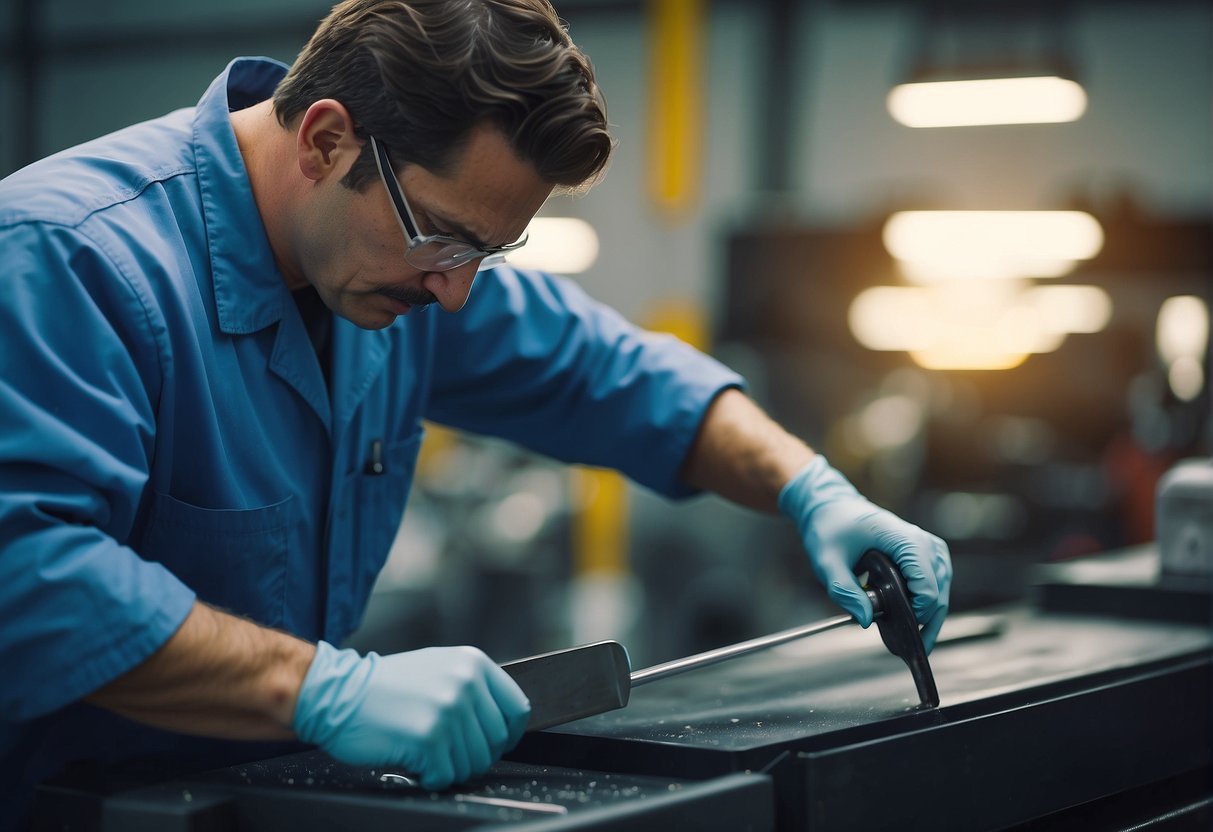
- Safety Glasses and Gloves: Always prioritize safety. Plastic dust and chemical fumes can be harmful.
- Cleaning Supplies: Dish soap, water, and a clean microfiber cloth for washing the bumper.
- Wax and Grease Remover: For thorough cleaning before sanding and applying fillers.
- Sandpaper: A variety of grits, typically ranging from 80-grit to 400-grit for shaping and smoothing, and then finer grits like 600-grit and 800-grit for preparing for paint.
- Sanding Block: Using a sanding block ensures even pressure and prevents creating uneven surfaces.
- Plastic Filler/Body Filler: Choose a filler specifically designed for automotive plastics. Two-part epoxy fillers are generally a good choice for their durability and flexibility. Read the instructions carefully – mixing ratios are critical!
- Spreaders/Applicators: For applying the filler smoothly. Plastic spreaders are inexpensive and disposable.
- DA Sander (Dual Action Sander): A DA sander makes the sanding process much faster and more efficient, especially for larger areas. However, be careful not to over-sand.
- Heat Gun (Optional): A heat gun can be used to soften the plastic before reshaping or to help cure the filler. Use with caution – too much heat can melt the plastic.
- Adhesion Promoter: This helps the filler bond properly to the plastic surface.
- Primer: Automotive primer is essential for creating a smooth, uniform surface for the topcoat paint.
- Automotive Paint (Color-Matched): You'll need to obtain paint that matches your car's color code. You can usually find this code on a sticker inside the driver's side door jamb or in the engine compartment. Automotive paint supply stores can mix paint to match your code perfectly. Consider using aerosol cans for smaller repairs or an HVLP (High Volume Low Pressure) spray gun for larger areas for a more professional finish.
- Clear Coat: Protects the paint and provides a glossy finish.
- Masking Tape and Paper: To protect surrounding areas from overspray.
- Tack Cloth: To remove dust and debris before painting.
- Rubbing Compound and Polish: For buffing and polishing the repaired area to blend it seamlessly with the surrounding paint.
- Mixing Board and Sticks: For mixing filler and hardener.
The Repair Process: Step-by-Step
Now, let's get down to the nitty-gritty. Here's a detailed breakdown of the repair process:
- Cleaning: Thoroughly clean the area around the gouge with soap and water, then degrease it with wax and grease remover. This is crucial for proper adhesion.
- Sanding (Preparation): Use 80-grit sandpaper to feather the edges of the gouge and remove any loose or jagged plastic. The goal is to create a smooth transition between the damaged area and the surrounding undamaged plastic. Expand the sanded area slightly beyond the immediate gouge to provide a better bonding surface for the filler.
- Adhesion Promoter: Apply an adhesion promoter according to the manufacturer's instructions. This step is often overlooked, but it significantly improves the bond between the filler and the plastic, preventing future cracking or peeling.
- Mixing the Filler: Carefully mix the plastic filler with the hardener according to the manufacturer's instructions. Precise ratios are critical! Too much or too little hardener can result in a weak or brittle repair. Work quickly, as the filler will start to harden shortly after mixing.
- Applying the Filler: Use a plastic spreader to apply the filler to the gouge. Apply thin layers, building up the filler gradually. Overfill the gouge slightly, as you'll be sanding it down later. Don't try to apply too much filler at once, as this can lead to air bubbles and a weaker repair. Consider using a heat gun *very* carefully to gently warm the filler and help it flow into the gouge, but avoid overheating.
- Curing: Allow the filler to cure completely according to the manufacturer's instructions. This can take several hours, depending on the type of filler and the ambient temperature.
- Sanding (Shaping): Once the filler is fully cured, it's time to sand it down to the desired shape. Start with 80-grit sandpaper to remove the bulk of the excess filler. Then, gradually move to finer grits (180-grit, then 220-grit, then 320-grit) to smooth the surface and blend it seamlessly with the surrounding plastic. Use a sanding block to ensure even pressure and prevent creating flat spots or dips. A DA sander can be a lifesaver here, but exercise caution to avoid over-sanding.
- Feathering: Feather the edges of the repaired area with 400-grit sandpaper to create a smooth transition for the primer. This involves gradually blending the edges of the repaired area into the surrounding undamaged paint, so there are no sharp lines or ridges.
- Priming: Apply several thin coats of automotive primer to the repaired area, allowing each coat to dry completely before applying the next. The primer helps to fill any remaining imperfections and provides a uniform surface for the paint. Sand the primer with 600-grit sandpaper after it has fully dried to remove any imperfections.
- Painting: Apply several thin coats of automotive paint, allowing each coat to dry completely before applying the next. Use light, even strokes to avoid runs or drips. If you're using aerosol cans, hold the can about 8-10 inches from the surface and move it in a smooth, consistent motion. If using an HVLP gun, adjust the pressure and spray pattern according to the manufacturer’s instructions.
- Clear Coat: Apply several thin coats of clear coat to protect the paint and provide a glossy finish. Allow the clear coat to dry completely.
- Wet Sanding (Optional): If the clear coat has any imperfections, such as orange peel (a textured surface), you can wet sand it with 1500-grit or 2000-grit sandpaper to smooth it out. Use plenty of water to lubricate the sandpaper and prevent scratching.
- Buffing and Polishing: Use a rubbing compound and a polishing pad to buff and polish the repaired area to blend it seamlessly with the surrounding paint. This will remove any scratches or swirl marks from the sanding process and restore the shine to the finish. Follow the manufacturer’s instructions for the rubbing compound and polish.
- Waxing: Apply a coat of wax to protect the paint and provide a lasting shine.
Important Considerations and Troubleshooting
- Color Matching: Getting a perfect color match is crucial for a seamless repair. Take your car to an automotive paint supply store and have them scan the paint to get an accurate color formula. Even with a perfect formula, slight variations in paint application and environmental conditions can affect the final color, so consider blending the paint into the surrounding area to minimize any noticeable differences.
- Temperature and Humidity: Temperature and humidity can affect the curing time of the filler, primer, and paint. Avoid working in extreme temperatures or high humidity.
- Air Bubbles: Air bubbles in the filler can weaken the repair. To minimize air bubbles, apply the filler in thin layers and use a plastic spreader to press it firmly into the gouge. If you see air bubbles, try to pop them with a pin or a small knife before the filler hardens.
- Sagging Paint: Sagging paint (runs or drips) is usually caused by applying too much paint at once or holding the spray can too close to the surface. If you get a sag, allow the paint to dry completely, then sand it down smooth and reapply the paint in thin coats.
- Peeling Paint: Peeling paint is usually caused by poor surface preparation or using incompatible materials. Make sure to thoroughly clean and degrease the surface before applying any filler, primer, or paint, and always use products that are specifically designed for automotive use.
- Deep Gouges or Holes: For deep gouges or holes, you may need to use a fiberglass mesh or a plastic welding technique to reinforce the repair. Plastic welding involves using a specialized tool to melt the edges of the plastic together, creating a strong bond.
Conclusion
Repairing a gouge in your plastic bumper is a challenging but rewarding DIY project. By following these steps and taking your time, you can restore your car's appearance and save money on professional repairs. Remember to prioritize safety, use the right tools and materials, and be patient. With a little practice, you'll be surprised at what you can achieve.