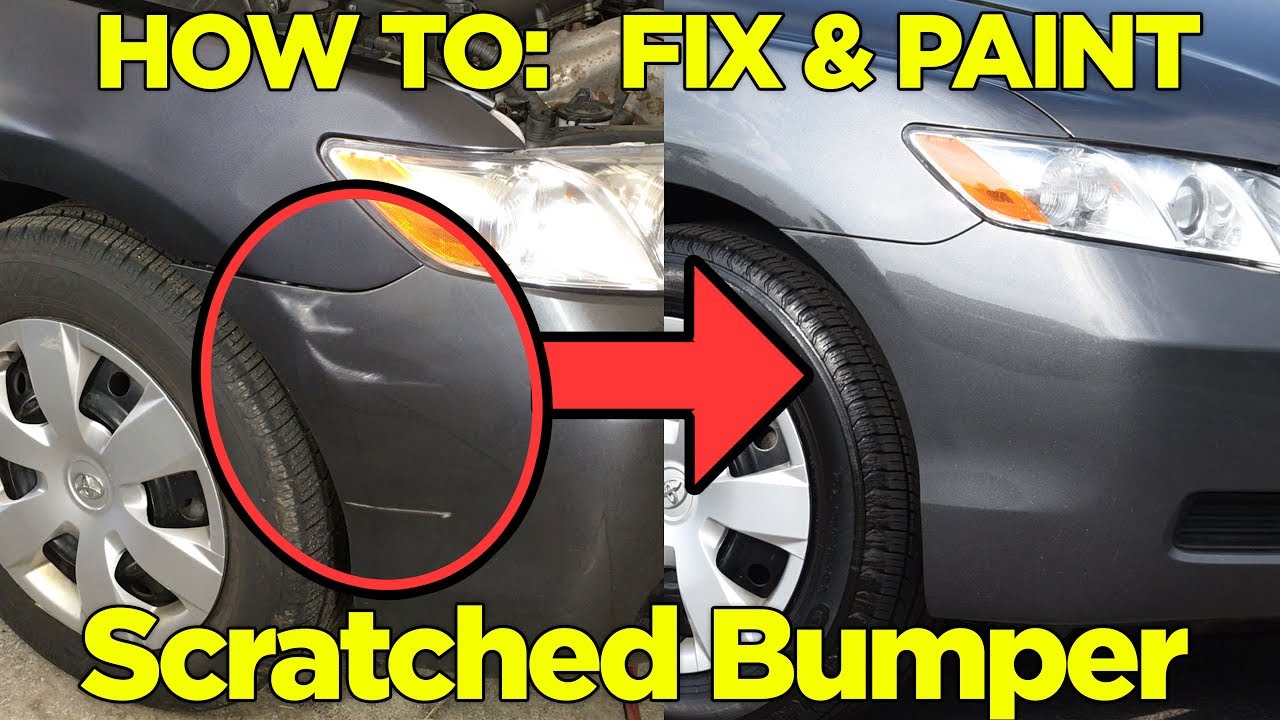
Repair Scratch On Car Plastic Bumper
Plastic bumpers are a common feature on modern vehicles, offering improved impact resistance and design flexibility. However, they're also prone to scratches, scuffs, and abrasions from minor accidents, road debris, and even harsh weather conditions. This article provides a practical guide for both car owners and mechanics on how to effectively repair scratches on car plastic bumpers, covering everything from identification and troubleshooting to repair techniques and preventative maintenance.
Identifying the Damage and Troubleshooting
Before diving into the repair process, it's crucial to accurately assess the extent of the damage. Scratches on plastic bumpers can range from superficial surface imperfections to deeper gouges that penetrate the plastic material. Proper identification is key to choosing the right repair method.
Types of Scratches:
- Surface Scratches: These are light scratches that only affect the clear coat or the outermost layer of paint. They are often caused by car washes, minor brushes with bushes, or accidental contact with clothing. They usually appear as thin, light lines on the bumper's surface.
- Clear Coat Scratches: These scratches penetrate the clear coat but don't reach the base coat of paint. They are more noticeable than surface scratches and may appear as slightly deeper lines.
- Paint Scratches: These scratches extend through the clear coat and into the base coat of paint. The color of the base coat will be visible within the scratch, making it more prominent.
- Deep Scratches: These scratches penetrate the paint layers and into the plastic bumper itself. They may expose the raw plastic material, which is usually a different color than the paint. These scratches require more extensive repair.
Troubleshooting Common Problems:
Symptom: Faint, hairline scratches visible under bright light.
Cause: Minor abrasions from washing, polishing, or light contact.
Solution: Polishing compound and a microfiber cloth can often remove these scratches.
Symptom: Scratches that are visible and have removed some paint, revealing a different color underneath.
Cause: Contact with another vehicle, road debris, or a sharp object.
Solution: Touch-up paint or professional paint repair may be necessary.
Symptom: Deep gouges in the bumper that expose the raw plastic.
Cause: Significant impact or abrasion.
Solution: Plastic filler, sanding, and painting are required for a proper repair.
Example: On a Toyota Camry, a common issue is surface scratches from automatic car washes. These are usually easily remedied with a polishing compound. However, a Honda Civic, being lower to the ground, might suffer from deeper scratches from road debris kicked up by other cars, requiring more involved repairs.
Repairing Scratches: A Step-by-Step Guide
Here's a breakdown of common repair techniques, from simple DIY solutions to more involved professional methods:
1. Cleaning and Preparation:
Before any repair, thoroughly clean the area around the scratch with soap and water. Remove any dirt, wax, or grease. Dry the area completely. Use a degreaser if necessary to ensure a clean surface for paint adhesion.
2. Repairing Surface Scratches:
For light surface scratches, a polishing compound can often do the trick. Apply a small amount of polishing compound to a clean microfiber cloth. Gently rub the compound into the scratch using a circular motion. Increase pressure gradually until the scratch starts to disappear. Wipe away any excess compound with a clean, dry microfiber cloth. Consider using a dual-action polisher for larger areas or more stubborn scratches. Follow up with a wax or sealant to protect the repaired area.
3. Repairing Clear Coat Scratches:
Clear coat scratches may require a more aggressive approach. A fine-grit sandpaper (e.g., 2000-grit or 3000-grit) can be used to lightly sand down the scratch. Wet-sanding is recommended to prevent clogging and overheating. After sanding, use a polishing compound to restore the shine and smoothness of the clear coat. As with surface scratches, finish with wax or sealant.
4. Repairing Paint Scratches:
For scratches that have penetrated the paint layers, touch-up paint is usually the best solution. Purchase touch-up paint that matches your car's paint code (usually found on a sticker inside the driver's side door jamb or in the owner's manual). Clean the scratch thoroughly and apply a thin layer of touch-up paint using a fine brush or applicator. Allow the paint to dry completely between coats. Apply multiple thin coats rather than one thick coat to avoid runs and drips. Once the paint is dry, use fine-grit sandpaper (e.g., 3000-grit) to lightly level the touch-up paint with the surrounding paint. Follow up with polishing compound and wax.
5. Repairing Deep Scratches:
Deep scratches that expose the plastic bumper require more extensive repair. This usually involves using plastic filler to fill the scratch. First, clean the area thoroughly and roughen the surface with sandpaper to provide better adhesion for the filler. Apply the plastic filler according to the manufacturer's instructions. Allow the filler to dry completely. Sand the filler down to match the contour of the bumper. Apply a primer to the filled area to promote paint adhesion. Finally, paint the area with touch-up paint or have it professionally painted to match the surrounding paint. Follow the steps for painting described above.
Real-World Issues and Solutions
Problem: Touch-up paint doesn't match the original paint.
Solution: Ensure you have the correct paint code for your vehicle. Older cars may have faded paint, making it difficult to match. Consider having a professional auto paint supplier custom mix paint for a perfect match.
Problem: The repaired area looks uneven or has a different texture.
Solution: Proper sanding and blending are crucial. Use progressively finer grits of sandpaper to smooth the repaired area. Practice on a scrap piece of plastic before working on the bumper. If necessary, seek professional help.
Problem: The paint peels off after a short time.
Solution: Proper surface preparation is essential. Ensure the surface is clean, dry, and free of contaminants. Use a primer to promote paint adhesion. Avoid applying paint in extreme temperatures or humidity.
Example: A common issue on Ford F-150 trucks used for off-roading is deep scratches on the rear bumper. Due to the textured plastic, applying filler and sanding it smooth can be challenging. A professional may recommend replacing the entire bumper cover for a seamless repair. On a Nissan Altima, scratches near the parking sensors require extra care. Masking the sensors properly is crucial to avoid damaging them during the repair process.
Preventative Maintenance: Keeping Your Bumper Scratch-Free
While accidents happen, proactive measures can significantly reduce the risk of scratches on your plastic bumper:
- Park Carefully: Avoid parking too close to other vehicles or objects. Be mindful of parking space sizes and potential hazards.
- Drive Defensively: Maintain a safe distance from other vehicles to avoid collisions. Be aware of road debris and potential hazards.
- Wash Your Car Regularly: Regular washing removes dirt and debris that can scratch the bumper's surface. Use a soft sponge or microfiber cloth and a pH-neutral car wash soap.
- Apply a Protective Coating: Consider applying a paint sealant or ceramic coating to protect the bumper's paint from scratches and other damage.
- Install Bumper Protectors: Bumper protectors are available for certain car models. These are usually made of rubber or plastic and attach to the bumper to provide an extra layer of protection.
Conclusion
Repairing scratches on a car's plastic bumper is a manageable task with the right tools, techniques, and patience. Understanding the type and severity of the damage is the first step towards a successful repair. From simple polishing compounds to more involved filler and paint applications, various solutions are available to address different types of scratches. By following the steps outlined in this guide and paying attention to real-world issues, both car owners and mechanics can effectively restore the appearance of plastic bumpers and maintain the overall value of the vehicle. Remember that for significant damage, consulting a professional auto body shop is always a wise choice to ensure a high-quality and lasting repair. By implementing preventative maintenance strategies, you can minimize the risk of future scratches and keep your car looking its best.