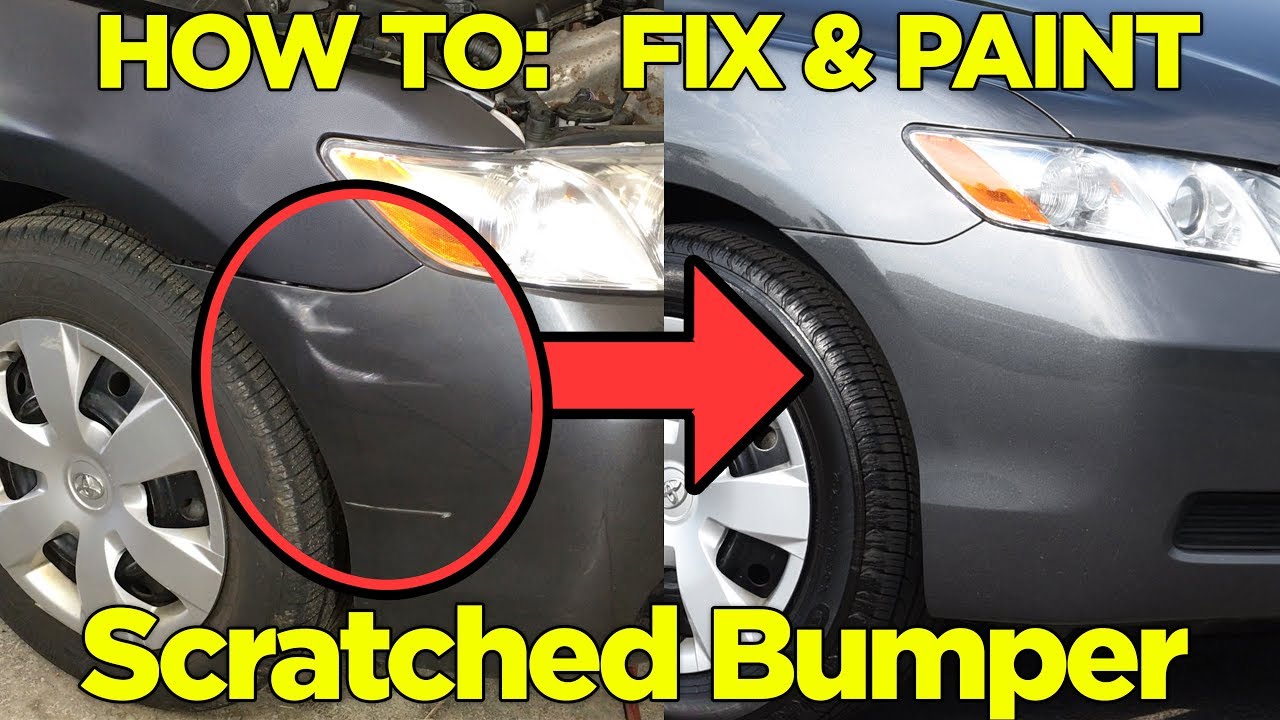
Repair Scratched Bumper Plastic
Plastic bumpers are a common feature on modern vehicles, offering lightweight protection in low-speed impacts. However, they're also susceptible to scratches and abrasions, which can detract from your car's appearance and potentially lead to further damage. Whether you're a seasoned mechanic or a DIY enthusiast, understanding how to repair scratched plastic bumpers is a valuable skill.
Understanding the Problem: Scratched Plastic Bumpers
Scratches on plastic bumpers aren't just cosmetic; they can expose the underlying plastic to UV radiation, leading to fading, cracking, and brittleness over time. Ignoring these scratches can significantly reduce the bumper's lifespan and increase the risk of more severe damage in future incidents.
Common Symptoms:
- Visible scratches, ranging from superficial surface scratches to deeper gouges.
- Paint discoloration or chipping around the scratched area.
- A rough or uneven texture on the bumper surface.
- In extreme cases, cracking or splitting of the plastic.
Causes of Scratches:
- Minor Collisions: Parking mishaps, contact with other vehicles, or bumping into objects like poles or curbs are frequent causes. For instance, a common scenario is lightly bumping into a parking bollard while reversing a Toyota Camry.
- Road Debris: Stones, gravel, and other debris kicked up by tires can sandblast the bumper over time, causing numerous small scratches. Highway driving, especially behind trucks, significantly increases this risk.
- Car Washes: Automated car washes, particularly those with older or poorly maintained equipment, can leave swirl marks and scratches on the bumper's surface.
- Accidental Scrapes: Brushing against bushes, trees, or walls can cause scratches, especially in tight parking spaces or off-road conditions. Imagine maneuvering a Jeep Wrangler on a narrow trail – scratches are almost inevitable.
- Vandalism: Unfortunately, deliberate acts of vandalism can also result in scratches to your bumper.
Troubleshooting and Repair Techniques
The repair method depends on the severity of the scratch. Superficial scratches can often be addressed with simple polishing, while deeper scratches may require filling and painting. Here's a breakdown of common troubleshooting steps and repair techniques:
1. Assess the Damage:
Before you start, thoroughly clean the bumper surface with soap and water to remove dirt and grime. This will allow you to accurately assess the depth and extent of the scratches. Use a bright light to highlight any imperfections.
2. Superficial Scratches (Clear Coat Scratches):
These are light scratches that only affect the clear coat layer of the paint. You can often feel them with your fingernail, but they don't penetrate the color coat.
Solution:
- Polishing Compound: Apply a small amount of polishing compound to a microfiber cloth and gently rub it onto the scratched area in a circular motion. Use moderate pressure and gradually increase the speed.
- Buffing Machine (Optional): For larger areas or more stubborn scratches, a buffing machine with a polishing pad can be used. Be careful not to apply too much pressure or heat, as this can damage the paint.
- Waxing: After polishing, apply a coat of wax to protect the repaired area and restore the shine.
Example: Light swirl marks on the bumper of a Honda Civic caused by an automated car wash can often be removed with polishing compound.
3. Moderate Scratches (Color Coat Scratches):
These scratches penetrate the clear coat and affect the color coat. They are typically more visible and may feel slightly deeper to the touch.
Solution:
- Touch-Up Paint: Purchase touch-up paint that matches your car's color code. You can usually find this code on a sticker inside the driver's side door jamb or in the owner's manual.
- Application: Clean the scratched area thoroughly. Use a fine-tipped brush or a toothpick to carefully apply the touch-up paint to the scratch, filling it in completely. Apply thin coats and allow each coat to dry completely before applying the next.
- Wet Sanding (Optional): Once the touch-up paint is dry, you can lightly wet sand the area with 2000-grit sandpaper to blend it with the surrounding paint. Be very careful not to remove too much paint.
- Polishing: After wet sanding, polish the area with polishing compound to restore the shine.
- Waxing: Apply a coat of wax to protect the repaired area.
Example: A scratch on the bumper of a Ford F-150 caused by a stray shopping cart can be effectively repaired with touch-up paint and polishing.
4. Deep Scratches (Plastic Damage):
These are the most severe type of scratches, penetrating deep into the plastic and potentially causing gouges or cracks. They require more extensive repair.
Solution:
- Plastic Filler: Clean the scratched area thoroughly and roughen the surface with sandpaper to create a better bond for the filler.
- Filler Application: Mix the plastic filler according to the manufacturer's instructions and apply it to the scratched area, filling in the gouge completely. Use a plastic spreader to smooth the filler and remove any excess.
- Sanding: Allow the filler to dry completely according to the manufacturer's instructions. Then, sand the area smooth with progressively finer grits of sandpaper (e.g., 180-grit, 320-grit, 400-grit). Feather the edges of the filler into the surrounding plastic to create a seamless transition.
- Primer: Apply a coat of plastic primer to the repaired area. This will help the paint adhere properly.
- Painting: Apply several thin coats of paint that matches your car's color code. Allow each coat to dry completely before applying the next.
- Clear Coat: Apply a coat of clear coat to protect the paint and restore the shine.
- Polishing: After the clear coat is dry, polish the area with polishing compound to remove any imperfections.
- Waxing: Apply a coat of wax to protect the repaired area.
Example: A deep scratch on the bumper of a Subaru Outback caused by scraping against a rock during off-roading would require plastic filler, sanding, priming, and painting.
Real-World Issues and Considerations:
Color Matching: Achieving a perfect color match can be challenging, especially with older vehicles where the paint may have faded. Consider having a professional auto paint shop mix the paint for you to ensure the best possible match.
Plastic Type: Not all plastic bumpers are created equal. Some are made from more flexible materials than others. This can affect the type of filler and paint you use. Always check the manufacturer's specifications for your vehicle.
Environmental Conditions: Repairing plastic bumpers in direct sunlight or in high humidity can affect the drying time and the quality of the finish. Try to work in a shaded, well-ventilated area.
DIY vs. Professional Repair: While minor scratches can often be repaired at home, more significant damage may require professional attention. Consider the cost of materials, your skill level, and the potential for mistakes before attempting a DIY repair. A poorly executed repair can be more costly to fix than having it done professionally in the first place.
Maintaining Your Car's Bumper to Prevent Scratches
Prevention is always better than cure. Here are some tips to keep your car's bumper in top condition and minimize the risk of scratches:
- Park Carefully: Be mindful of your surroundings when parking, and avoid parking too close to other vehicles or objects. Use parking sensors or cameras if your car is equipped with them.
- Avoid Automated Car Washes: Opt for touchless car washes or wash your car by hand to minimize the risk of scratches.
- Drive Defensively: Maintain a safe following distance from other vehicles to avoid being hit by road debris.
- Apply a Bumper Protector: Consider installing a bumper protector, especially if you frequently park in tight spaces or load and unload cargo from the trunk.
- Regular Cleaning and Waxing: Regularly wash and wax your car to protect the paint from UV radiation and environmental damage.
- Address Scratches Promptly: Don't ignore scratches. Repair them as soon as possible to prevent further damage.
Conclusion
Repairing scratched plastic bumpers is a manageable task with the right tools, knowledge, and patience. By understanding the different types of scratches, choosing the appropriate repair techniques, and taking preventative measures, you can keep your car looking its best and protect its value. Whether you're restoring a classic car or simply maintaining your daily driver, mastering bumper repair is a valuable skill that will save you time and money in the long run. Remember to always prioritize safety and consult with a professional if you're unsure about any aspect of the repair process. A well-maintained bumper not only enhances your car's appearance but also contributes to its overall safety and longevity.