Repair Scratched Plastic Bumper
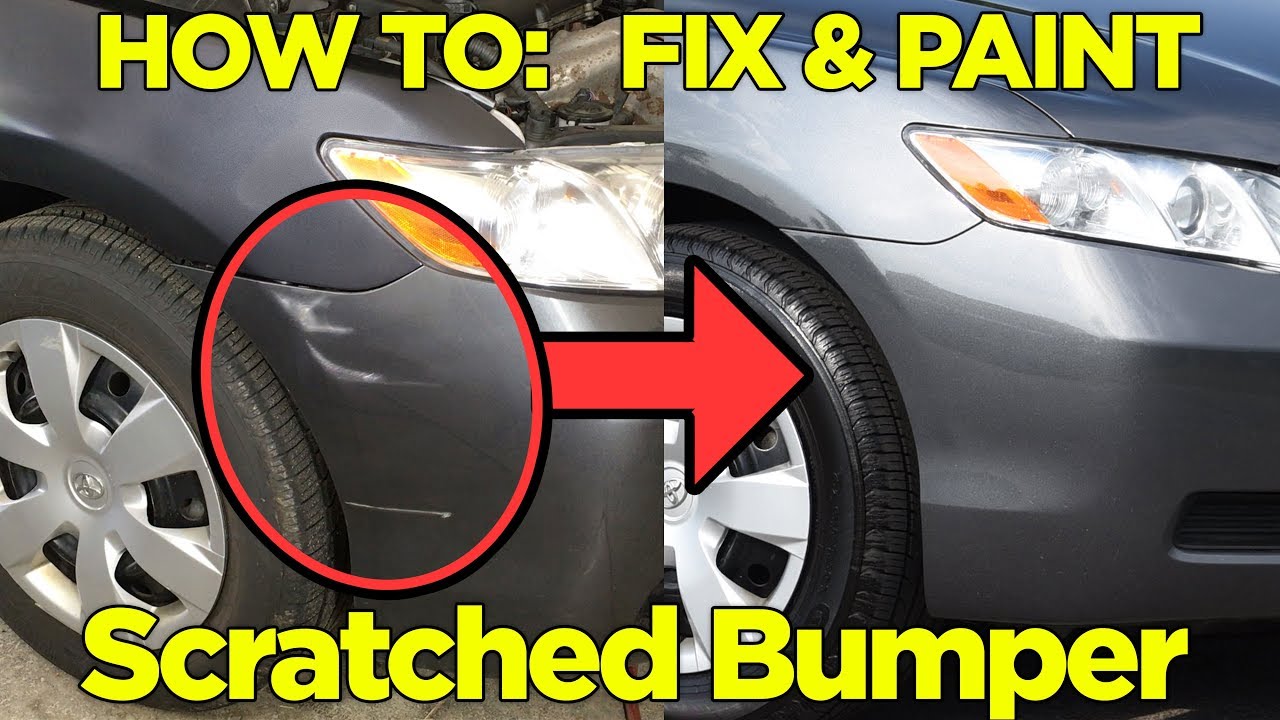
Plastic bumpers, a ubiquitous feature on modern vehicles, offer excellent impact absorption but are unfortunately prone to scratches. Whether it's a minor scuff from a rogue shopping cart or a more significant scrape from a parking mishap, knowing how to repair these imperfections can save you a trip to the body shop and keep your vehicle looking its best. This guide provides a comprehensive overview of the process, suitable for both DIY enthusiasts and professional technicians.
Assessing the Damage: Depth and Severity
Before diving into the repair, a thorough assessment is crucial. Scratches on a plastic bumper generally fall into three categories:
- Clear Coat Scratches: These are superficial imperfections affecting only the clear coat layer, the outermost protective layer of the paint system. They often appear as fine, hairline scratches.
- Paint Scratches: These penetrate the clear coat and reach the base coat, the colored layer of paint. You'll likely see the color of the underlying plastic if the scratch is deep enough.
- Deep Scratches/Gouges: These penetrate through the paint layers and into the plastic itself, often leaving noticeable gouges or deformities. This type of damage requires more extensive repair.
The depth of the scratch will dictate the appropriate repair method. Minor clear coat scratches can often be buffed out, while deeper scratches require filling and repainting.
Tools and Materials: Gathering Your Arsenal
Having the right tools and materials is essential for a successful bumper repair. Here's a list of what you'll likely need:
- Cleaning Supplies: Soap and water, degreaser (e.g., isopropyl alcohol), microfiber cloths. Proper cleaning is vital for adhesion.
- Sandpaper: Various grits (e.g., 320, 400, 600, 800, 1000, 1500, 2000 grit). Wet/dry sandpaper is preferable.
- Sanding Block: Provides a flat, even surface for sanding.
- Body Filler (Plastic Bumper Repair): Specifically formulated for plastic bumpers. Bondo is a common brand, but many others are available.
- Putty Knife/Spreader: For applying and smoothing body filler.
- Primer: Automotive-grade primer, compatible with plastic.
- Automotive Paint: Matching the original factory color of your vehicle. Obtain the paint code (usually located on a sticker in the door jamb or engine compartment).
- Clear Coat: Automotive-grade clear coat for a durable and glossy finish.
- Rubbing Compound: For leveling and polishing the clear coat.
- Polishing Compound: For refining the finish and removing swirl marks.
- Wax or Sealant: To protect the repaired area.
- Tack Cloth: To remove dust and debris before painting.
- Masking Tape and Paper: To protect surrounding areas from overspray.
- Safety Glasses and Gloves: Essential for personal protection.
- Respirator: Important when sanding and spraying paint.
- Heat Gun (Optional): Can be used to manipulate the plastic and improve adhesion of filler, but must be used carefully to avoid melting the plastic.
- Air Compressor and Spray Gun (Optional): For a professional-quality paint finish. Aerosol spray cans can be used, but the finish may not be as durable or uniform.
Repairing Clear Coat Scratches: A Buffing Solution
For minor clear coat scratches, buffing is often sufficient. This process involves using a rubbing compound to gently abrade the clear coat, leveling out the imperfections.
- Clean the area thoroughly: Remove any dirt, wax, or contaminants with soap and water, followed by a degreaser.
- Apply rubbing compound: Use a clean microfiber cloth or a foam polishing pad attached to a dual-action polisher. Work the compound into the scratch in a circular motion, applying moderate pressure.
- Buff the area: Continue buffing until the scratches are minimized or eliminated.
- Apply polishing compound: Use a polishing compound to refine the finish and remove any swirl marks left by the rubbing compound.
- Wax or seal the area: Protect the repaired area with a coat of wax or sealant.
Repairing Paint Scratches and Deep Gouges: A Multi-Step Process
Deeper scratches that penetrate the paint or gouges in the plastic require a more involved repair process.
Step 1: Preparation and Sanding
- Clean the area thoroughly: As with clear coat scratches, start by cleaning the area with soap and water and a degreaser.
- Sand the damaged area: Use 320-grit sandpaper to remove any loose paint, rust (if applicable), or sharp edges around the scratch. Feather the edges of the damaged area by sanding beyond the immediate scratch to create a smooth transition.
- Clean the sanded area: Remove sanding dust with a tack cloth.
Step 2: Applying Body Filler
- Mix the body filler: Follow the manufacturer's instructions for mixing the body filler and hardener. Proper mixing is crucial for the filler to cure correctly.
- Apply the filler: Use a putty knife to apply a thin, even layer of body filler over the scratch or gouge. Overfill slightly to allow for sanding.
- Allow the filler to cure: Let the filler cure completely according to the manufacturer's instructions. This may take several hours or even overnight.
Step 3: Sanding the Body Filler
- Rough sanding: Use 320-grit sandpaper to remove the excess filler and shape the repair area.
- Medium sanding: Switch to 400-grit sandpaper to refine the shape and smooth out any imperfections.
- Fine sanding: Use 600-grit sandpaper to further smooth the surface and prepare it for primer.
- Feathering: Ensure that the edges of the repaired area blend seamlessly with the surrounding paint by feathering the sanding.
- Clean the sanded area: Remove sanding dust with a tack cloth.
Step 4: Priming
- Mask the area: Use masking tape and paper to protect the surrounding areas from overspray.
- Apply primer: Apply several thin, even coats of automotive-grade primer, allowing each coat to dry completely before applying the next.
- Wet sand the primer: Once the primer is dry, wet sand it with 800-grit sandpaper to create a smooth, uniform surface.
- Clean the sanded area: Remove sanding dust with a tack cloth.
Step 5: Painting
- Apply base coat: Apply several thin, even coats of automotive paint, matching the original factory color of your vehicle. Allow each coat to dry completely before applying the next. Consult with an automotive paint supplier to ensure proper application techniques for your specific paint.
- Apply clear coat: Once the base coat is dry, apply several thin, even coats of automotive clear coat to protect the paint and provide a glossy finish. Allow each coat to dry completely before applying the next.
Step 6: Finishing Touches
- Wet sand the clear coat (Optional): If there are any imperfections in the clear coat, wet sand it with 1500-grit and then 2000-grit sandpaper. This step requires considerable care to avoid sanding through the clear coat.
- Buffing and Polishing: Use rubbing compound to level the clear coat and remove any sanding marks. Then, use polishing compound to refine the finish and remove swirl marks.
- Wax or Seal: Apply a coat of wax or sealant to protect the repaired area and enhance the shine.
Common Mistakes and Troubleshooting
Several common mistakes can derail a bumper repair. Here are some troubleshooting tips:
- Poor Surface Preparation: Inadequate cleaning and sanding will result in poor adhesion of the filler, primer, and paint.
- Incorrect Body Filler Mixing: Too much or too little hardener will affect the curing process. Follow the manufacturer's instructions precisely.
- Applying Filler Too Thickly: Applying too much filler at once can lead to cracking and difficulty sanding. Apply thin layers and build up gradually.
- Using the Wrong Sandpaper: Using overly coarse sandpaper can damage the plastic, while using sandpaper that is too fine will be ineffective.
- Rushing the Drying Time: Allow sufficient drying time for each layer of filler, primer, and paint.
- Poor Paint Matching: Using the wrong paint color will result in a noticeable mismatch. Obtain the correct paint code for your vehicle. Blending the new paint into the surrounding area can help minimize any slight color variations.
- Orange Peel: This textured surface can result from improper spraying technique, paint viscosity, or drying conditions. Wet sanding and buffing can often correct orange peel.
Advanced Techniques: Heat Forming and Plastic Welding
For severely damaged bumpers with dents or tears, more advanced techniques may be required.
Heat Forming: Using a heat gun, you can carefully manipulate the plastic to restore its original shape. This technique requires experience and caution to avoid melting or warping the plastic. The heat softens the plastic, allowing you to gently push or pull it back into place. Ensure the area is well-supported while cooling to maintain the new shape.
Plastic Welding: This involves using a specialized plastic welding tool to fuse broken pieces of plastic together. The welder melts the plastic edges, creating a strong bond. Reinforcement mesh can be embedded in the weld for added strength. This method is particularly useful for repairing cracks and tears in the bumper.
Conclusion: Patience and Precision are Key
Repairing a scratched plastic bumper is a rewarding project that can save you money and improve the appearance of your vehicle. By carefully following these steps and paying attention to detail, you can achieve professional-quality results. Remember to prioritize safety by wearing appropriate personal protective equipment. While this guide provides comprehensive instructions, consulting with a qualified automotive technician is always recommended for complex or extensive damage. A little patience and precision will transform that unsightly scratch into a seamless repair, preserving the value and aesthetics of your ride.Always remember to consult the manufacturer's instructions for specific products and materials.