Repairing Scratches On Plastic Bumpers
Plastic bumpers, while offering impact resistance and design flexibility, are susceptible to scratches. Repairing these blemishes, whether superficial or deep, is a common task for both DIY enthusiasts and professional mechanics. The approach varies depending on the severity of the scratch and the type of plastic involved.
Understanding the Enemy: Types of Scratches and Plastic
Before grabbing any tools, accurately assess the damage. Scratches typically fall into three categories:
- Clear Coat Scratches: These are the most superficial, affecting only the clear coat layer. They often appear as hazy swirls or fine lines.
- Paint Scratches: These penetrate the clear coat and affect the base coat of paint. The color of the bumper will be visibly damaged.
- Plastic Scratches: These are the deepest, gouging into the plastic itself. The underlying plastic color will be exposed, and the scratch might have a rough or jagged texture.
Identifying the type of plastic is also crucial. Most modern bumpers are made from thermoplastic olefins (TPOs) or polypropylene (PP). These materials offer good impact resistance and are relatively easy to repair. Older vehicles might use other types of plastics, which may require different repair techniques. Consulting your vehicle's repair manual or a parts specialist can help identify the specific plastic type.
Tools of the Trade: Essential Equipment and Materials
Effective scratch repair requires the right tools and materials. Here's a list of essentials:
- Cleaning Supplies: Automotive soap, degreaser, and microfiber cloths are essential for preparing the surface.
- Sandpaper: A range of grits is necessary, typically from 400 grit for aggressive sanding of deep scratches to 2000 or 3000 grit for fine finishing. Wet/dry sandpaper is recommended.
- Sanding Block: Provides a flat, even surface for sanding, preventing uneven pressure and gouging.
- Body Filler (for deep scratches): A two-part epoxy-based filler designed for plastics. Look for products specifically formulated for TPO or PP.
- Putty Knife or Spreader: Used to apply and smooth body filler.
- Primer: An automotive-grade primer compatible with the plastic type.
- Paint: Matching automotive paint. Obtain the correct paint code from your vehicle (usually located on a sticker in the door jamb or glove compartment). Consider using aerosol cans for smaller repairs or professional spray equipment for larger areas.
- Clear Coat: Automotive-grade clear coat to protect the paint and provide a glossy finish.
- Rubbing Compound: An abrasive compound used to level the clear coat and remove imperfections.
- Polishing Compound: A finer compound used after rubbing compound to restore shine and gloss.
- Polishing Pads and Machine (optional): A dual-action polisher can significantly speed up the polishing process and achieve a more professional finish.
- Tack Cloth: Used to remove dust and debris before painting.
- Masking Tape and Paper: To protect surrounding areas from overspray.
- Safety Gear: Gloves, safety glasses, and a respirator mask are crucial for protecting yourself from chemicals and dust.
The Repair Process: Step-by-Step Guide
The following steps outline a typical plastic bumper scratch repair. Remember to always consult the product instructions for specific guidance and safety precautions.
Step 1: Cleaning and Preparation
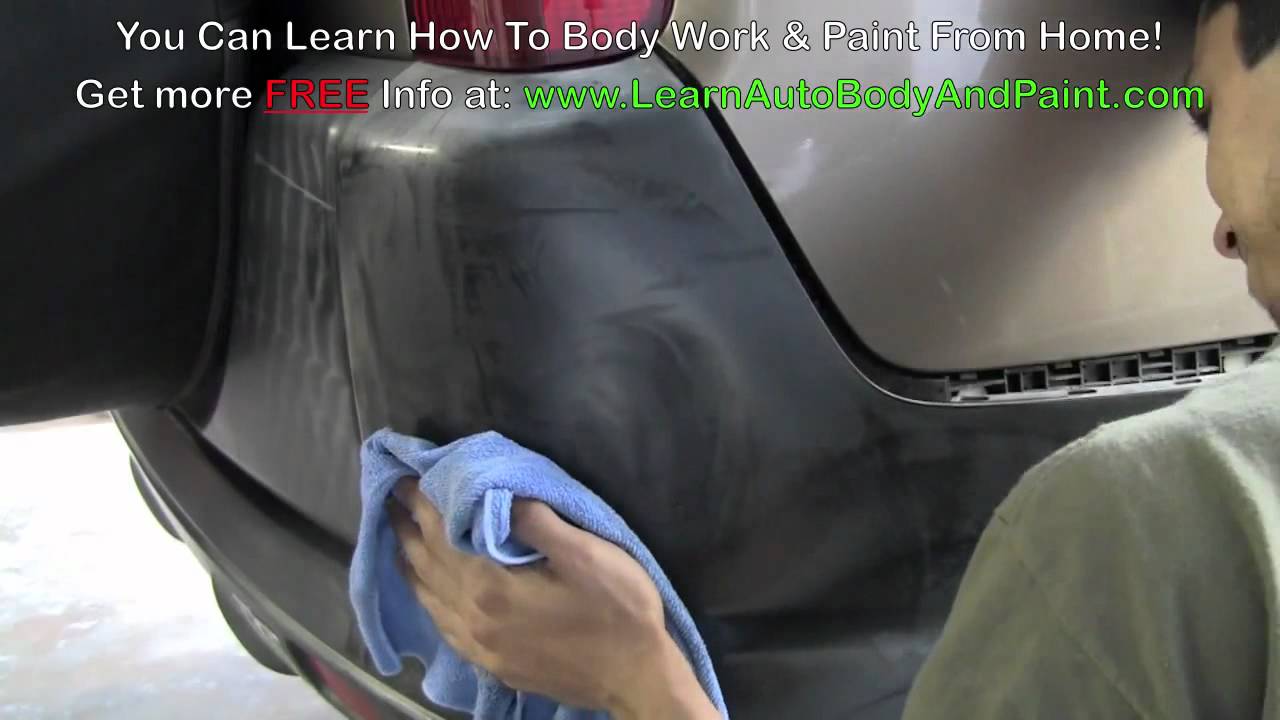
Thoroughly clean the affected area with automotive soap and water to remove dirt and grime. Use a degreaser to remove any wax, grease, or silicone contaminants. Dry the area completely with a clean microfiber cloth. Mask off the surrounding area to protect it from overspray.
Step 2: Sanding the Scratch
For clear coat scratches, start with 2000 or 3000 grit sandpaper, using a sanding block and plenty of water. Gently sand the area in a circular motion, feathering the edges of the scratch. Periodically wipe the area clean to check your progress. The goal is to remove the scratch and create a smooth, uniform surface.
For paint scratches, start with 800 or 1000 grit sandpaper, carefully sanding the area until the scratch is level with the surrounding paint. Be careful not to sand through the clear coat and into the primer. Feather the edges of the sanded area to blend it with the surrounding paint.
For plastic scratches, start with 400 or 600 grit sandpaper to remove any sharp edges or burrs. If the scratch is deep, you may need to use a coarser grit sandpaper to level the damage. Proceed to finer grits (800, 1000, then 1500) to smooth the surface. Feather the edges to blend the repair.
Step 3: Applying Body Filler (for Deep Scratches)
If the scratch is deep enough to require body filler, follow the manufacturer's instructions carefully. Mix the filler and hardener according to the specified ratio. Apply a thin, even layer of filler to the scratch, slightly overfilling it. Use a putty knife or spreader to smooth the filler and remove any air bubbles. Allow the filler to dry completely according to the manufacturer's instructions.
Step 4: Sanding the Body Filler
Once the filler is dry, sand it down to match the contour of the bumper. Start with 400 or 600 grit sandpaper to remove the bulk of the excess filler. Then, use finer grits (800, 1000, and 1500) to smooth the surface and feather the edges of the repair. Ensure the surface is perfectly smooth and flush with the surrounding area.
Step 5: Priming
Apply several thin coats of automotive-grade primer to the sanded area, allowing each coat to dry completely before applying the next. Follow the primer manufacturer's instructions for drying times and application techniques. The primer provides a uniform surface for the paint to adhere to.
Step 6: Sanding the Primer
Once the primer is dry, lightly sand it with 2000 or 3000 grit sandpaper to remove any imperfections and create a smooth surface for painting. This step is crucial for achieving a professional-looking finish.
Step 7: Painting
Apply several thin coats of automotive paint to the primed area, allowing each coat to dry completely before applying the next. Use a tack cloth to remove any dust or debris before painting. Follow the paint manufacturer's instructions for drying times and application techniques. Overlap each coat slightly to ensure even coverage.
Step 8: Applying Clear Coat
Once the paint is dry, apply several thin coats of automotive-grade clear coat to protect the paint and provide a glossy finish. Allow each coat to dry completely before applying the next. Follow the clear coat manufacturer's instructions for drying times and application techniques.
Step 9: Wet Sanding the Clear Coat (Optional)
If the clear coat has any imperfections, such as orange peel or runs, you can wet sand it with 2000 or 3000 grit sandpaper after it has fully cured. This step is optional but can improve the final finish.
Step 10: Rubbing and Polishing
After the clear coat has fully cured (typically 24-48 hours), use rubbing compound to level the clear coat and remove any imperfections. Apply the compound to a polishing pad and work it into the clear coat using a circular motion. Follow the rubbing compound manufacturer's instructions. Then, use polishing compound to restore shine and gloss. Apply the polishing compound to a clean polishing pad and work it into the clear coat using a circular motion. A dual-action polisher can significantly speed up this process. Wipe the area clean with a microfiber cloth.
Step 11: Waxing (Optional)
Apply a coat of wax to protect the paint and provide a long-lasting shine. Use a high-quality automotive wax and follow the manufacturer's instructions.
Troubleshooting Common Issues
Even with careful preparation, issues can arise. Here are some common problems and their solutions:
- Paint Runs: Apply paint in thinner coats and move the spray can more quickly. If runs occur, allow the paint to dry completely, then sand them down and repaint.
- Orange Peel: Caused by insufficient paint flow or improper spraying technique. Wet sand the clear coat and polish to smooth the surface.
- Fish Eyes: Small, circular imperfections in the paint caused by contamination. Thoroughly clean and degrease the surface before painting.
- Color Mismatch: Ensure the paint code matches your vehicle's paint. Spray a test panel to confirm the color match before applying it to the bumper.
Preventative Measures
The best way to deal with scratches is to prevent them in the first place. Consider these preventative measures:
- Careful Driving: Avoid tailgating and driving in areas with loose gravel or debris.
- Parking Strategically: Park away from other vehicles and shopping carts.
- Protective Films: Apply a clear bra or paint protection film to vulnerable areas of the bumper.
- Regular Washing and Waxing: Regularly wash and wax your vehicle to protect the paint from the elements.
Real-World Example: Minor Scratch Repair on a Mazda 3 Bumper
A common scenario involves a minor scratch on the bumper of a Mazda 3 from a parking lot mishap. Assuming it's a paint scratch that hasn't deeply gouged the plastic, the repair process would typically involve sanding with 1000-grit sandpaper, followed by spot priming, painting with Mazda's specific "Soul Red Crystal" (paint code 46V), clear coating, and then compounding and polishing to blend the repair seamlessly with the surrounding paint. This type of repair can often be completed in a few hours and can save hundreds of dollars compared to a professional body shop repair.
Conclusion
Repairing scratches on plastic bumpers is a manageable task with the right tools, materials, and techniques. By understanding the types of scratches, selecting the appropriate repair methods, and following the steps outlined above, both DIY enthusiasts and professional mechanics can achieve professional-quality results, restoring the appearance and value of the vehicle. Remember to prioritize safety and always consult product instructions for specific guidance.