Replace Washer Fluid Reservoir
The washer fluid reservoir: a seemingly simple plastic container responsible for keeping your windshield clear and your visibility optimal. While often overlooked, a damaged or leaking reservoir can lead to empty spray nozzles, reduced visibility in inclement weather, and potentially even trigger warning lights. Replacing it is a relatively straightforward DIY project, but understanding the process and potential pitfalls will ensure a smooth and successful repair.
Understanding the Washer Fluid System
Before diving into the replacement, it's crucial to understand the components of a typical washer fluid system. The core element is, of course, the washer fluid reservoir. This is a plastic tank, usually located in the engine bay or behind a fender liner. Its primary function is to hold the washer fluid, a specially formulated solution designed to dissolve dirt, grime, and bug splatter from your windshield.
Submerged within the reservoir is the washer pump. This small electric pump draws fluid from the reservoir and sends it through a series of hoses to the washer nozzles located on the hood or cowl of your car. The nozzles are designed to spray the fluid onto the windshield in a controlled pattern. Many vehicles also have a separate pump and nozzles for the rear window, further complicating the system. Often, but not always, there is a sensor to measure the amount of fluid remaining in the reservoir. When the sensor measures the fluid is below a certain point, it will trigger the low washer fluid light on the dashboard.
Leakage is the most common reason for replacing a washer fluid reservoir. Cracks can develop in the plastic due to age, temperature fluctuations, or impact from road debris. Less frequently, the pump itself may fail, or the hoses may become disconnected or brittle.
Tools and Materials Required
To replace your washer fluid reservoir, you'll need the following tools and materials:
- New Washer Fluid Reservoir: Ensure you purchase the correct reservoir for your vehicle's make, model, and year. Check part numbers carefully.
- Basic Hand Tools: This includes a socket set (metric is typical), screwdrivers (Phillips and flathead), pliers, and possibly Torx bits depending on your vehicle.
- New Washer Fluid: Don't reuse the old fluid!
- Drain Pan: To catch any spilled washer fluid.
- Shop Towels: For cleaning up spills.
- Gloves: To protect your hands.
- Safety Glasses: Always protect your eyes.
- Penetrating Oil: Helpful for loosening stubborn bolts.
- Optional: Multimeter: To test electrical connections.
Step-by-Step Replacement Procedure
Here's a detailed guide to replacing your washer fluid reservoir:
1. Safety First
Disconnect the negative terminal of your battery. This prevents accidental electrical shorts during the repair. Engage the parking brake and work in a well-lit, ventilated area.
2. Locate the Washer Fluid Reservoir
The reservoir's location varies depending on the vehicle. Consult your owner's manual or a repair manual (like a Haynes or Chilton's) to pinpoint its exact location. Common locations include: in the engine bay near the fender, behind a fender liner, or under the bumper. Sometimes you can see the level of the fluid and that is a strong clue that the reservoir is behind the fender or bumper.
3. Drain the Existing Washer Fluid
Before removing the reservoir, drain the remaining washer fluid. Disconnect the hose leading to the washer pump and direct it into a drain pan. Alternatively, you can use a siphon to remove the fluid. If the pump is easily accessible, you can disconnect it and let the fluid drain through the pump opening. Some reservoirs have a drain plug at the bottom.
4. Disconnect the Washer Pump and Level Sensor (if equipped)
Carefully disconnect the electrical connectors from the washer pump and any level sensor attached to the reservoir. Note the orientation of the connectors before disconnecting them. Some connectors have a locking tab that needs to be depressed before you can pull the connector off. Never pull on the wires; always pull on the connector body.
5. Disconnect the Washer Fluid Hoses
Disconnect the washer fluid hoses from the pump and any other fittings on the reservoir. These hoses are typically held in place with small clamps. Use pliers to loosen the clamps and gently pull the hoses off. If the hoses are brittle or cracked, consider replacing them as well.
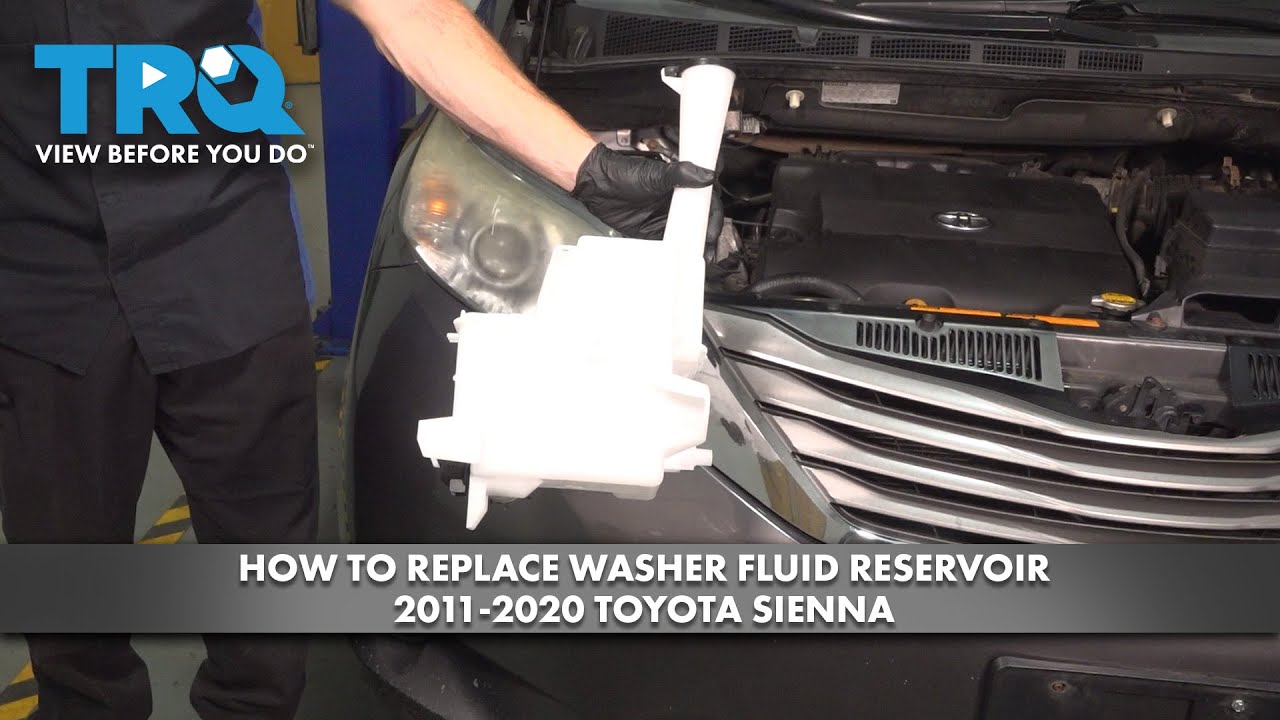
6. Remove the Reservoir
The reservoir is usually held in place by bolts or screws. Identify and remove all fasteners securing the reservoir to the vehicle. Once the fasteners are removed, carefully maneuver the reservoir out of its mounting location. You may need to gently wiggle it to free it from any tight spots.
7. Transfer Components to the New Reservoir
Carefully remove the washer pump and level sensor (if equipped) from the old reservoir and install them into the new reservoir. Ensure the pump and sensor are properly seated and secured. Pay attention to the orientation and direction of the pump as most pumps have a specific mounting direction.
8. Install the New Reservoir
Position the new reservoir in its mounting location and secure it with the bolts or screws you removed earlier. Tighten the fasteners to the proper torque specifications. Don't overtighten; plastic is easily damaged. Reconnect the washer fluid hoses, securing them with the clamps. Ensure the hoses are properly seated and that the clamps are tight. Reconnect the electrical connectors to the washer pump and level sensor. Double-check that the connectors are properly seated and locked in place.
9. Refill the Reservoir
Fill the new reservoir with fresh washer fluid. Check for leaks around the hoses and pump connections. If you find any leaks, tighten the clamps or replace the hoses as needed.
10. Test the System
Reconnect the negative terminal of your battery. Turn on the ignition and test the washer system by activating the windshield washer. Check that the fluid sprays properly from the nozzles. If the fluid doesn't spray, check the pump connection and hose routing. You may need to bleed the system by repeatedly activating the washer pump.
Troubleshooting Tips
- No Fluid Spraying: Check the pump connection, fuse, and hose routing. The nozzles might be clogged; try cleaning them with a pin or compressed air.
- Leaking Reservoir: Ensure the hoses are properly seated and the clamps are tight. Check for cracks in the reservoir itself.
- Low Washer Fluid Light Stays On: Check the level sensor connection. The sensor itself might be faulty.
Advanced Considerations
For some vehicles, accessing the washer fluid reservoir may require removing other components, such as the bumper cover or fender liner. Consult a repair manual for specific instructions on removing these components. Some high-end vehicles have more sophisticated washer systems with heated nozzles or multiple pumps. Be sure to understand the complexity of your vehicle's system before attempting a repair. Consider the long-term quality of the replacement reservoir. While aftermarket options are often cheaper, OEM (Original Equipment Manufacturer) parts are generally more durable and reliable. Also consider getting a washer fluid that has a lower freezing point in cold weather as this will protect your system.
Replacing a washer fluid reservoir is a manageable DIY project that can save you money and ensure your windshield stays clear. By understanding the system, using the correct tools, and following these steps carefully, you can complete the repair with confidence and keep your visibility sharp.