Replacing Rear Hatch Lift Struts
Replacing the rear hatch lift struts on your vehicle is a common maintenance task that can significantly improve its usability and safety. Worn-out lift supports can make opening and closing the hatch difficult, or even dangerous, as the hatch may slam shut unexpectedly. This guide will walk you through the process step-by-step, providing the necessary information for both experienced mechanics and DIY enthusiasts.
Identifying Worn Lift Supports
Before diving into the replacement process, it's crucial to accurately diagnose the issue. Common symptoms of failing lift supports include:
- The hatch opens slowly and with difficulty.
- The hatch won't stay open on its own and starts to droop.
- You hear hissing sounds coming from the supports when opening or closing the hatch, indicating gas leakage.
- Visible signs of damage, such as dents, rust, or fluid leaks on the support body.
If you observe any of these symptoms, it's time to consider replacing your rear hatch lift struts.
Tools and Materials Required
To perform this job effectively and safely, gather the following tools and materials:
- New lift supports (ensure they are compatible with your vehicle's make, model, and year).
- A flathead screwdriver or trim removal tool.
- A socket set with appropriate sized sockets (typically 10mm or 13mm).
- A support device (e.g., a prop rod, a sturdy friend, or a specialized lift support tool) to hold the hatch open. Safety first!
- Penetrating oil (e.g., WD-40 or PB Blaster) to loosen stubborn fasteners.
- Gloves and safety glasses.
Step-by-Step Replacement Procedure
Step 1: Safety Preparations
Park your vehicle on a level surface and engage the parking brake. Open the rear hatch fully. This is the most critical step. Use a prop rod, a friend, or a specialized lift support tool to securely hold the hatch open. Never rely solely on the old lift supports. A falling hatch can cause serious injury.
Step 2: Locate and Access the Lift Supports
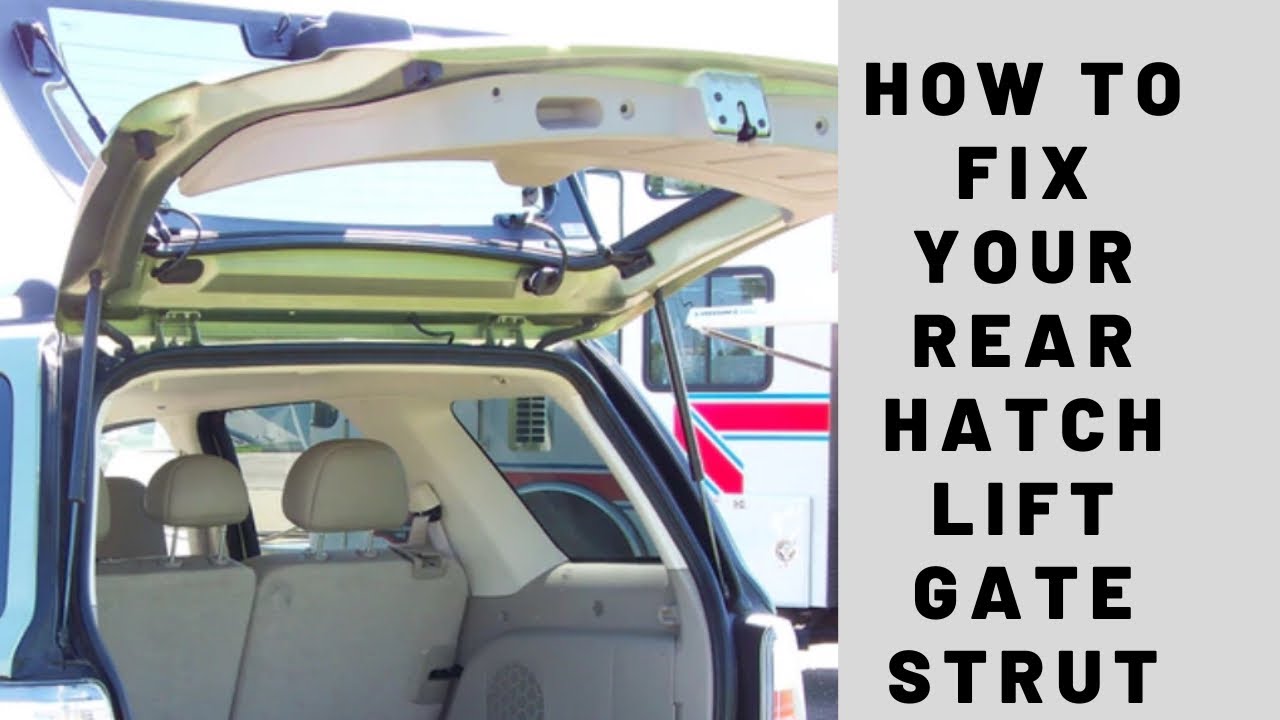
The lift supports are typically located on either side of the rear hatch, connecting the hatch to the vehicle's body. Inspect the mounting points. They usually consist of ball-and-socket joints secured with clips or bolts.
Step 3: Disconnecting the Old Lift Supports
Begin by disconnecting one end of the lift support. The method varies depending on the design. Here are the most common types:
Clip-on Style
Many lift supports use a retaining clip that secures the ball-and-socket joint. Use a small flathead screwdriver or a trim removal tool to gently pry the clip away from the socket. The clip doesn't need to be fully removed; just enough to release the joint. Once the clip is disengaged, carefully pull the support away from the ball stud. If the joint is stuck, apply a small amount of penetrating oil and let it soak for a few minutes before attempting to disconnect it again. Avoid excessive force, as you could damage the plastic socket or the surrounding trim.
Bolt-on Style
Some lift supports are secured with bolts. Use the appropriate sized socket to remove the bolt. Again, penetrating oil can be helpful if the bolts are corroded or stuck. Retain the bolts, as you will likely need them to install the new supports.
Once one end is disconnected, repeat the process for the other end of the same lift support. Be prepared for the hatch to lower slightly as you remove the support. Make sure your support device is securely holding the hatch.
Step 4: Installing the New Lift Supports
Installation is essentially the reverse of removal. Start by connecting one end of the new lift support to the corresponding ball stud or mounting point. Align the socket with the ball stud and push firmly until it snaps into place. If it’s a bolt-on style, align the support and re-install the bolt, tightening it to the manufacturer's specified torque (if available). Repeat this process for the other end of the lift support. Ensure both ends are securely connected.
Step 5: Repeat for the Other Side
Repeat steps 3 and 4 for the lift support on the other side of the hatch.
Step 6: Testing and Final Checks
With both new lift supports installed, carefully remove the support device. Slowly raise and lower the hatch, observing its movement. The hatch should open smoothly and stay open on its own without drooping. Ensure there are no unusual noises or binding. If the hatch does not operate smoothly, double-check that the supports are properly connected and that the ball-and-socket joints are fully engaged.
Also, inspect the area around the mounting points for any damage or wear. If necessary, replace worn or damaged hardware before considering the job complete.
Troubleshooting and Common Issues
- Difficulty Disconnecting the Old Supports: Persistent resistance often indicates corrosion. Apply penetrating oil generously and allow it to soak for an extended period. Gently wiggle the support while applying pressure to the release clip.
- New Supports are Too Stiff: New lift supports may be slightly stiffer than the old ones initially. They should loosen up with use. However, if the hatch is extremely difficult to close, double-check that you have the correct part number for your vehicle.
- Clip Won't Stay Open: If the retaining clip is damaged or bent, it may not stay open, preventing the socket from engaging. You may need to replace the clip, if available, or consider replacing the entire lift support.
- Hatch Still Doesn't Stay Open: This could indicate that the new lift supports are faulty or that there is another issue with the hatch mechanism, such as damaged hinges or a misaligned latch.
Choosing the Right Lift Supports
Selecting the correct replacement lift supports is crucial for proper operation and longevity. Consult your vehicle's owner's manual or an online parts database to determine the correct part number for your make, model, and year. Consider factors such as:
- Manufacturer: Opt for reputable brands known for quality and durability.
- Force Rating: Lift supports are rated by their force output in Newtons (N). Ensure the replacement supports have the same or very similar force rating as the original ones.
- Extended Length: The extended length of the support should match the original specifications.
- Warranty: A longer warranty typically indicates a higher quality product.
Maintenance and Longevity
To prolong the life of your new lift supports, consider these tips:
- Avoid slamming the hatch shut. Close it gently and smoothly.
- Periodically clean the lift supports with a damp cloth to remove dirt and debris.
- Lubricate the ball-and-socket joints with a silicone-based lubricant to prevent corrosion and ensure smooth operation.
- Avoid exposing the lift supports to extreme temperatures or corrosive chemicals.
Replacing rear hatch lift struts is a straightforward repair that can significantly improve the convenience and safety of your vehicle. By following these steps and taking the necessary precautions, you can confidently tackle this task yourself and save money on labor costs. Remember to prioritize safety and always use appropriate tools and techniques.
Disclaimer: This guide is for informational purposes only. Consult a qualified mechanic if you are unsure about any aspect of the repair or if you encounter any difficulties. Always refer to your vehicle's repair manual for specific instructions and torque specifications.