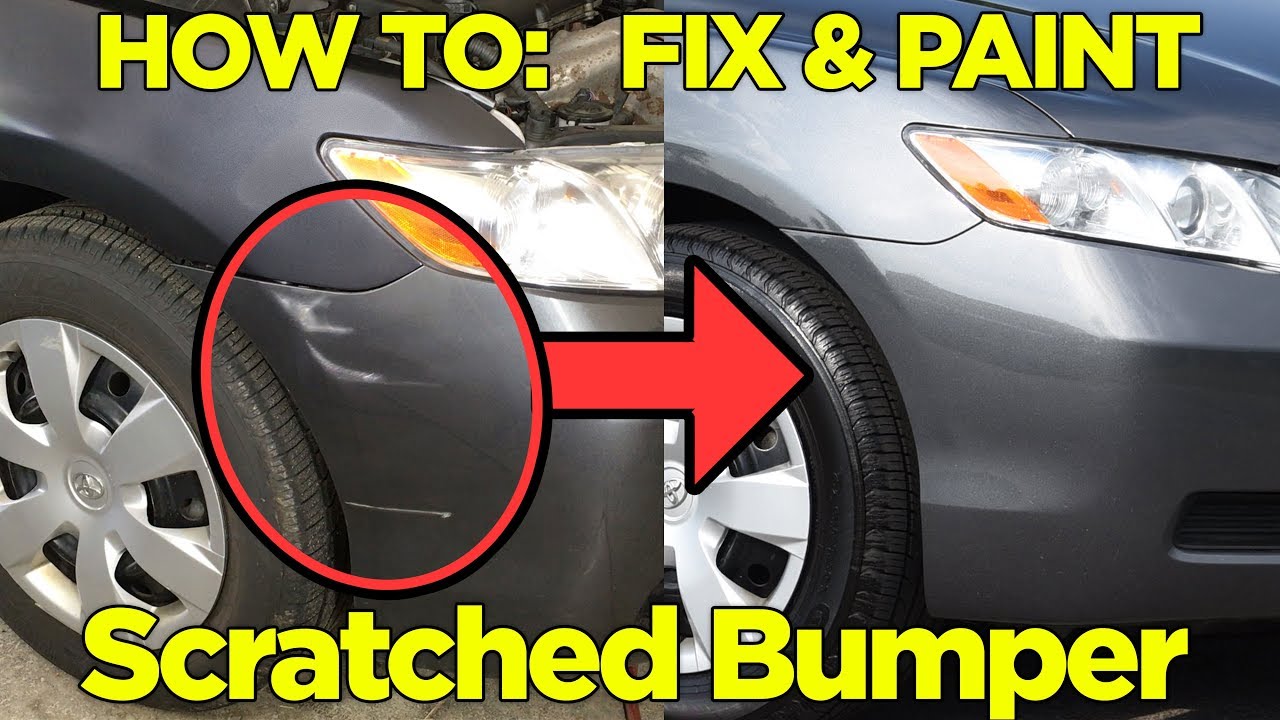
Scratch Repair On Plastic Bumper
Scratches on your plastic bumper are unsightly blemishes that can detract from your vehicle's overall appearance. While a professional repair is always an option, many minor scratches can be effectively addressed at home with the right tools and techniques. This guide provides a comprehensive, step-by-step approach to repairing scratches on plastic bumpers, helping you restore your car's aesthetics and potentially save money.
Understanding the Types of Scratches
Before diving into the repair process, it's crucial to identify the type of scratch you're dealing with. This will determine the most appropriate repair method.
- Clear Coat Scratches: These are superficial scratches that only affect the clear coat layer of the paint. They often appear as light swirls or haze.
- Paint Scratches: These scratches penetrate the clear coat and reach the paint layer. They're usually more visible than clear coat scratches and may expose the color of the underlying paint.
- Deep Scratches: These are the most severe type, extending through the paint and into the plastic bumper itself. They may appear white or gray and require more extensive repair.
A simple test to differentiate between these is the "fingernail test." Gently run your fingernail across the scratch. If your nail catches on the scratch, it's likely a paint or deep scratch. If your nail glides smoothly, it's probably a clear coat scratch.
Tools and Materials You'll Need
Having the right tools and materials is essential for a successful scratch repair. Here's a comprehensive list:
- Automotive Soap and Water: For cleaning the bumper.
- Microfiber Towels: For cleaning and drying the surface.
- Wax and Grease Remover: To eliminate contaminants that can interfere with the repair.
- Sandpaper (Various Grits): Typically starting with 400 grit for heavier scratches, then progressing to 800, 1000, 1500, 2000, and even 3000 grit for blending.
- Sanding Block: Provides a flat, even surface for sanding.
- Body Filler (for Deep Scratches): A two-part epoxy filler specifically designed for automotive plastic.
- Filler Spreader: For applying body filler smoothly.
- Primer (if using Body Filler): A spray-on primer to create a smooth base for paint.
- Automotive Paint (Matching Your Car's Color): Obtain the correct paint code from your car's manufacturer (usually found on a sticker in the doorjamb or glove compartment).
- Clear Coat Spray: To protect the paint and provide a glossy finish.
- Rubbing Compound: For leveling the repaired area and removing sanding marks.
- Polishing Compound: For refining the finish and restoring shine.
- Polishing Pads: For applying rubbing and polishing compounds (foam pads are recommended).
- Buffing Machine (Optional): Speeds up the polishing process.
- Masking Tape and Paper: To protect surrounding areas from sanding and paint.
- Safety Glasses and Gloves: For personal protection.
- Tack Cloth: To remove dust before painting.
Step-by-Step Repair Process
Follow these steps carefully for optimal results. Remember to work in a well-ventilated area.
1. Cleaning the Area
Thoroughly clean the bumper with automotive soap and water. Rinse well and dry with a microfiber towel. Then, use wax and grease remover to eliminate any remaining contaminants. This ensures proper adhesion of the repair materials.
2. Sanding the Scratch
This step is crucial for removing the scratch and creating a smooth surface. Choose the appropriate sandpaper grit based on the severity of the scratch.
- Clear Coat Scratches: Start with 2000 or 3000 grit sandpaper.
- Paint Scratches: Start with 1000 or 1500 grit sandpaper.
- Deep Scratches: Start with 400 or 600 grit sandpaper.
Wet sand the area using a sanding block. Keep the sandpaper and the surface wet to prevent clogging and reduce heat. Sand in a back-and-forth motion, following the contours of the bumper. Gradually increase the sandpaper grit to refine the surface. For example, if you start with 400 grit, move to 800, then 1000, and so on.
3. Repairing Deep Scratches with Body Filler (If Applicable)
If the scratch is deep, you'll need to use body filler. Mix the body filler according to the manufacturer's instructions. Apply a thin, even layer of filler over the scratch using a filler spreader. Allow the filler to dry completely.
Once dry, sand the filler to match the contour of the bumper. Start with a coarser grit sandpaper (e.g., 400 grit) and gradually increase the grit to refine the surface. Feather the edges of the filled area to blend seamlessly with the surrounding paint.
4. Applying Primer (If Using Body Filler)
If you used body filler, apply a thin, even coat of automotive primer to the repaired area. This will create a smooth base for the paint. Allow the primer to dry completely according to the manufacturer's instructions. Lightly sand the primed area with fine-grit sandpaper (e.g., 600 grit) to remove any imperfections.
5. Painting the Repaired Area
Before painting, mask off the surrounding area with masking tape and paper to protect it from overspray. Apply several thin coats of automotive paint, allowing each coat to dry completely before applying the next. Avoid applying thick coats, as this can lead to runs and drips.
Hold the spray can approximately 8-10 inches from the surface and use a smooth, even motion. Overlap each pass slightly to ensure complete coverage.
6. Applying Clear Coat
After the paint has dried completely, apply several thin coats of clear coat. This will protect the paint and provide a glossy finish. Follow the same application technique as with the paint.
7. Wet Sanding (After Clear Coat)
After the clear coat has dried thoroughly (usually 24-48 hours), you may need to wet sand again to remove any imperfections such as orange peel texture or dust particles. Use very fine grit sandpaper (e.g., 2000 or 3000 grit) and plenty of water. Be gentle and avoid sanding through the clear coat.
8. Rubbing Compound
Apply rubbing compound to the repaired area using a polishing pad. This will level the repaired area and remove any remaining sanding marks. Use a buffing machine for faster results, but be careful not to overheat the paint. If you're using a machine, keep it moving and apply light pressure.
9. Polishing Compound
Apply polishing compound to the repaired area using a clean polishing pad. This will refine the finish and restore shine. Again, use a buffing machine for faster results, or apply by hand.
10. Waxing (Optional)
After polishing, you can apply a coat of wax to protect the paint and enhance the shine. Use a high-quality automotive wax and apply it according to the manufacturer's instructions.
Important Considerations
- Color Matching: Achieving a perfect color match can be challenging. Take your car to an automotive paint supplier for professional color matching. They can create a custom paint blend that matches your car's exact color.
- Weather Conditions: Avoid painting in direct sunlight or extreme temperatures. Ideal painting conditions are between 65 and 80 degrees Fahrenheit.
- Patience: Scratch repair requires patience and attention to detail. Don't rush the process, and take your time to ensure a high-quality result.
- Practice: If you're new to automotive paint repair, consider practicing on a scrap piece of plastic before working on your bumper.
When to Seek Professional Help
While this guide provides a comprehensive approach to repairing scratches on plastic bumpers, some repairs are best left to professionals. Consider seeking professional help if:
- The damage is extensive or involves structural damage to the bumper.
- You're not comfortable with the repair process.
- You're unable to achieve a satisfactory result.
A professional auto body shop has the expertise, tools, and materials to perform complex repairs and ensure a flawless finish.
Conclusion
Repairing scratches on your plastic bumper is a manageable DIY project that can save you money and restore your car's appearance. By understanding the type of scratch, using the right tools and materials, and following these step-by-step instructions, you can achieve professional-looking results. Remember to take your time, be patient, and don't hesitate to seek professional help if needed. With a little effort, you can eliminate those unsightly blemishes and keep your car looking its best. Properly addressing scratch repair on a plastic bumper enhances vehicle appeal and maintains its value. Regular maintenance and prompt attention to scratches prevent further damage and costly repairs down the line. By following these expert tips, you can achieve a professional-quality finish and keep your bumper looking its best for years to come. Remember to prioritize safety first and always wear appropriate protective gear throughout the repair process.