Scratched Plastic Bumper Repair
The bane of every car owner's existence: the dreaded scratch on the plastic bumper. Whether it’s a careless driver in a parking lot, a rogue shopping cart, or even just debris kicked up from the road, a scratched bumper can instantly detract from your vehicle's appearance. Fortunately, repairing these imperfections is often within reach, even for the DIY enthusiast. Let's dive into the world of plastic bumper repair, exploring the techniques, tools, and considerations involved in restoring your car's pristine look.
Understanding Plastic Bumper Construction
Modern car bumpers are primarily made of various types of plastic polymers, offering a blend of impact resistance, flexibility, and weight reduction compared to their metal predecessors. Common materials include polypropylene (PP), polyurethane (PU), and thermoplastic olefin (TPO). Each material possesses unique properties that affect the repair process.
Identifying the specific plastic type is crucial for selecting the appropriate repair methods and materials. Often, the plastic type is stamped on the inside of the bumper. Understanding the material allows for proper bonding and prevents future failures. For instance, polypropylene requires specialized adhesives designed specifically for its low surface energy.
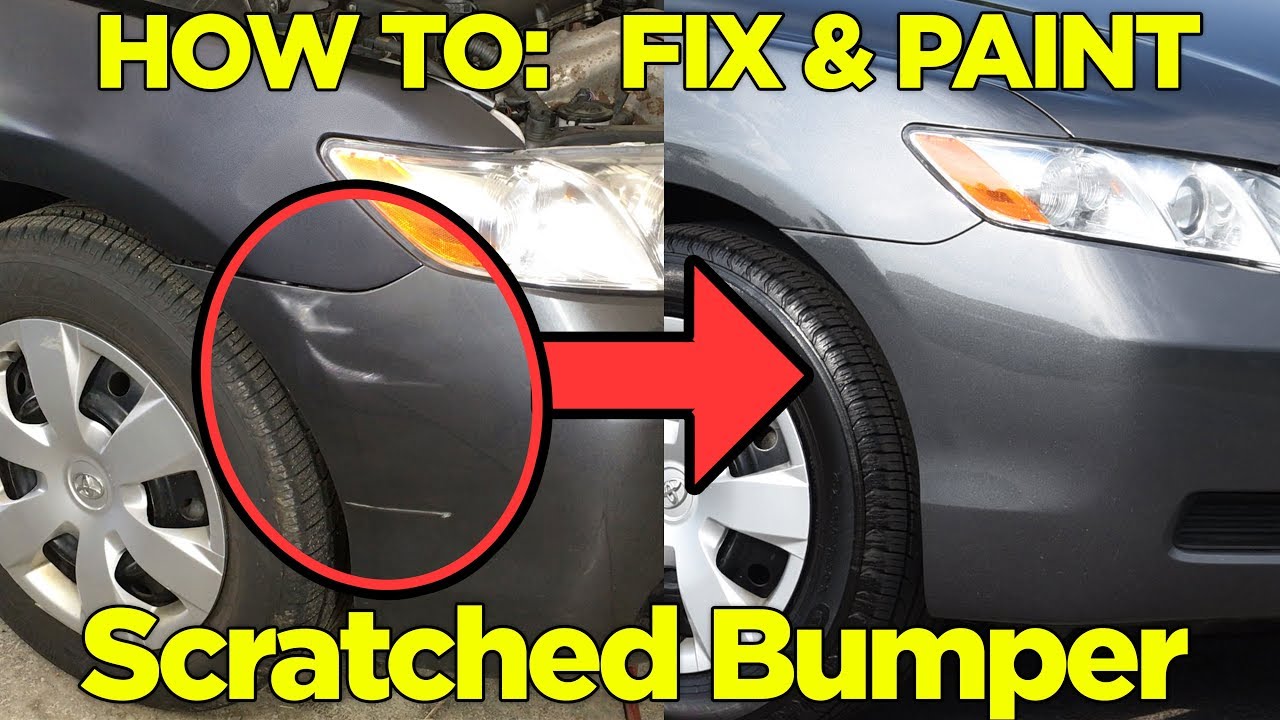
Assessing the Damage
Before embarking on any repair, a thorough assessment of the damage is essential. Scratches can range from superficial surface blemishes to deep gouges that penetrate the plastic. Cracks, tears, and even deformation of the bumper's structure may also be present. The severity of the damage will dictate the complexity of the repair and the tools required.
Surface scratches often involve only the clear coat or the paint layer. These are typically the easiest to repair. Deeper scratches that expose the underlying plastic require more extensive treatment. Cracks and tears demand structural repair techniques, such as plastic welding or reinforcement with fiberglass mesh.
DIY Repair Options: From Minor Scratches to More Complex Fixes
Minor Scratch Removal: The Detailing Approach
Superficial scratches that haven't penetrated the clear coat can often be addressed with basic detailing techniques. This typically involves cleaning the area, using a rubbing compound to level the scratch, polishing to restore shine, and applying a protective wax or sealant.
Begin by thoroughly cleaning the affected area with soap and water to remove any dirt or debris. Next, apply a small amount of rubbing compound to a microfiber cloth and gently buff the scratch in a circular motion. Follow this with polishing compound to refine the finish. Finally, apply a wax or sealant to protect the repaired area and restore its luster. Remember to always test products in an inconspicuous area first.
Deeper Scratch Repair: Filling and Painting
When scratches penetrate the paint layer and expose the underlying plastic, a more involved repair process is necessary. This typically involves filling the scratch with a plastic filler, sanding it smooth, priming, and repainting.
First, clean and degrease the area. Apply a thin layer of plastic filler, ensuring it completely fills the scratch. Allow the filler to dry according to the manufacturer's instructions. Once dry, sand the filler smooth, starting with a coarser grit sandpaper (e.g., 320 grit) and gradually moving to finer grits (e.g., 600 grit) to achieve a seamless blend with the surrounding surface. Next, apply several thin coats of primer, allowing each coat to dry before applying the next. Finally, apply several thin coats of automotive paint that matches your vehicle's color code, followed by a clear coat for protection and shine.
Repairing Cracks and Tears: Plastic Welding and Reinforcement
Cracked or torn bumpers require structural repair techniques to restore their integrity. Plastic welding involves melting the plastic together to create a strong bond. Reinforcement with fiberglass mesh can further strengthen the repair.
Plastic welding requires a specialized plastic welder. The process involves heating the edges of the crack and fusing them together. For added strength, a plastic welding rod of the same material as the bumper can be used to fill the crack. Reinforcing the back of the bumper with fiberglass mesh and epoxy resin can provide additional support and prevent future cracking. Remember to always wear appropriate safety gear, including a respirator and eye protection, when working with plastic welding equipment and epoxy resins.
Tools and Materials You'll Need
Successfully repairing a plastic bumper requires the right tools and materials. Here's a list of essential items:
- Cleaning Supplies: Soap, water, degreaser, microfiber cloths
- Sanding Materials: Various grits of sandpaper (e.g., 320, 600, 800, 1000, 2000 grit), sanding block
- Filling Materials: Plastic filler, putty knife
- Painting Supplies: Automotive primer, automotive paint (matching vehicle color code), clear coat, spray gun (optional), masking tape, plastic sheeting
- Plastic Welding Equipment (for cracks and tears): Plastic welder, plastic welding rods, fiberglass mesh, epoxy resin, respirator, eye protection
- Safety Gear: Gloves, safety glasses, respirator
- Polishing Supplies: Rubbing compound, polishing compound, polishing pads, buffer (optional)
Professional Repair vs. DIY: Knowing Your Limits
While many bumper scratches and minor damage can be repaired at home, there are situations where professional repair is the best option. Extensive damage, structural deformation, or the need for precise color matching often warrant professional attention. Furthermore, attempting a repair beyond your skill level can potentially worsen the damage and increase the overall repair cost.
Professional auto body shops possess specialized equipment, expertise, and access to high-quality materials. They can perform complex repairs, such as frame straightening, panel replacement, and advanced paint matching techniques. If you're unsure about your ability to perform a repair safely and effectively, it's always best to consult with a qualified professional.
The Cost of Repair: DIY vs. Professional
The cost of repairing a scratched plastic bumper can vary significantly depending on the severity of the damage, the repair method used, and whether you choose to do it yourself or hire a professional. DIY repairs can be relatively inexpensive, costing anywhere from $50 to $200 for materials. Professional repairs, on the other hand, can range from $300 to $1000 or more, depending on the extent of the damage and the labor rates in your area. Consider the cost of materials and your time when evaluating the DIY option. Sometimes, the peace of mind and guarantee of a professional repair is worth the added expense.
Preventative Measures: Protecting Your Bumper
While accidents happen, there are several steps you can take to minimize the risk of bumper damage. Parking defensively, avoiding tight spaces, and being mindful of your surroundings can help prevent parking lot mishaps. Consider installing bumper protectors or parking sensors to provide added protection. Regular washing and waxing can also help protect the bumper's paint from scratches and fading.
Conclusion
Repairing a scratched plastic bumper is a common task for car owners. Understanding the type of plastic, assessing the damage accurately, and selecting the appropriate repair method are key to achieving a successful outcome. Whether you choose the DIY route or opt for professional repair, taking care of your bumper will help maintain your vehicle's appearance and value. Remember to always prioritize safety and consult with a professional when in doubt. By following these guidelines, you can restore your car's bumper to its former glory and keep it looking its best for years to come. The information in this article is for educational purposes only and does not constitute professional advice. Always consult with a qualified professional before attempting any automotive repairs.