Scuffed Plastic Bumper Repair
The humble plastic bumper, often derided and overlooked, is a modern marvel of engineering and material science. While seemingly simple, its ability to absorb impacts, conform to complex aerodynamic shapes, and withstand the elements makes it a crucial component of modern vehicle safety and aesthetics. Unfortunately, being the outermost layer, bumpers are also prone to scuffs, scratches, and minor damage. Repairing these imperfections isn't just about aesthetics; it's about maintaining the bumper's structural integrity and preventing further degradation. This guide delves into the techniques and understanding required to effectively repair a scuffed plastic bumper.
Understanding the Enemy: Plastic Types and Damage Assessment
Before diving into repairs, it’s crucial to understand the material you're working with. Automotive bumpers are typically made from various types of thermoplastics, each with unique properties. The most common are:
- Polypropylene (PP): Known for its flexibility, chemical resistance, and low cost. Often found in lower-end vehicles.
- Polyurethane (PUR): Offers excellent impact resistance and durability. Common in performance vehicles.
- Thermoplastic Olefin (TPO): A blend of polymers offering a balance of flexibility, impact resistance, and paintability. Widely used in modern vehicles.
Identifying the plastic type is essential for selecting the correct repair materials and techniques. Many bumpers have a material identification stamp molded on the inside. If not, a general rule of thumb is that more flexible bumpers are likely PP or TPO, while stiffer ones might be PUR.
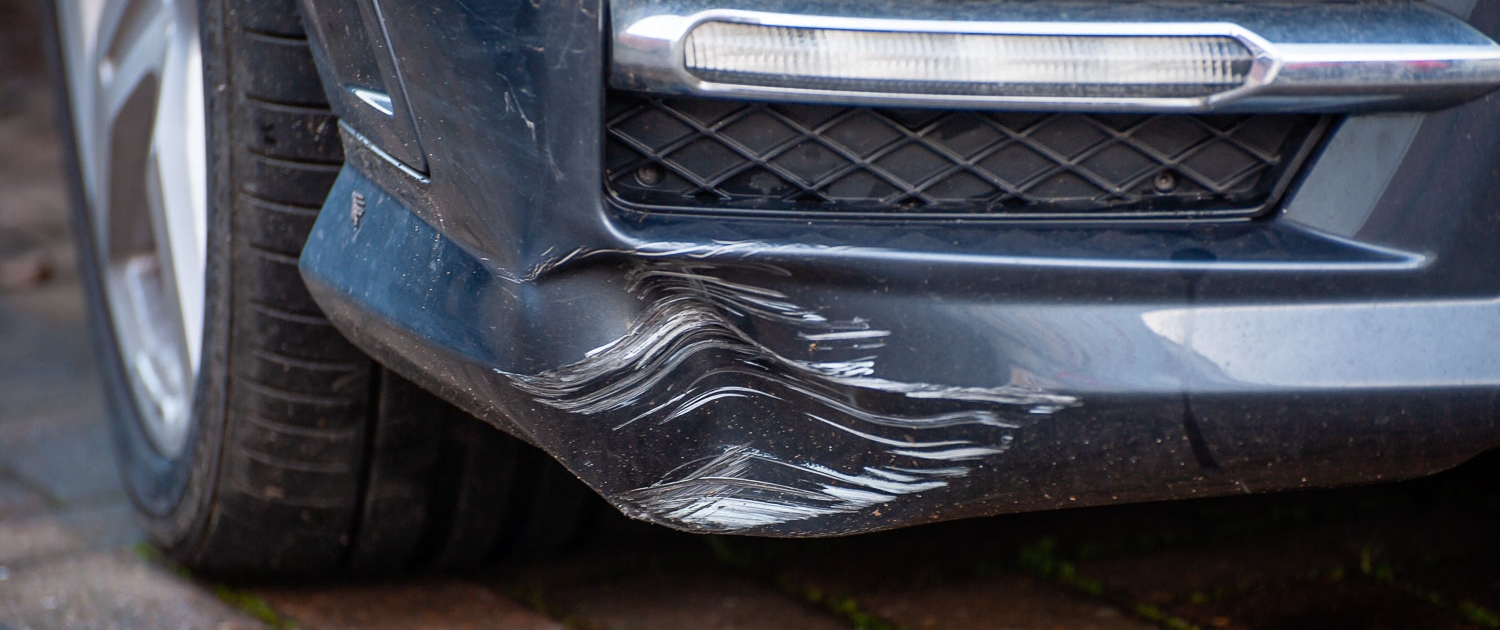
Next, assess the severity of the scuff. Is it just a surface scratch in the paint, or has the plastic itself been gouged? A minor scuff involving only the paint layers requires a simpler repair process than a deep gouge that compromises the plastic's structure. Look for:
- Surface scratches: Affect only the clear coat and/or paint layers.
- Deeper scratches: Penetrate the paint and into the plastic, but don't significantly deform the plastic.
- Gouges: Remove material from the plastic, creating a noticeable depression.
- Cracks: Indicate significant impact and potential structural weakness. Requires more extensive repair or replacement.
For this guide, we'll focus on repairing deeper scratches and minor gouges. More extensive damage like cracks or significant deformation warrants professional repair.
The Arsenal: Tools and Materials
Successful bumper repair hinges on having the right tools and materials. Here's a comprehensive list:
- Cleaning Supplies: Degreaser, wax and grease remover, microfiber cloths.
- Sandpaper: Various grits (180, 320, 400, 600, 800, 1000, 2000). Wet/dry sandpaper is preferred.
- Sanding Block: Provides a flat, even surface for sanding.
- Body Filler (Plastic Specific): Formulated for bonding to plastic. Epoxy-based fillers offer superior adhesion and strength.
- Plastic Adhesion Promoter: Essential for ensuring proper paint adhesion to the repaired area.
- Primer: Automotive-grade primer compatible with plastic.
- Paint: Automotive-grade paint matched to your vehicle's color code. Consult a professional auto paint supplier for accurate color matching.
- Base Coat: Provides the color.
- Clear Coat: Protects the base coat and adds gloss.
- Spray Gun or Aerosol Cans: For applying primer, base coat, and clear coat. A spray gun provides more control and a finer finish.
- Tack Cloth: For removing dust and contaminants before painting.
- Masking Tape and Paper: To protect surrounding areas from overspray.
- Safety Gear: Eye protection, respirator, gloves.
- Heat Gun (Optional): Can be used to soften the plastic slightly, aiding in shaping and filler adhesion. Use with extreme caution to avoid overheating and damaging the plastic.
The Procedure: A Step-by-Step Guide
Now, let’s break down the repair process:
1. Cleaning and Preparation
Thorough cleaning is paramount. Begin by washing the bumper with soap and water to remove dirt and grime. Then, use a degreaser to eliminate any oil or grease. Finally, wipe down the area with wax and grease remover to ensure a pristine surface for adhesion.
2. Sanding
Sanding is crucial for creating a smooth surface and providing "tooth" for the body filler to grip. Start with a coarser grit sandpaper (180-320) to feather the edges of the scuff and remove any loose plastic. Use a sanding block to maintain a flat surface and prevent creating low spots. Gradually increase the grit (400, 600) to refine the surface. If the scratch is deep, sand until the edges of the scratch are blended into the surrounding area. Wet sanding (using water as a lubricant) is recommended for finer grits to minimize scratches and dust.
3. Body Filler Application
Mix the body filler according to the manufacturer's instructions. Typically, this involves combining the filler with a hardener. Apply a thin, even layer of filler to the sanded area, slightly overfilling the depression. Work quickly, as the filler will begin to harden. Allow the filler to cure completely, as specified by the manufacturer.
4. Sanding the Filler
Once the filler is cured, begin sanding it down to match the contour of the bumper. Start with a coarser grit sandpaper (180-320) to remove the bulk of the excess filler. Use a sanding block to maintain the shape of the bumper. Gradually increase the grit (400, 600) to refine the surface. Pay close attention to blending the edges of the filled area into the surrounding bumper. The goal is to create a seamless transition.
5. Fine Sanding and Feathering
Continue sanding with finer grits (800, 1000) to remove any remaining imperfections and feather the edges of the repaired area even further. Wet sanding is highly recommended at this stage to achieve a smooth, flawless surface. The smoother the surface now, the better the final paint finish will be. 2000 grit can be used for final wet sanding before primer.
6. Masking
Carefully mask off the surrounding area using masking tape and paper. Protect any surfaces that you don't want to be painted. Pay close attention to sharp edges and corners, ensuring a clean, crisp line.
7. Adhesion Promoter and Primer
Apply a plastic adhesion promoter to the repaired area. This is essential for ensuring proper paint adhesion to the plastic. Follow the manufacturer's instructions for application and drying time. Next, apply several thin coats of automotive-grade primer to the repaired area. Allow each coat to dry completely before applying the next. The primer provides a uniform surface for the paint to adhere to.
8. Sanding the Primer
Once the primer is dry, lightly sand it with fine-grit sandpaper (600-800) to remove any imperfections and create a smooth surface for the paint. Wet sanding is recommended. Be careful not to sand through the primer. Clean the area with a tack cloth to remove any dust.
9. Painting
Apply several thin coats of automotive-grade base coat to the primed area. Allow each coat to dry completely before applying the next. Follow the paint manufacturer's instructions for application and drying time. The base coat provides the color. Once the base coat is dry, apply several thin coats of automotive-grade clear coat to protect the base coat and add gloss. Allow each coat to dry completely before applying the next.
10. Polishing (Optional)
After the clear coat has fully cured (typically 24-48 hours), you can polish the repaired area to further enhance the gloss and remove any minor imperfections, such as orange peel. Use a polishing compound and a polishing pad on a rotary or dual-action polisher. Follow the manufacturer's instructions for the polishing compound and polisher.
Considerations and Cautions
- Color Matching: Accurate color matching is critical for a seamless repair. Consult a professional auto paint supplier for assistance with color matching. They can use a spectrophotometer to analyze your vehicle's paint and create a custom-matched paint.
- Environmental Conditions: Paint in a well-ventilated area, free from dust and debris. Ideal temperatures are between 60-80°F (15-27°C). Avoid painting in direct sunlight or high humidity.
- Safety Precautions: Always wear eye protection, a respirator, and gloves when working with chemicals and sanding.
- Practice Makes Perfect: If you're new to auto body repair, practice on a scrap piece of plastic before tackling your bumper.
Repairing a scuffed plastic bumper requires patience, attention to detail, and a methodical approach. By understanding the materials, techniques, and potential pitfalls, you can achieve a professional-looking repair that restores your bumper's aesthetics and protects its structural integrity. While this guide provides a comprehensive overview, remember that more extensive damage should be entrusted to qualified professionals.