Side Rear View Mirror Camera
Alright, let's dive into the world of side rear-view mirror cameras – a technology gaining traction in aftermarket modifications and finding its way into more new vehicles. We're not just talking about a simple backup camera relocated; this is a system designed to enhance situational awareness and address limitations inherent in traditional mirrors.
The Case for Camera-Based Side Mirrors
Before we get into the nitty-gritty, let's understand why you'd consider this upgrade. Conventional side mirrors, despite advancements in design, suffer from some fundamental drawbacks:
- Blind Spots: The area around the rear quarter panel is notoriously difficult to cover with mirrors, leading to potential hazards.
- Glare: Headlights at night, especially from SUVs and trucks, can create intense glare, impairing visibility.
- Aerodynamic Drag: Even streamlined mirrors add to aerodynamic drag, impacting fuel efficiency, albeit subtly.
- Limited Field of View: Standard mirrors have a fixed field of view, sometimes insufficient for complex driving situations.
Camera-based systems aim to mitigate these issues. They offer wider viewing angles, can digitally reduce glare, and, with clever integration, can improve aerodynamic performance. Plus, they can be integrated with other advanced driver-assistance systems (ADAS) features.
The Anatomy of a Side Rear View Mirror Camera System
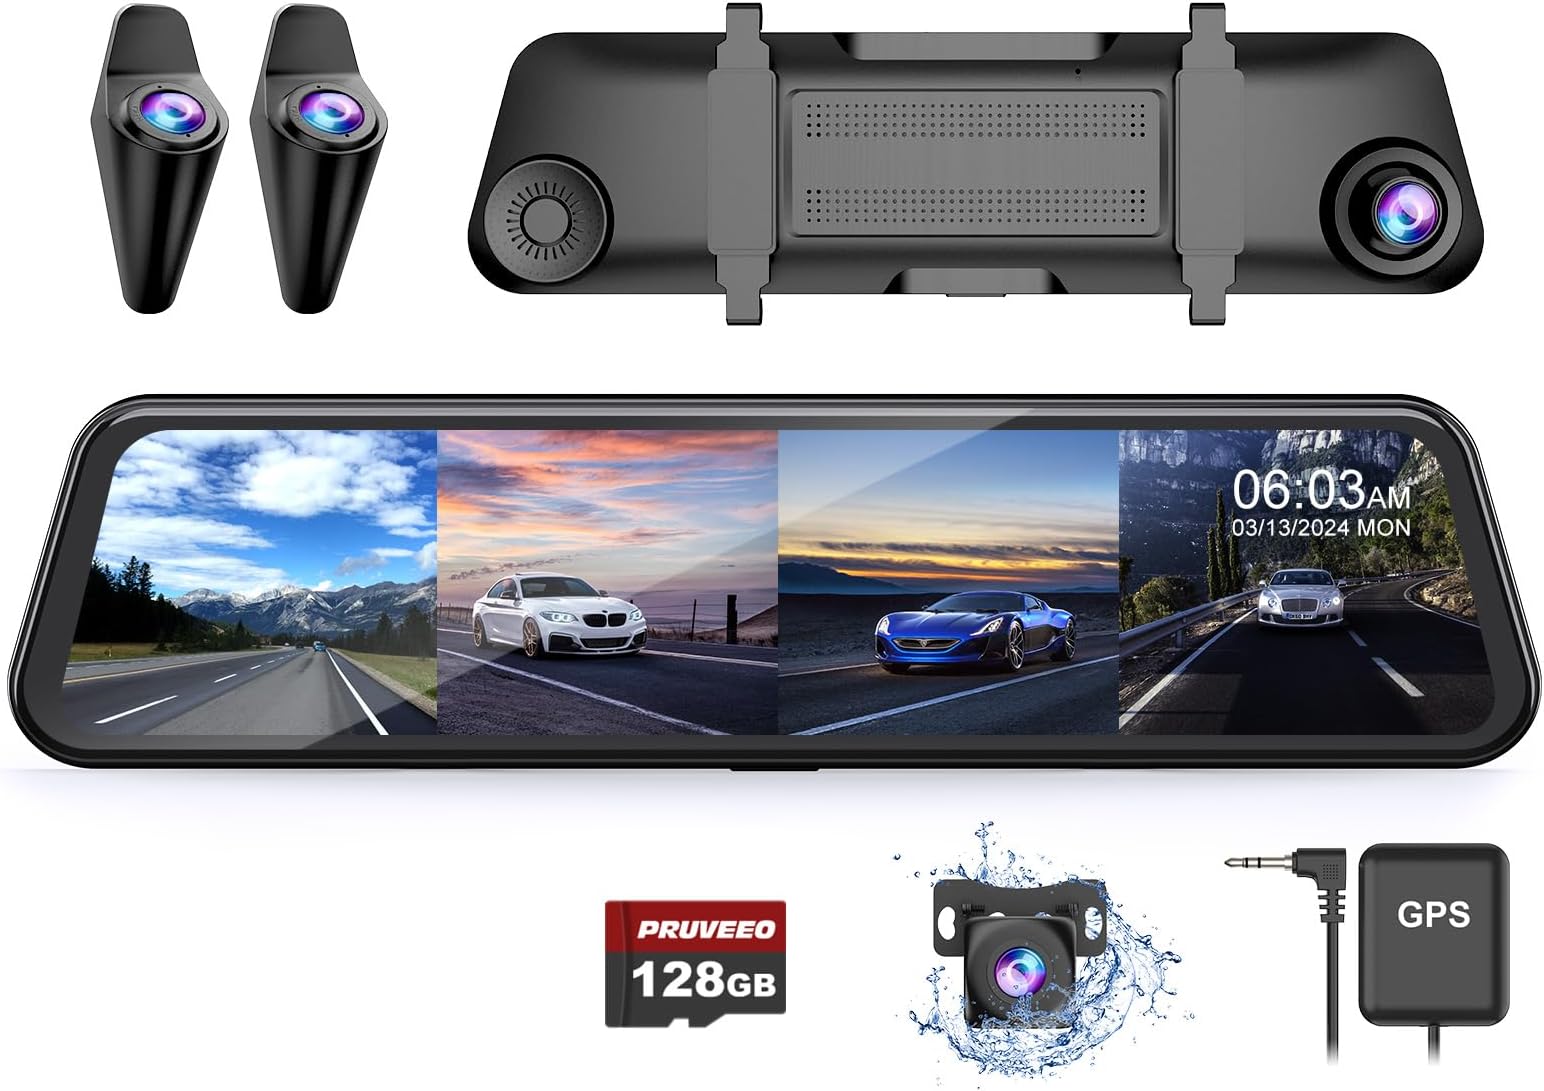
A typical system consists of these key components:
1. Cameras
The heart of the system. These are usually small, high-resolution cameras mounted where the side mirrors traditionally sit. They're often housed in aerodynamic enclosures designed to minimize drag. Key specifications to look for include:
- Resolution: Measured in pixels (e.g., 1920x1080). Higher resolution means a sharper, more detailed image. A minimum of 720p (1280x720) is recommended for decent clarity, but 1080p is preferable.
- Frame Rate: Measured in frames per second (FPS). A higher FPS results in smoother video, crucial for perceiving motion accurately. Aim for at least 30 FPS.
- Lens Angle (Field of View): Expressed in degrees. Wider angles provide a more comprehensive view of the surroundings. 120-150 degrees is a common range.
- Low-Light Performance (Lux Rating): Indicates the camera's ability to capture images in dimly lit conditions. Lower lux numbers are better (e.g., 0.1 lux is better than 1 lux).
- Weather Resistance: Crucial for outdoor use. Look for an IP (Ingress Protection) rating. IP67 or higher indicates good protection against dust and water.
Important note: The camera's sensor type (e.g., CMOS or CCD) also impacts image quality, particularly in low light. CMOS sensors are more common due to their lower power consumption and cost, but CCD sensors can sometimes offer better dynamic range.
2. Displays
These are the screens that replace the mirrors. They're usually LCD or OLED panels, often integrated into the A-pillars (the pillars between the windshield and the front side windows) or the dashboard. Considerations here include:
- Size: Determines how much visual information can be presented at once. Consider the distance from the driver's eye and the overall ergonomics.
- Resolution: Matches the camera resolution for optimal image clarity. A mismatch can lead to pixelation or blurry images.
- Brightness and Contrast Ratio: Essential for visibility in varying lighting conditions. High brightness is important for daytime viewing, while a good contrast ratio enhances image detail.
- Response Time: Measured in milliseconds (ms). A lower response time minimizes motion blur, making the displayed video feel more real-time.
- Viewing Angle: The angle at which the display can be viewed without significant color distortion or brightness loss.
3. Processor and Control Unit
This is the brains of the system. It processes the video feed from the cameras, performs any necessary image correction (e.g., distortion correction, glare reduction), and manages the display outputs. This unit often handles features like:
- Image Stitching/Blending: If multiple cameras are used, the processor seamlessly stitches their images together to create a wider panoramic view.
- Dynamic Range Adjustment: Balances the brightness levels across the image to improve visibility in high-contrast scenes (e.g., bright sunlight and dark shadows).
- Glare Reduction: Uses algorithms to minimize the impact of headlight glare at night.
- Object Detection and Alerting: Some systems can detect objects in the blind spot and provide visual or audible alerts. This is often integrated with existing ADAS features.
- CAN Bus Integration: Advanced systems can integrate with the vehicle's CAN (Controller Area Network) bus to access information like speed, turn signal status, and steering angle, enabling more sophisticated features.
4. Wiring and Connections
This is the often-overlooked but crucial part of the system. High-quality wiring is essential for reliable performance. Key considerations include:
- Shielded Cables: Protect the video signal from electromagnetic interference (EMI), which can cause image noise or distortion.
- Proper Connectors: Ensure secure and weatherproof connections. Automotive-grade connectors are highly recommended.
- Adequate Power Supply: The system needs a stable and sufficient power supply. Connect directly to the vehicle's battery or a suitable accessory power source. Consider using a fuse for protection.
Installation Considerations
Installing a side rear view mirror camera system is not a simple plug-and-play affair. It requires a good understanding of automotive electrical systems and some fabrication skills. Here's a breakdown of the key steps:
- Mirror Removal and Camera Mounting: Carefully remove the existing side mirrors and determine the best mounting location for the cameras. This may involve fabricating custom brackets. Ensure the cameras are securely mounted and properly aligned.
- Wiring: Run the camera cables through the door jambs and into the vehicle's interior. This can be challenging and may require removing door panels. Ensure the wiring is protected from abrasion and secured properly.
- Display Mounting: Determine the best location for the displays and mount them securely. Consider the driver's line of sight and ergonomics.
- Processor and Control Unit Installation: Mount the processor unit in a safe and accessible location. Connect the camera cables, display cables, and power supply.
- Power Connection: Connect the system to a suitable power source, ensuring proper voltage and current. Use a fuse for protection.
- Calibration and Testing: After installation, calibrate the system to ensure proper image alignment and distortion correction. Thoroughly test the system under various driving conditions.
Safety First: Always disconnect the vehicle's battery before working on the electrical system to prevent accidental shorts or damage.
Potential Challenges and Considerations
While camera-based side mirrors offer numerous advantages, there are also some potential drawbacks to consider:
- Cost: These systems can be expensive, especially high-quality ones with advanced features.
- Complexity: Installation can be complex and time-consuming, requiring specialized knowledge and tools.
- Reliability: Like any electronic system, camera-based mirrors are susceptible to failure. Choose reputable brands with good warranties.
- Image Quality: Poor image quality, especially in low light or adverse weather conditions, can negate the benefits of the system.
- Legality: While increasingly common in new vehicles, aftermarket installations may not be legal in all jurisdictions. Check your local laws and regulations.
- Habituation: It can take some time to adjust to viewing images on a screen instead of directly through a mirror.
Conclusion
Side rear view mirror cameras represent a significant advancement in automotive safety and convenience. While they are not a perfect solution and require careful consideration before installation, they offer the potential to enhance situational awareness, reduce blind spots, and improve the overall driving experience. If you're comfortable with automotive electrical work and have a good understanding of your vehicle's systems, this could be a rewarding upgrade. Just remember to research thoroughly, choose high-quality components, and prioritize safety throughout the installation process. Good luck, and happy modding!