Tail Light Fuse Keeps Blowing
A blown tail light fuse is more than just a nuisance; it's a safety hazard that can lead to accidents and traffic tickets. When your tail light fuse keeps blowing, it's a sign of an underlying electrical problem that needs immediate attention. This article provides a practical guide for car owners and mechanics on troubleshooting, diagnosing, and fixing this common issue. We'll explore common symptoms, pinpoint potential causes, and offer real-world solutions applicable to various car models.
Understanding the Symptoms
The most obvious symptom is, of course, that your tail lights aren't working. However, sometimes the symptoms are more subtle. Here are some common indicators that your tail light fuse might be repeatedly blowing:
- Tail lights not illuminating: This is the most straightforward sign. Check both tail lights, as sometimes only one side might be affected.
- Fuse blows immediately after replacement: If you replace the fuse and it blows as soon as you turn on the lights or press the brake pedal, it indicates a significant short circuit.
- Fuse blows intermittently: This can be trickier to diagnose, as the problem might only occur under certain conditions, like when hitting a bump or after driving for a while.
- Other lights affected: Sometimes, the tail light circuit is shared with other lights, such as license plate lights or parking lights. Check if these are also malfunctioning.
- Burning smell: A burning smell, especially near the fuse box or tail light housings, can indicate overheating and a potential fire hazard. Stop using the car immediately and investigate.
Identifying the Culprit: Common Causes
Several factors can contribute to a constantly blowing tail light fuse. Here's a breakdown of the most common culprits:
1. Short Circuit in Wiring
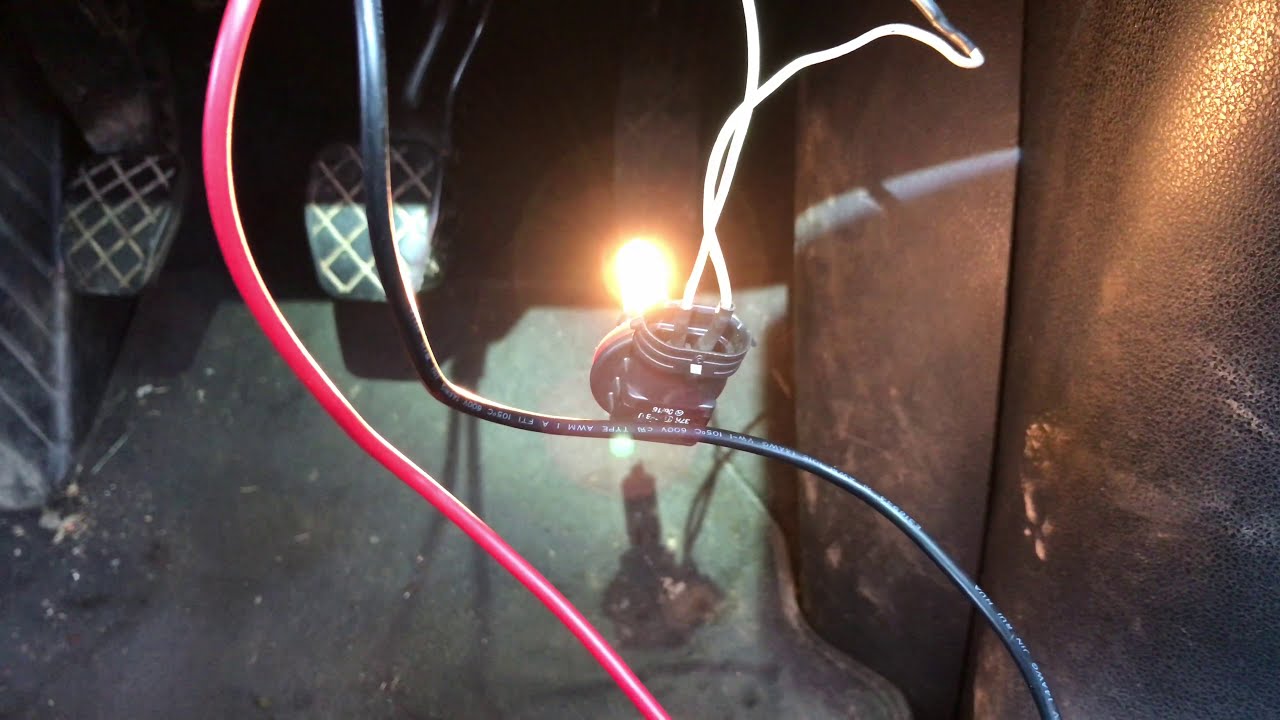
A short circuit is the most frequent cause. This occurs when the wire's insulation is damaged, allowing the wire to touch the car's metal frame, creating a direct path for electricity and overwhelming the fuse. This can happen anywhere along the circuit, from the fuse box to the tail light bulb sockets.
Example: On a 2010 Honda Civic, the wiring harness running to the tail lights is prone to chafing against the trunk hinge, causing a short circuit.
Solution: *Visual Inspection: Carefully inspect the wiring harness for any signs of damage, such as cuts, cracks, or exposed wires. Pay particular attention to areas where the harness bends or passes through metal panels. *Multimeter Test: Use a multimeter to test for continuity between the tail light circuit wire and the car's chassis ground. Disconnect the tail light bulb and use the ohmmeter function. A low resistance reading (close to zero) indicates a short circuit. *Wiring Repair: Repair any damaged wiring by splicing in new sections of wire and using heat-shrink tubing to protect the connection. If the damage is extensive, consider replacing the entire wiring harness section.
2. Faulty Tail Light Bulbs
A malfunctioning tail light bulb can also cause a fuse to blow. This is especially true with older incandescent bulbs where the filament can break and create a short.
Example: A 2005 Toyota Camry might experience bulb issues due to corrosion in the tail light socket, leading to bulb failure and potential fuse blowing.
Solution: *Visual Inspection: Examine the tail light bulbs for any signs of damage, such as a broken filament, blackened glass, or corrosion on the base. *Bulb Replacement: Replace any suspected faulty bulbs with new ones of the correct type and wattage. *Socket Cleaning: Clean the tail light bulb sockets with a wire brush and electrical contact cleaner to remove any corrosion.
3. Overloaded Circuit
If you've recently added aftermarket accessories, such as trailer lights or upgraded bulbs with higher wattage, you might be overloading the circuit beyond its intended capacity. This can cause the fuse to blow repeatedly.
Solution: *Remove Aftermarket Accessories: Disconnect any recently added accessories to see if the fuse stops blowing. *Check Wattage Ratings: Ensure that all bulbs in the tail light circuit are of the correct wattage as specified in the vehicle's owner's manual. *Use a Relay: For high-power accessories, use a relay to power them directly from the battery, rather than drawing power from the tail light circuit.
4. Moisture Intrusion
Water entering the tail light assembly can cause corrosion and short circuits. This is particularly common in areas with heavy rain or snow.
Example: On a 2012 Ford Focus, the tail light housings can develop cracks, allowing water to seep in and cause electrical problems.
Solution: *Inspect Tail Light Housings: Check the tail light housings for any cracks or leaks. *Seal or Replace Housings: Seal any cracks with silicone sealant or replace the entire tail light housing if the damage is severe. *Dry the Area: If moisture is present, dry the area thoroughly with a clean cloth or compressed air.
5. Wiring Harness Damage from Rodents
Rodents, such as mice and rats, can chew on wiring harnesses, especially in cars that are parked for extended periods. This can expose wires and cause short circuits.
Solution: *Inspect Wiring Harness: Look for signs of rodent damage, such as chewed wires or droppings near the wiring harness. *Repair or Replace Damaged Wiring: Repair any damaged wiring by splicing in new sections of wire and using heat-shrink tubing to protect the connection. In severe cases, replace the entire wiring harness section. *Rodent Prevention: Take measures to prevent rodents from entering your car, such as setting traps or using rodent repellents.
6. Faulty Brake Light Switch
Although technically part of the brake light circuit, a faulty brake light switch can sometimes affect the tail light circuit, especially if they share a common ground or wiring harness.
Solution: *Test the Brake Light Switch: Use a multimeter to test the brake light switch for proper operation. *Replace the Brake Light Switch: If the brake light switch is faulty, replace it with a new one.
Troubleshooting Steps: A Systematic Approach
Here's a step-by-step approach to troubleshoot a repeatedly blowing tail light fuse:
- Check the Fuse Box: Locate the fuse box diagram (usually in the owner's manual or on the fuse box cover) and identify the tail light fuse. Ensure it's the correct amperage rating. Replace the blown fuse with a new one of the correct rating.
- Observe the Symptoms: Carefully observe when the fuse blows. Does it blow immediately upon replacement, when you turn on the lights, or when you press the brake pedal? This observation will provide clues about the location of the problem.
- Visual Inspection: Inspect the tail light housings, bulbs, wiring harnesses, and connectors for any signs of damage, corrosion, or moisture.
- Bulb Test: Remove and inspect all tail light bulbs. Replace any that are visibly damaged or suspect.
- Wiring Harness Test: Use a multimeter to test for continuity between the tail light circuit wire and the car's chassis ground. Disconnect the tail light bulb and use the ohmmeter function. A low resistance reading indicates a short circuit. Isolate the section of the wiring harness where the short is located.
- Component Isolation: Disconnect components one at a time (e.g., tail light housings, brake light switch) to see if the fuse stops blowing. This will help you pinpoint the faulty component.
- Professional Diagnosis: If you're unable to identify the problem, consult a qualified mechanic for professional diagnosis and repair.
Real-World Examples and Fixes
Let's look at some common issues and solutions on popular car models:
- Ford F-150 (2004-2008): Known for tail light housings that crack and leak, leading to corrosion and short circuits. Solution: Replace the tail light housings and seal any cracks.
- Chevrolet Impala (2006-2013): Wiring harness chafing near the trunk lid hinge. Solution: Inspect and repair the wiring harness in that area. Secure the harness to prevent further chafing.
- Nissan Altima (2007-2012): Brake light switch failure causing intermittent fuse blowing. Solution: Test and replace the brake light switch.
- Hyundai Sonata (2011-2014): Rodent damage to the wiring harness under the car. Solution: Inspect and repair the wiring harness, and take measures to prevent rodent infestation.
Preventive Maintenance: Keeping Your Car in Top Condition
Preventive maintenance is key to avoiding electrical problems and other issues. Here are some tips for keeping your car in top condition:
- Regular Inspections: Periodically inspect your car's lights, wiring, and connectors for any signs of damage or corrosion.
- Proper Bulb Replacement: Always use the correct type and wattage bulbs for your car.
- Wiring Protection: Protect wiring harnesses from damage by securing them properly and using protective sleeves where necessary.
- Moisture Control: Keep your car clean and dry, and address any leaks promptly to prevent corrosion.
- Rodent Control: Take measures to prevent rodents from entering your car, especially if it's parked for extended periods.
- Professional Servicing: Have your car serviced regularly by a qualified mechanic who can identify and address potential problems before they become major issues.
By understanding the symptoms, causes, and troubleshooting steps for a constantly blowing tail light fuse, you can effectively diagnose and fix the problem, ensuring your safety and the safety of others on the road. Remember to prioritize safety and consult a professional if you're unsure about any aspect of the repair process. Regular maintenance and preventive measures will go a long way in keeping your car's electrical system in top condition and preventing future problems. Always disconnect the battery before working on any electrical components.