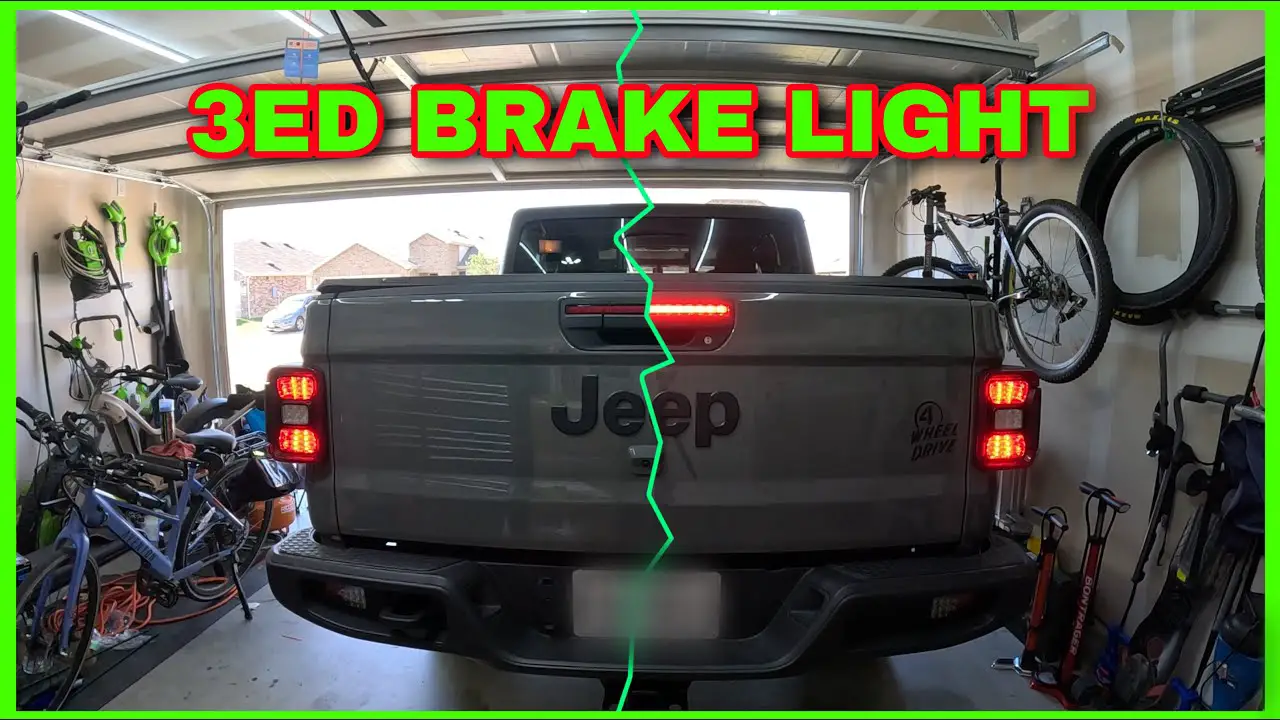
Third Brake Light Not Working
A malfunctioning third brake light, also known as the center high-mounted stop lamp (CHMSL), isn't just an annoyance; it's a safety hazard. This light provides a crucial visual cue to drivers behind you, especially in heavy traffic or poor visibility conditions. When it fails, your stopping intentions become less clear, increasing the risk of rear-end collisions. This article will provide a practical guide for car owners and mechanics to troubleshoot and repair a non-functioning third brake light.
Common Symptoms & Initial Checks
The most obvious symptom is, of course, the third brake light not illuminating when the brake pedal is depressed. However, there can be more subtle indicators:
- The third brake light is dim or flickering.
- The third brake light works intermittently.
- The third brake light triggers a warning light on the dashboard (if the car is equipped with bulb monitoring).
Before diving into complex troubleshooting, perform these simple checks:
- Visual Inspection: Check the lens for cracks or damage. Sometimes, water ingress can cause corrosion and bulb failure.
- Bulb Check: If your vehicle uses a traditional incandescent bulb, visually inspect the filament. A broken filament indicates a burned-out bulb. Note: Many newer vehicles utilize LED brake lights, which require different diagnostic approaches (see later section).
- Other Brake Lights: Confirm that the other brake lights (left and right) are functioning correctly. If none of the brake lights work, the problem likely lies with the brake light switch, a more serious issue.
Troubleshooting: Step-by-Step Approach
Once you've ruled out the obvious, a systematic troubleshooting approach is necessary. Here’s a breakdown:
1. Bulb Replacement (If Applicable)
If your vehicle uses an incandescent bulb, replacing it is the first step. Consult your owner's manual for the correct bulb type. For example, a 2010 Toyota Camry might use a 921 bulb for the CHMSL, while a 2015 Honda Civic could use a different type. Even if the filament *appears* intact, the bulb may still be faulty. It’s always best to try a new bulb.
Problem: Bulb is burned out.
Solution: Replace the bulb with the correct type. Ensure the replacement bulb is properly seated in the socket.
2. Fuse Inspection
A blown fuse is a common cause of brake light failure. Consult your owner's manual to locate the fuse specifically for the brake lights (or CHMSL if it has a dedicated fuse). Fuses are usually located in the fuse box under the dashboard or in the engine compartment.
Problem: Blown fuse.
Solution: Replace the fuse with one of the exact same amperage. A higher amperage fuse can cause electrical damage or even a fire. If the fuse blows again immediately after replacement, there's likely a short circuit somewhere in the brake light circuit.
Example: On a Ford F-150, the brake light fuse might be a 20-amp fuse located in the passenger compartment fuse panel.
3. Socket Inspection and Cleaning
Corrosion or loose connections in the bulb socket can prevent proper electrical contact. Carefully inspect the socket for signs of rust, corrosion, or damage. Use a small wire brush or electrical contact cleaner to clean the socket.
Problem: Corroded or dirty socket.
Solution: Clean the socket with electrical contact cleaner and a wire brush. Ensure the bulb fits snugly in the socket.
4. Wiring Inspection
Damaged or broken wiring is a frequent culprit, especially in areas prone to flexing or vibration (like the trunk lid hinge or near the rear window). Visually inspect the wiring harness leading to the third brake light for any signs of damage, such as cuts, abrasions, or exposed wires.
Problem: Damaged wiring.
Solution: Repair or replace the damaged wiring. Use proper wiring connectors and insulation to ensure a secure and reliable connection. A multimeter can be used to check for continuity in the wiring.
Example: On vehicles with a spoiler-mounted third brake light (like some Acura models), the wiring running through the spoiler can become brittle and crack over time due to exposure to sunlight and temperature changes.
5. Brake Light Switch Testing
The brake light switch is located near the brake pedal and activates the brake lights when the pedal is depressed. If the other brake lights are also not working, the brake light switch is a prime suspect. A multimeter can be used to test the switch for continuity. Disconnect the switch's connector and use the multimeter to check for continuity between the terminals when the brake pedal is depressed. If there is no continuity, the switch is faulty and needs to be replaced.
Problem: Faulty brake light switch.
Solution: Replace the brake light switch. The procedure varies depending on the vehicle model, but usually involves disconnecting the switch, removing it from its mounting bracket, and installing the new switch.
Example: Replacing the brake light switch on a Jeep Grand Cherokee often requires removing some of the lower dashboard trim for access.
6. Ground Connection Check
A poor ground connection can also cause brake light problems. Locate the ground wire for the third brake light and ensure it is securely attached to a clean, rust-free metal surface. Clean the contact point with a wire brush and re-tighten the ground connection.
Problem: Poor ground connection.
Solution: Clean and tighten the ground connection. Use dielectric grease to prevent future corrosion.
7. LED Third Brake Lights
Many newer vehicles use LED (Light Emitting Diode) technology for their third brake lights. Unlike incandescent bulbs, LEDs are more durable and long-lasting. However, when an LED fails, it usually requires replacing the entire LED assembly, not just a single bulb. Diagnostic procedures also differ.
LED Troubleshooting Steps:
- Visual Inspection: Check for any obvious damage to the LED assembly.
- Voltage Check: Use a multimeter to check for voltage at the connector leading to the LED assembly when the brake pedal is depressed. If there is no voltage, the problem lies upstream (fuse, wiring, or brake light switch).
- Module Testing: Some vehicles have a dedicated module that controls the LED brake lights. If voltage is present at the LED assembly connector but the light doesn't illuminate, the module may be faulty. This often requires specialized diagnostic equipment to test and may be best left to a qualified technician.
Problem: Failed LED assembly.
Solution: Replace the entire LED assembly. This can be more expensive than replacing an incandescent bulb, but LEDs typically last much longer. Make sure to source the replacement from a reputable supplier to ensure compatibility and quality.
Real-World Issues and Specific Car Models
Certain car models are known for specific third brake light problems:
- Honda Accords (2003-2007): Wiring issues in the trunk lid hinge are common, leading to intermittent or complete failure of the third brake light.
- Nissan Altimas (2007-2012): The LED third brake light assembly can fail prematurely, requiring replacement of the entire unit.
- Ford Explorers (2011-2019): Water leaks around the rear window can damage the wiring and connectors for the third brake light.
- Chevy Silverados (2014-2018): Cracked or broken lenses are a common problem, leading to water ingress and bulb failure.
Always consult repair forums and technical service bulletins (TSBs) specific to your vehicle model for known issues and recommended solutions.
Preventative Maintenance and Tips
While some issues are unavoidable, proactive maintenance can help prevent third brake light problems:
- Regular Inspections: Periodically check all your brake lights, including the third brake light, to ensure they are functioning correctly.
- Wiring Protection: Use wire loom or electrical tape to protect exposed wiring from abrasion and damage.
- Connector Care: Apply dielectric grease to electrical connectors to prevent corrosion and ensure good electrical contact.
- Address Leaks Promptly: Repair any water leaks around the rear window or trunk lid to prevent damage to wiring and connectors.
By understanding the common causes of third brake light failure and following a systematic troubleshooting approach, car owners and mechanics can diagnose and repair these issues effectively, ensuring safer driving conditions for everyone.
Conclusion
Maintaining a fully functional third brake light is a critical aspect of vehicle safety. By following the steps outlined in this article, you can effectively troubleshoot and resolve most common problems. Remember, when in doubt, consult a qualified mechanic. Keeping your vehicle in top condition not only ensures your safety but also contributes to the safety of others on the road. Regular maintenance and prompt attention to any issues will keep you driving safely and confidently. Ignoring seemingly minor problems can lead to larger, more expensive repairs down the line. Take pride in your vehicle's condition, and it will reward you with reliable and safe performance.