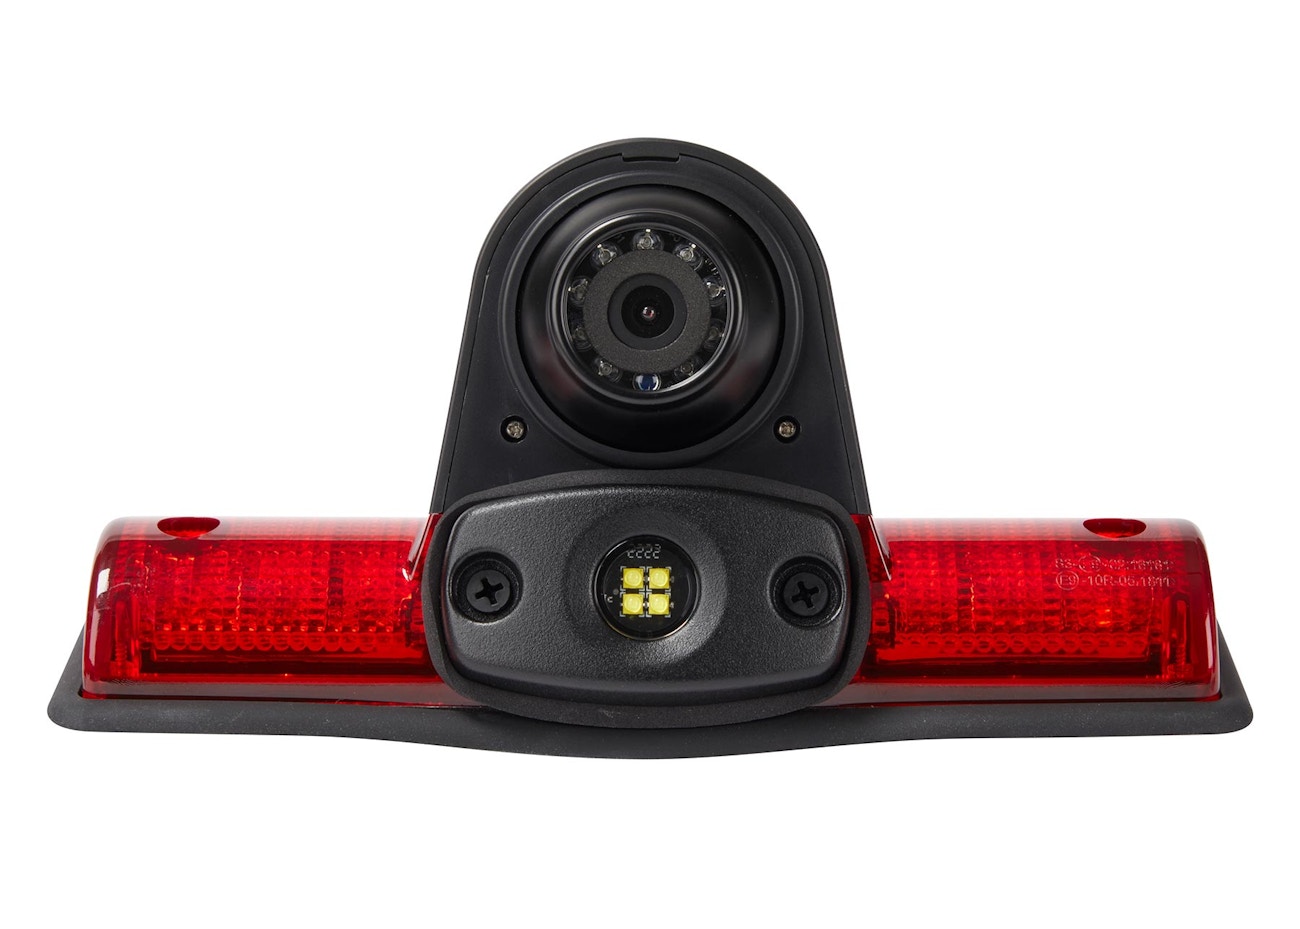
Third Brake Light With Camera
Welcome! Having trouble with your third brake light camera? You're not alone. These integrated systems, while convenient, can sometimes develop issues. This article will walk you through common problems, potential solutions, and give you an idea of what to expect if you need professional help. We'll cover everything from simple fixes you can tackle yourself to when it's time to call in the experts.
Common Problems with Third Brake Light Cameras
Before we dive into solutions, let's identify the usual suspects. Understanding the symptom is crucial for pinpointing the cause. Here are some of the most frequent complaints:
- No Image on Screen: The backup camera display is completely blank when you shift into reverse.
- Intermittent Image: The image flickers, cuts in and out, or only appears sporadically.
- Poor Image Quality: The image is blurry, distorted, or excessively dark, even in good lighting conditions.
- Static or Interference: The image is obscured by static, lines, or other forms of interference.
- Camera Angle Misalignment: The camera is pointing in the wrong direction, providing an inaccurate view.
- Water Intrusion: Moisture is visible inside the camera lens or housing, affecting image quality or causing electrical problems.
- Brake Light Malfunction: The third brake light itself isn't working (either the entire light or just sections).
Troubleshooting Steps: A DIY Approach
Let's start with some troubleshooting steps you can perform yourself. These checks can often identify simple issues and save you a trip to the mechanic.
1. Check the Basics
Never underestimate the power of a simple check! Start with these fundamentals:
- Fuse Check: Consult your vehicle's owner's manual to locate the fuse(s) related to the backup camera and/or third brake light. Use a fuse tester or visually inspect the fuse for a broken filament. A blown fuse is a common culprit and an easy fix.
- Wiring Connections: Inspect the wiring connections at the camera housing and behind the dashboard (if accessible). Look for loose connectors, corroded terminals, or damaged wires. Gently wiggle the connectors to see if the image flickers or returns.
- Lens Cleanliness: A dirty camera lens can significantly degrade image quality. Use a soft, microfiber cloth and a gentle lens cleaner to remove dirt, grime, or water spots.
- System Reset (if applicable): Some vehicles have a procedure for resetting the infotainment system or camera module. Consult your owner's manual for specific instructions.
2. Testing the Brake Light
If your third brake light isn't working, that's a clear indication of a problem that needs to be addressed. Before replacing the entire assembly, test the bulb (if it's a bulb-based system) or the LED circuit (if it's an LED unit).
Tools Needed:
- Multimeter
Procedure:
- Access the brake light wiring. This usually involves removing a trim panel inside the vehicle's cabin or accessing the wiring harness near the brake light assembly.
- Use a multimeter to check for voltage at the brake light connector when the brake pedal is pressed. You should see approximately 12 volts.
- If there's no voltage, the problem lies upstream in the wiring, brake light switch, or fuse.
- If there is voltage, the bulb (if applicable) is likely faulty and needs replacement, or the LED circuit within the assembly has failed.
3. Inspecting the Camera Wiring
The camera's wiring is vulnerable to damage from weather, road debris, and general wear and tear. A thorough inspection can reveal potential problems.
Procedure:
- Carefully inspect the wiring harness that connects the camera to the vehicle's electrical system. Look for cuts, abrasions, or signs of corrosion.
- Pay close attention to any points where the wiring is exposed to the elements or where it passes through the vehicle's body.
- If you find any damaged wiring, repair it with electrical tape, heat shrink tubing, or by replacing the damaged section of wire. Always disconnect the battery before working on electrical systems!
4. Addressing Water Intrusion
If you suspect water has entered the camera housing, you'll need to take steps to dry it out and prevent further damage.
Procedure:
- Carefully remove the camera assembly from the vehicle.
- If possible, disassemble the camera housing to allow for better airflow.
- Use a hair dryer (on a low setting) or a desiccant (like silica gel packets) to dry out the internal components.
- Reassemble the camera and seal any potential entry points with silicone sealant.
When to Seek Professional Help
While the troubleshooting steps above can resolve many common issues, some problems require specialized knowledge and equipment. Here are some situations where you should consult a qualified mechanic or automotive electrician:
- Complex Wiring Problems: If you're unable to trace the source of a wiring fault or if the wiring is extensively damaged, it's best to leave the repair to a professional.
- Internal Camera Failure: If the camera itself is faulty (e.g., a defective sensor or internal circuitry), replacement is usually the only option. Diagnosing internal failures often requires specialized tools.
- Infotainment System Issues: If the problem lies within the vehicle's infotainment system, you may need a dealer or specialist with access to diagnostic software and programming tools.
- You're Uncomfortable: If you're not comfortable working with electrical systems or disassembling vehicle components, it's always safer to seek professional assistance. Safety first!
Estimated Repair Costs
It's always a good idea to have a rough idea of potential repair costs. Keep in mind that these are estimates and can vary depending on your vehicle's make and model, the shop's labor rates, and the specific parts required.
- Fuse Replacement: $5 - $15 (DIY or minimal shop charge)
- Wiring Repair: $50 - $200 (depending on the complexity of the repair)
- Third Brake Light Assembly Replacement (with camera): $200 - $600 (including labor)
LED units tend to be more expensive than bulb-based systems.
- Camera Replacement (standalone camera): $150 - $400 (including labor)
- Infotainment System Diagnosis/Repair: $100 - $300 (or more for complex issues)
Important Note: Always get a written estimate from the repair shop before authorizing any work. This will help you avoid unexpected charges and ensure that you're comfortable with the total cost.
Preventative Maintenance Tips
Here are a few tips to help prevent future problems with your third brake light camera:
- Regular Cleaning: Keep the camera lens clean to maintain optimal image quality.
- Wiring Protection: Inspect the wiring regularly for signs of damage and repair any issues promptly.
- Avoid Pressure Washing: Avoid directing high-pressure water at the camera housing, as this can force water into the unit.
- Check Seals: Regularly inspect the seals around the camera housing to ensure they're intact and preventing water intrusion.
We hope this article has provided you with valuable information and guidance for troubleshooting your third brake light camera. Remember to prioritize safety and seek professional help when needed. Good luck!