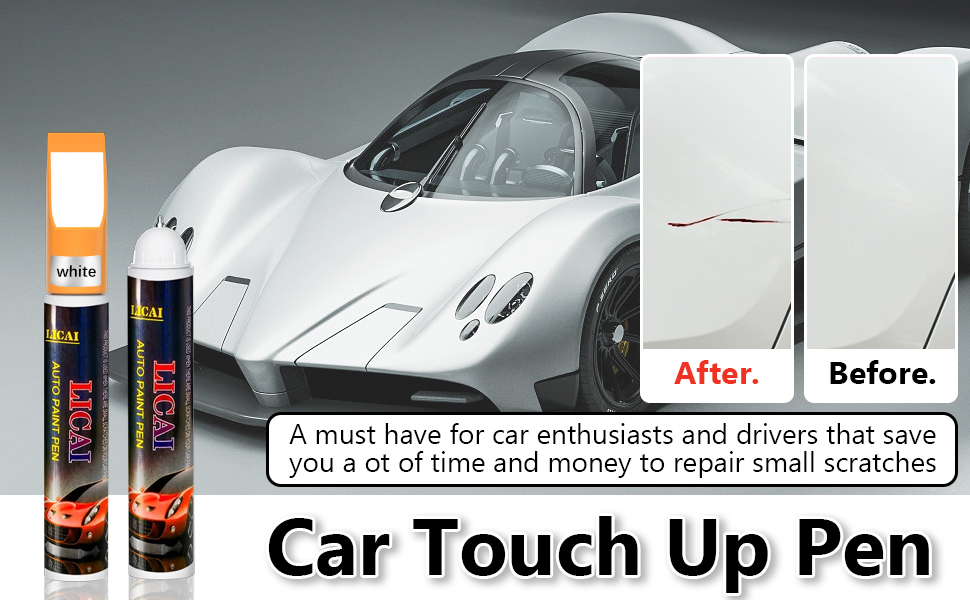
White Touch Up Paint For Car
White is a classic and incredibly popular car color, renowned for its clean aesthetic and visibility. However, even the most meticulously maintained white paint job is susceptible to chips, scratches, and other minor imperfections. Fortunately, touch-up paint provides a relatively simple and cost-effective solution for addressing these blemishes and preserving the overall appearance and value of your vehicle. This article dives deep into the world of white touch-up paint, covering everything from types and application techniques to troubleshooting common issues and ensuring a professional-looking repair.
Understanding White Automotive Paint
Before diving into touch-up, it's crucial to understand the complexities of automotive paint. What appears to be "just white" is actually a diverse spectrum of shades, each with its own unique formulation and characteristics. This is because white paints are often tinted with other colors to achieve specific effects or match a manufacturer's specific shade. Here's a breakdown of key concepts:
- Single-Stage vs. Two-Stage (Basecoat/Clearcoat): Single-stage paints, common on older vehicles, combine color and protective properties in a single application. Two-stage systems, the industry standard for modern cars, involve a pigmented basecoat providing the color, followed by a protective and glossy clearcoat. White is almost always done as a two-stage process.
- Paint Codes: Your vehicle's paint code is the key to finding the *exact* matching shade of white. This code is usually located on a sticker inside the driver's side door jamb, under the hood, or in the glove compartment. It's a combination of letters and numbers. Always use this code when ordering touch-up paint.
- Paint Chemistry: Automotive paints can be broadly categorized into lacquer, enamel, and urethane formulations. Modern cars typically use urethane-based paints due to their durability, UV resistance, and gloss retention. Understanding the underlying chemistry helps in choosing compatible touch-up products.
The variety of whites, and the need to match factory finishes is why simply grabbing the nearest can of "white" spray paint is almost always a recipe for disaster. The paint code is absolutely critical.
Types of White Touch-Up Paint
Touch-up paint comes in several forms, each with its own pros and cons:
- Touch-Up Pens: These pens feature a small brush applicator and are ideal for addressing very small chips and scratches. They are convenient and easy to use but can be challenging for larger imperfections.
- Bottled Touch-Up Paint with Brush Applicator: This is the most common type of touch-up paint. The bottle contains the paint, and a small brush is attached to the lid for application. It provides more control than pens, particularly for larger areas, but requires a steady hand.
- Aerosol Spray Cans: Spray cans are best for larger areas, such as scratches that span a significant length. They provide a more even finish than brushes, but require careful masking and technique to avoid overspray.
For white cars, consider buying a touch-up kit that includes the white paint, clearcoat, and blending solution. This ensures a better color match and a smoother, more professional-looking finish.
The Touch-Up Process: A Step-by-Step Guide
Applying touch-up paint is a multi-step process that requires patience and attention to detail. Here's a detailed guide:
- Preparation is Key: Thoroughly clean the damaged area with soap and water, then degrease it with isopropyl alcohol or a dedicated wax and grease remover. This ensures proper adhesion of the touch-up paint. Use a microfiber cloth for cleaning to prevent scratching.
- Surface Preparation (If Necessary): If the chip or scratch is deep, you may need to lightly sand the edges with fine-grit sandpaper (e.g., 2000-grit) to create a smooth transition. Be extremely careful not to sand beyond the damaged area.
- Rust Removal (If Necessary): If rust is present, it must be completely removed before applying touch-up paint. Use a small wire brush or a rust removal pen to eliminate all traces of rust. Follow up with a rust converter to prevent future corrosion.
- Apply Primer (For Deep Chips): For chips that expose bare metal, apply a thin coat of automotive primer. Allow it to dry completely according to the manufacturer's instructions. Primer promotes adhesion and prevents the paint from sinking into the imperfection.
- Apply the White Touch-Up Paint: Using the provided brush, pen, or spray can, apply thin, even coats of the white touch-up paint. Avoid applying too much paint at once, as this can lead to runs and drips. Allow each coat to dry completely before applying the next. Multiple thin coats are always better than one thick coat.
- Clearcoat Application (If Applicable): If your touch-up kit includes clearcoat, apply it after the white paint has completely dried. The clearcoat protects the color coat and adds gloss to the finish. Again, apply thin, even coats.
- Wet Sanding (Optional): Once the clearcoat is completely dry (usually 24-48 hours), you can *carefully* wet sand the area with very fine-grit sandpaper (e.g., 3000-grit) to level the touch-up paint with the surrounding surface. Use plenty of water and light pressure. This step is best left to experienced users, as it's easy to damage the surrounding paint.
- Polishing and Buffing: After wet sanding (or if you skip that step), polish and buff the area to restore the gloss and blend the touch-up paint with the surrounding finish. Use a polishing compound and a buffing pad on a rotary or dual-action polisher.
- Waxing: Finally, apply a coat of wax or sealant to protect the repaired area and enhance the shine.
Troubleshooting Common Issues
Even with careful application, you may encounter some common issues when using white touch-up paint. Here's how to troubleshoot them:
- Color Mismatch: A slight color mismatch is common, especially with older vehicles due to paint fading. Try blending the edges of the touch-up paint with a blending solution. If the mismatch is significant, you may need to have the paint professionally matched.
- Paint Runs or Drips: If you apply too much paint, it can run or drip. Allow the paint to dry completely, then carefully sand down the runs with fine-grit sandpaper. Reapply the touch-up paint in thin coats.
- Orange Peel: Orange peel is a textured surface that can occur when spraying touch-up paint. It's usually caused by improper spray technique or insufficient clearcoat. Wet sanding and polishing can often correct orange peel.
- Touch-Up Paint Sinking: This happens when the touch-up paint shrinks as it dries, leaving a depression. Apply multiple thin coats to gradually fill the imperfection.
- Bubbling: Bubbling can be caused by moisture trapped under the paint. Ensure the surface is completely dry before applying touch-up paint.
Tips for a Professional Finish
Achieving a professional-looking touch-up repair requires more than just following the steps above. Here are some additional tips:
- Work in a Well-Lit Area: Proper lighting is essential for seeing imperfections and ensuring even application.
- Maintain Proper Ventilation: Work in a well-ventilated area to avoid inhaling paint fumes.
- Use High-Quality Products: Invest in high-quality touch-up paint, clearcoat, sandpaper, and polishing compounds. Cheaper products may not provide the desired results.
- Practice on a Test Panel: Before applying touch-up paint to your car, practice on a test panel or an inconspicuous area to get a feel for the product and technique.
- Masking is Crucial: Use high-quality automotive masking tape to protect the surrounding areas from overspray.
- Take Your Time: Rushing the process will only lead to mistakes. Take your time and pay attention to detail.
- When in Doubt, Seek Professional Help: If you're not comfortable performing the touch-up repair yourself, consider taking your car to a professional auto body shop.
Special Considerations for Pearl White Paint
Pearl white paint (also known as tri-coat paint) is more complex than solid white paint because it contains tiny flakes of mica or other iridescent materials that create a shimmering effect. Repairing pearl white paint requires extra care and attention to detail.
Usually, a pearl white finish requires 3 separate steps:
- A base coat - often a specific shade of white or grey.
- A mid-coat - the pearl coat that provides the shimmering effect.
- A clear coat - to protect the finish.
When touching up pearl white, it's absolutely critical to get all three colors matched correctly. The mid-coat is where it gets tricky. Applying too much, or too little, of the pearl coat can drastically alter the appearance of the repair. Practice on a test panel is *especially* important in this case. If the repair is anything other than a tiny chip, consider a professional repair.
Conclusion
Touching up white car paint, while requiring patience and precision, is a valuable skill for any car owner. By understanding the types of touch-up paint available, following the proper application techniques, and troubleshooting common issues, you can effectively address minor imperfections and maintain the beauty and value of your vehicle. Remember to prioritize preparation, use high-quality products, and don't hesitate to seek professional help when needed. A little effort can go a long way in preserving your white car's pristine appearance for years to come.