Why Does My Tail Light Fuse Keep Blowing
The frustrating dance of replacing a blown tail light fuse is familiar to many car owners. One minute your lights are working fine, the next, you're staring at a dark rear end and facing the potential of a traffic stop. While a simple blown fuse might seem like a minor inconvenience, repeated failures indicate a deeper problem lurking within your vehicle's electrical system. Let's delve into the common culprits behind this recurring issue and provide practical troubleshooting steps to diagnose and address the root cause.
Understanding the Tail Light Circuit
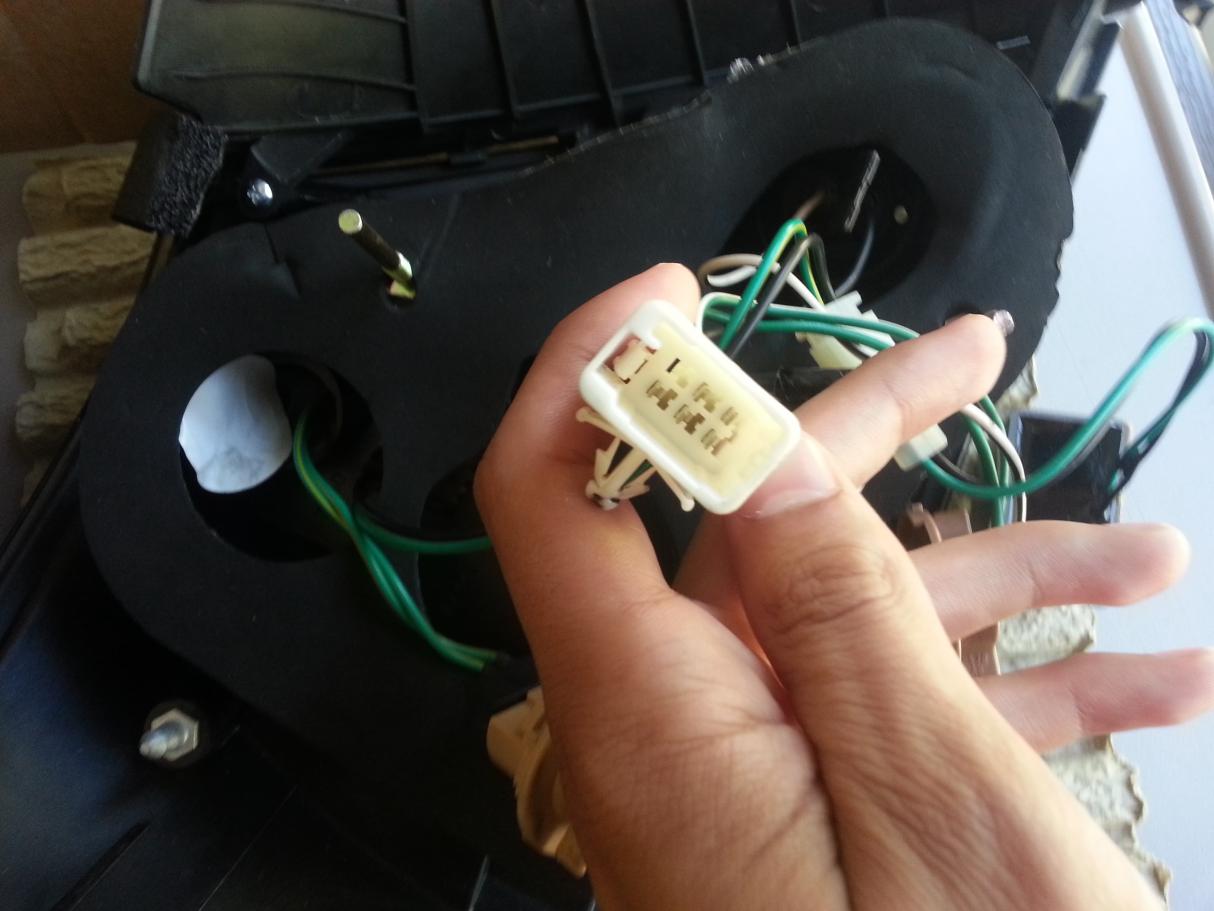
Before diving into the potential problems, it's crucial to understand the basics of the tail light circuit. Tail lights, along with brake lights and turn signals, form a critical safety system on any vehicle. They're typically powered by a dedicated fuse, sized to protect the wiring and components from excessive current draw. This fuse acts as a sacrificial link; when the current exceeds its rated amperage, the fuse blows, breaking the circuit and preventing potential damage. Most modern vehicles employ separate circuits for the left and right tail lights, although some older models may run both off a single fuse. Consult your owner's manual for specific fuse locations and amperage ratings for your vehicle.
Fuse Ratings: Understanding amperage ratings is key. Using a fuse with a higher amperage rating than specified is extremely dangerous and can lead to melted wires and potentially a fire. Always replace a blown fuse with one of the correct amperage.
Common Causes of a Blown Tail Light Fuse
Here's a breakdown of the most frequent reasons your tail light fuse might be blowing:
1. Short Circuit
A short circuit is arguably the most common cause of a blown fuse. It occurs when a wire's insulation is damaged, allowing it to come into contact with the vehicle's chassis (ground) or another wire. This creates a low-resistance path, causing a surge of current that exceeds the fuse's capacity. Common areas for shorts include:
- Wiring Harnesses: Especially in areas prone to flexing, vibration, or exposure to the elements. Check the harness leading to the tail light assembly, following it along its path for any signs of damage, abrasion, or corrosion.
- Tail Light Sockets: Cracked, corroded, or water-damaged sockets can provide a path to ground.
- Aftermarket Accessories: Poorly installed aftermarket lights, trailer wiring, or other electrical modifications are frequent offenders.
Troubleshooting Tip: Visually inspect the wiring and sockets for any obvious signs of damage. Use a multimeter to check for continuity between the tail light wire and ground. If you find continuity where there shouldn't be, you've likely located the short.
2. Overloaded Circuit
An overloaded circuit occurs when the total current draw of all the components on that circuit exceeds the fuse's rating. This is less common with tail lights than with circuits powering multiple accessories, but it can still happen. Consider these possibilities:
- Incorrect Bulbs: Using bulbs with a higher wattage than specified will increase the current draw. Always use the correct bulb type and wattage as recommended in your owner's manual.
- Multiple Accessories: As mentioned earlier, improperly installed or faulty aftermarket accessories can overload the circuit.
Troubleshooting Tip: Ensure all bulbs are the correct type and wattage. Disconnect any aftermarket accessories connected to the tail light circuit and see if the fuse continues to blow. Calculating the total current draw of all the components on the circuit and comparing it to the fuse's amperage rating is a more technical approach.
3. Faulty Tail Light Assembly
Problems within the tail light assembly itself can also lead to fuse failures:
- Internal Short: A short within the tail light housing, often due to water intrusion or damaged components.
- Corrosion: Corrosion on the bulb contacts or within the assembly can increase resistance, leading to increased current draw and potentially a blown fuse.
Troubleshooting Tip: Inspect the tail light assembly for cracks, water damage, or corrosion. Disconnect the assembly and replace the fuse. If the fuse doesn't blow, the problem likely lies within the assembly itself.
4. Loose or Corroded Connections
Loose or corroded connections can increase resistance in the circuit, causing the components to work harder and draw more current. This is especially true at the fuse block itself, where poor connections can lead to heat buildup and eventual fuse failure. Corrosion acts as an insulator, increasing resistance. As current flows through this resistance, it generates heat (Ohm's Law), which can weaken the fuse and eventually cause it to blow.
Troubleshooting Tip: Inspect all connections in the tail light circuit, including the fuse block, bulb sockets, and any connectors along the wiring harness. Clean any corroded connections with a wire brush or electrical contact cleaner and ensure they are securely fastened.
5. Bulb Issues
While less frequent than other issues, the bulbs themselves can contribute to fuse problems.
- Filament Failure: As a bulb ages, the filament can become brittle and prone to shorting out intermittently, causing a surge in current.
- Incorrect Bulb Type: As mentioned earlier, using the wrong bulb can lead to overload issues.
Troubleshooting Tip: Replacing all tail light bulbs, especially if they're old, is a relatively inexpensive and easy troubleshooting step. Make sure you are using the correct type and wattage of bulb.
Step-by-Step Troubleshooting Guide
Here's a systematic approach to diagnosing a repeatedly blown tail light fuse:
- Visual Inspection: Start with a thorough visual inspection of the wiring, sockets, and tail light assemblies for any signs of damage, corrosion, or loose connections. Pay close attention to areas where the wiring harness flexes or is exposed to the elements.
- Bulb Check: Verify that all bulbs are the correct type and wattage. Replace any suspect bulbs.
- Fuse Replacement: Replace the blown fuse with one of the correct amperage. Note if it blows immediately or after a period of time.
- Circuit Isolation: Disconnect the tail light assemblies one at a time (left and right) and replace the fuse. If the fuse blows with one assembly disconnected, the problem likely lies in the disconnected assembly or its wiring.
- Wiring Inspection: If the fuse continues to blow with both assemblies disconnected, the problem is likely in the wiring harness between the fuse box and the tail light assemblies. Use a multimeter to check for shorts to ground.
- Aftermarket Accessories: Disconnect any aftermarket accessories connected to the tail light circuit.
Tools You'll Need
- Multimeter: Essential for checking continuity and voltage.
- Wire Strippers/Crimpers: For repairing damaged wiring.
- Electrical Tape or Heat Shrink Tubing: For insulating repaired wires.
- Wire Brush or Electrical Contact Cleaner: For cleaning corroded connections.
- Fuse Puller: Makes removing and installing fuses easier.
- Vehicle Wiring Diagram: (Optional, but highly recommended) Provides a map of the tail light circuit.
Prevention is Key
Regular maintenance can help prevent tail light fuse problems:
- Inspect Wiring Regularly: Check the wiring harnesses for any signs of damage during routine maintenance.
- Clean Connections: Keep electrical connections clean and free of corrosion.
- Use Proper Bulbs: Always use the correct type and wattage of bulbs.
- Professional Installation: Have aftermarket accessories installed by a qualified technician.
When to Seek Professional Help
If you've exhausted your troubleshooting efforts and the fuse continues to blow, it's time to consult a qualified automotive electrician. They have the tools and expertise to diagnose complex electrical problems that may be beyond the scope of the average DIYer. A seemingly simple tail light fuse issue can sometimes be a symptom of a larger underlying problem, and neglecting it can lead to more serious and costly repairs down the road.
Cost Considerations: Diagnostic fees for electrical issues can range from $100 to $200, and repairs can vary significantly depending on the complexity of the problem. Replacing a wiring harness, for instance, can be a labor-intensive and expensive undertaking.
By understanding the potential causes of a blown tail light fuse and following a systematic troubleshooting approach, you can often diagnose and resolve the problem yourself. However, don't hesitate to seek professional help when needed. A safe and properly functioning tail light system is essential for your safety and the safety of others on the road.