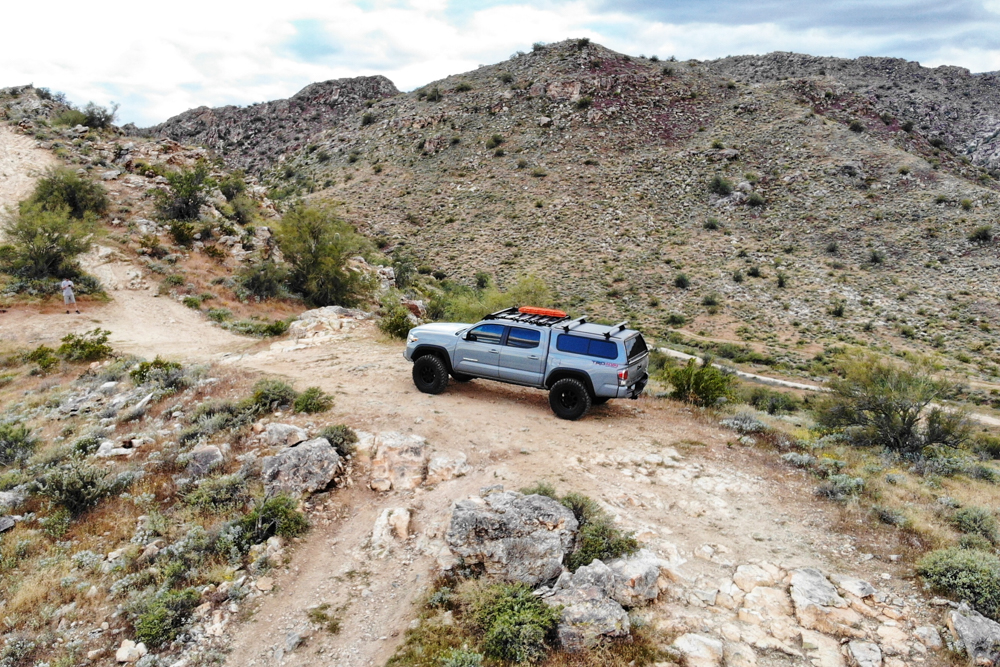
Yakima Camper Shell Roof Rack
So, you're having some trouble with your Yakima camper shell roof rack? Don't worry, you're not alone. These racks are incredibly popular for their versatility, but like any piece of equipment that faces the elements and regular use, they can sometimes develop issues. I've seen it all in my years – from loose bolts to worn-out crossbars, and even the occasional outright damage. Let's break down some common problems and, more importantly, how to fix them. I'll give you the straight scoop, like a seasoned mechanic walking you through the process. We'll cover everything from diagnosing the issue to the tools you'll need and a rough estimate of the costs involved.
Common Yakima Camper Shell Roof Rack Problems and Solutions
Let's dive into the most frequent headaches I encounter with Yakima camper shell roof racks:
Loose Mounting Hardware and Rattle
Problem: This is probably the most common issue. Over time, the bolts and screws that secure the rack to your camper shell can loosen due to vibrations from driving. This leads to annoying rattles and, more seriously, compromises the rack's stability. Left unchecked, it can even damage your camper shell.
Solution: Regular tightening of all hardware is key. Here's a step-by-step approach:
- Gather your tools: You'll typically need a socket set (metric sizes are most common for Yakima), a wrench, and a torque wrench. A torque wrench is crucial to avoid over-tightening and potentially stripping the bolts or damaging the camper shell. I also recommend a thread-locking compound like Loctite (blue, for medium strength).
- Inspect all mounting points: Start by visually inspecting all the bolts and connections. Look for signs of rust, wear, or damage.
- Tighten the bolts: Using your socket set or wrench, carefully tighten each bolt to the manufacturer's recommended torque specification. This is important! Overtightening is just as bad as undertightening. You can usually find the torque specs in your Yakima owner's manual or on their website.
- Apply Loctite (optional but recommended): Remove each bolt one at a time, apply a small amount of blue Loctite to the threads, and re-tighten to the correct torque. This will help prevent the bolts from loosening again.
- Listen for rattles: After tightening everything, take your vehicle for a short test drive and listen for any remaining rattles. If you still hear noises, re-inspect all the connections and tighten any suspect bolts further.
Estimated Cost: The cost for this fix is minimal. Loctite is around $10, and if you don't already have them, a decent socket set and torque wrench can be purchased for $50-$100. You might already own most of these tools.
Damaged or Worn Crossbars
Problem: The crossbars are the workhorses of your roof rack. They support the weight of your cargo. Over time, they can become bent, dented, or corroded, especially if you regularly carry heavy loads or live in an area with harsh weather.
Solution: The best solution depends on the severity of the damage. Minor dents and scratches might be cosmetic, but significant bends or corrosion require more attention.
- Inspection: Carefully inspect the crossbars for any signs of damage. Look for bends, cracks, dents, or rust. Pay close attention to the areas where the crossbars attach to the towers.
- Minor Damage: For minor scratches or surface rust, you can try sanding the affected areas and applying a rust-inhibiting primer and paint. This will help prevent further corrosion.
- Significant Damage: If the crossbars are severely bent, cracked, or corroded, they need to be replaced. Using damaged crossbars can be extremely dangerous.
- Replacement: You can purchase replacement crossbars directly from Yakima or from authorized retailers. Make sure to get the correct size and style for your specific roof rack model. Installation is usually straightforward, involving loosening the bolts that hold the old crossbars in place and tightening the new ones.
Estimated Cost: Repairing minor damage might cost around $20-$50 for sandpaper, primer, and paint. Replacing crossbars can range from $100 to $300 or more, depending on the length, style, and material of the crossbars.
Tower and Foot Issues
Problem: The towers and feet are the components that connect the rack to your camper shell. They can sometimes develop cracks, loosen, or even break, especially if they're made of plastic or composite materials. Sun exposure and extreme temperatures can also degrade these parts over time.
Solution: Again, inspection is crucial. Look for any signs of damage to the towers and feet.
- Inspect for Cracks and Damage: Carefully inspect the towers and feet for any cracks, chips, or other signs of damage. Pay close attention to the areas where the towers attach to the crossbars and the feet attach to the camper shell.
- Tighten Mounting Points: Ensure that the towers are securely attached to the crossbars and the feet are securely attached to the camper shell. Tighten any loose bolts or screws.
- Check Foot Pads: Many Yakima racks use rubber or foam foot pads to protect the camper shell. These pads can wear out over time, leading to slippage or damage. Replace worn foot pads with new ones. You can usually purchase replacement pads from Yakima or authorized retailers.
- Tower/Foot Replacement: If the towers or feet are cracked or broken, they must be replaced. Contact Yakima or an authorized dealer to obtain replacement parts. When replacing towers or feet, make sure to use the correct parts for your specific roof rack model.
Estimated Cost: Replacing foot pads is usually inexpensive, costing around $20-$40. Replacing towers or feet can range from $50 to $200 or more per piece, depending on the model.
Locking Mechanism Problems
Problem: Some Yakima roof racks have locking mechanisms to deter theft. These locks can sometimes become jammed, corroded, or broken, making it difficult to remove or secure your gear.
Solution: First, try lubricating the lock with a lock lubricant or penetrating oil. WD-40 is okay in a pinch, but specialized lock lubricant is better. If the lock is jammed, gently try to work the key back and forth while applying lubricant. If the lock is corroded, you may need to use a wire brush to clean away the rust. If the locking core is damaged beyond repair, you can often purchase replacement cores from Yakima. These cores are designed to be easily replaced with a simple tool. If the entire locking mechanism is broken, you may need to replace the entire tower or component that houses the lock. In some cases, a locksmith might be able to repair the lock, but this can be more expensive than replacing the component.
Estimated Cost: Lock lubricant is inexpensive, around $5-$10. A replacement core can cost anywhere from $20 to $50, while a replacement component with the locking mechanism can range from $50 to $200 or more, depending on the specific part.
Wind Noise
Problem: Roof racks, by their very nature, can create wind noise, especially at higher speeds. This noise can be annoying and distracting.
Solution: There are several things you can do to reduce wind noise:
- Fairing: A wind fairing is a plastic or metal shield that attaches to the front of the roof rack. It deflects the wind up and over the rack, reducing turbulence and noise. Yakima offers wind fairings specifically designed for their roof racks.
- Crossbar Spacing: Adjusting the spacing between the crossbars can sometimes help reduce wind noise. Experiment with different spacing configurations to see what works best for your vehicle.
- Crossbar Pads: Wrapping the crossbars with foam pads or pipe insulation can also help reduce wind noise.
- Remove When Not in Use: The simplest solution is to remove the roof rack when you're not using it. This will eliminate wind noise and also improve your vehicle's fuel economy.
Estimated Cost: Wind fairings typically cost between $80 and $200. Foam pads or pipe insulation are relatively inexpensive, costing around $10-$20.
A Word of Caution
Working on your roof rack can be a rewarding DIY project, but it's essential to prioritize safety. Always consult your Yakima owner's manual for specific instructions and torque specifications. If you're not comfortable performing any of these repairs yourself, it's best to take your vehicle to a qualified mechanic or roof rack specialist. Remember, a properly installed and maintained roof rack is crucial for the safe transport of your gear. Don’t overload your rack past the weight limit outlined by Yakima. Safety first!
By addressing these common issues promptly and following these solutions, you can keep your Yakima camper shell roof rack in good working order and enjoy years of reliable service. Happy travels!