What Does A Complete Engine Rebuild Include?
So, you're considering a complete engine rebuild. That's a serious undertaking, but one that can breathe new life into a tired engine, boost performance, or even save a classic car from the scrap heap. This article will walk you through exactly what a complete engine rebuild entails, from the initial tear-down to the final start-up, equipping you with the knowledge you need to make informed decisions whether you tackle it yourself or hire a professional.
Understanding the Heart of Your Machine
Before diving into the specifics of a rebuild, let's establish a basic understanding of what an internal combustion engine is and how it operates. Your engine is essentially a controlled explosion machine. It converts chemical energy (fuel) into mechanical energy (rotation) to drive your vehicle. This process occurs within cylinders, where a piston moves up and down. The piston's movement is converted to rotational force via the connecting rod and crankshaft. Fuel and air are mixed, compressed, ignited by the spark plug (in gasoline engines), and the resulting explosion forces the piston down. This cycle repeats continuously, creating power. Key components working together to make this happen include the cylinder head, which houses the valves that control the intake and exhaust of gases, the engine block, which is the main structure containing the cylinders, and the oil pan, which holds the engine's lubricant. All these parts are subject to wear and tear over time, eventually leading to the need for a rebuild.
The Complete Engine Rebuild: A Technical Deep Dive
A complete engine rebuild isn't just slapping some new parts in; it's a meticulous process of disassembling, inspecting, cleaning, machining, and reassembling the entire engine. Here's a breakdown of the key steps involved:
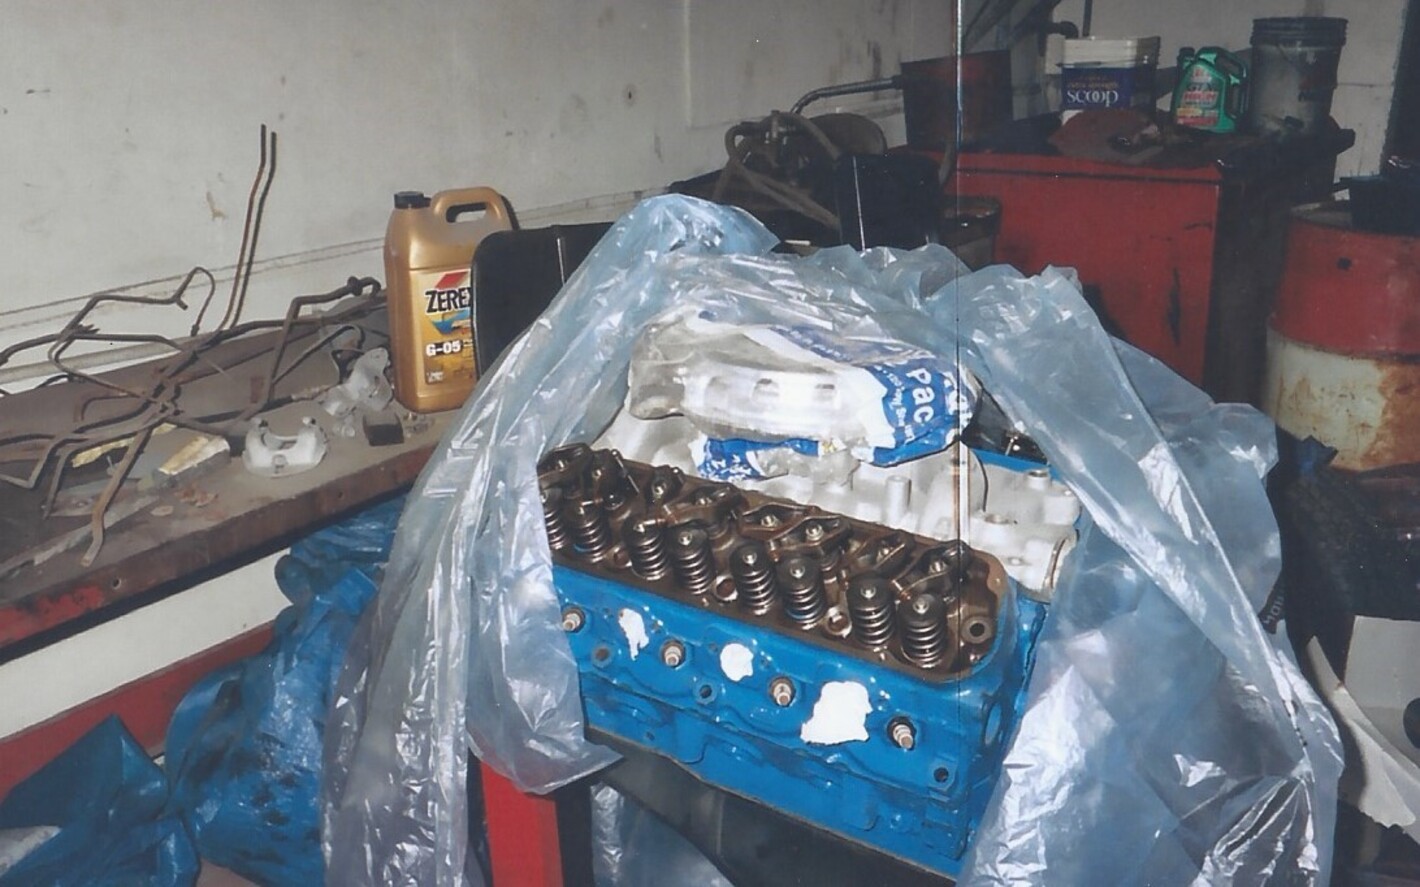
1. Disassembly and Inspection: The First Step to Revival
The first step is a complete tear-down of the engine. This involves removing all external components (intake manifold, exhaust manifold, alternator, starter, etc.) and then carefully disassembling the engine piece by piece. Each part is meticulously labeled and organized to ensure proper reassembly. During disassembly, a keen eye is essential to identify any signs of damage or wear. Pay close attention to:
- Cylinder walls: Look for scoring, scratches, or excessive wear. Measure the cylinder bore (diameter) to check for out-of-roundness or taper. This is done with a bore gauge.
- Pistons and Rings: Check for cracks, wear on the skirts (sides), and proper ring seal. Ring end gap, the space between the ends of the piston ring when installed in the cylinder, needs to be measured and compared to specifications.
- Crankshaft and Bearings: Inspect the crankshaft journals (the surfaces that the bearings ride on) for wear, scoring, or damage. Check the bearings for wear, cracks, or flaking. Measuring the crankshaft journals with a micrometer is crucial.
- Connecting Rods: Inspect for cracks, bending, or damage to the bearing surfaces. Check the connecting rod big end bore for out-of-roundness.
- Cylinder Head: Inspect the valves, valve seats, valve guides, and springs for wear, cracks, or damage. Check the head for cracks, particularly between the valve seats.
- Oil Pump: Disassemble and inspect the oil pump for wear or damage to the gears or rotor.
2. Cleaning: A Necessary Step for Accurate Inspection
Once disassembled, every component needs to be thoroughly cleaned. This is typically done using a parts washer with a solvent designed to remove grease, oil, and carbon buildup. For cast iron parts like the block and heads, hot tanking (submerging in a heated chemical bath) can be very effective. Aluminum parts require special cleaning solutions to avoid damage. Thorough cleaning allows for accurate inspection and ensures that new parts are installed in a clean environment.
3. Machining: Precision is Key
Machining is where the real magic happens in an engine rebuild. This involves using specialized equipment to restore surfaces to their original specifications and ensure proper fitment. Common machining operations include:
- Cylinder Boring/Honing: If the cylinder walls are worn or damaged, they may need to be bored (enlarged) to an oversized dimension. After boring, the cylinders are honed to create a specific surface finish that promotes proper ring seal. A plateau hone is often used to achieve this.
- Crankshaft Grinding: If the crankshaft journals are worn or damaged, they can be ground down to an undersized dimension. Undersized bearings are then used to compensate for the reduced journal size.
- Cylinder Head Reconditioning: This typically involves resurfacing the cylinder head to ensure a flat sealing surface, grinding the valves and valve seats to ensure proper sealing, and replacing valve guides if necessary. Often the valve seats are cut with multiple angles using a valve seat cutter to improve flow.
- Connecting Rod Reconditioning: The connecting rod big end can be resized if it is out of round.
- Block Decking: The top of the engine block can be machined to ensure it is perfectly flat and perpendicular to the crankshaft centerline.
4. Parts Replacement: Choosing Quality Components
During a rebuild, many parts will need to be replaced. This includes pistons, rings, bearings, valves, valve springs, oil pump, timing chain or belt, and gaskets. It's crucial to use high-quality replacement parts that meet or exceed the original equipment manufacturer (OEM) specifications. Consider using performance parts if you're looking to improve engine power or durability.
5. Assembly: Putting it All Back Together
Assembly is a critical step that requires meticulous attention to detail and precise measurements. The engine is reassembled according to the manufacturer's specifications, paying close attention to torque values and clearances. Key steps include:
- Installing the Crankshaft: The crankshaft is installed with new main bearings, ensuring proper clearance and lubrication. Plastigauge is commonly used to verify bearing clearance.
- Installing the Pistons and Connecting Rods: The pistons and connecting rods are installed into the cylinders, ensuring proper ring orientation and connecting rod bearing clearance.
- Installing the Cylinder Head: The cylinder head is installed with a new head gasket and torqued to the manufacturer's specifications. It's crucial to follow the correct tightening sequence.
- Installing the Timing Components: The timing chain or belt is installed, ensuring proper alignment of the camshaft and crankshaft. Incorrect timing can lead to serious engine damage.
- Installing the Oil Pump: The oil pump is installed, ensuring proper priming and oil pressure.
- Setting Valve Lash: Valve lash (the clearance between the valve stem and the rocker arm or tappet) must be set correctly to ensure proper valve operation.
6. Final Checks and Startup: The Moment of Truth
Before starting the engine, double-check all connections, fluids (oil, coolant), and timing settings. Prime the oil system by manually turning the engine over or using a priming tool. The initial startup should be monitored carefully for any unusual noises, leaks, or vibrations. Follow the manufacturer's recommended break-in procedure to allow the new parts to seat properly.
Common Issues and Maintenance Concerns
Even with a meticulously executed rebuild, issues can arise. Common problems include:
- Oil Leaks: Often caused by improper gasket installation or damaged sealing surfaces.
- Overheating: Can be caused by a faulty thermostat, radiator, or water pump. Air pockets in the cooling system can also contribute.
- Low Oil Pressure: Could indicate a faulty oil pump, excessive bearing clearances, or oil leaks.
- Knocking or Pinging: Often caused by incorrect ignition timing, low octane fuel, or excessive carbon buildup.
Regular maintenance is crucial after a rebuild. This includes changing the oil and filter regularly, checking fluid levels, and monitoring engine performance.
Do's and Don'ts / Best Practices
- Do: Invest in quality tools and measuring equipment.
- Do: Consult the manufacturer's service manual for specifications and procedures.
- Do: Keep everything meticulously clean.
- Do: Double-check all torque values and clearances.
- Do: Take photos throughout the disassembly process for reference during reassembly.
- Don't: Cut corners on parts or machining.
- Don't: Overtighten bolts.
- Don't: Rush the process. Take your time and pay attention to detail.
Conclusion: Is a Rebuild Right for You?
A complete engine rebuild is a complex and time-consuming project. It requires a significant investment in tools, parts, and potentially machining services. However, it can be a rewarding experience and a cost-effective alternative to replacing an entire engine. If you have the mechanical aptitude, patience, and access to the necessary resources, a rebuild can breathe new life into your engine. However, if you're unsure of your abilities or lack the necessary equipment, it's best to entrust the job to a qualified and experienced mechanic. Before you begin, honestly assess your skills and resources. If you're not 100% confident, seek professional assistance. A poorly executed rebuild can be more costly in the long run than a professional job.