1995 Nissan 240sx Interior Component Technical Analysis
Alright folks, let's talk about the interior of your beloved 1995 Nissan 240SX. These cars are getting on in years, and while the engines and handling are generally robust, the interior can often show its age. We're going to dive into some common issues, their causes, and, most importantly, how to fix them. Consider this your friendly guide to keeping your 240SX's interior looking and functioning its best.
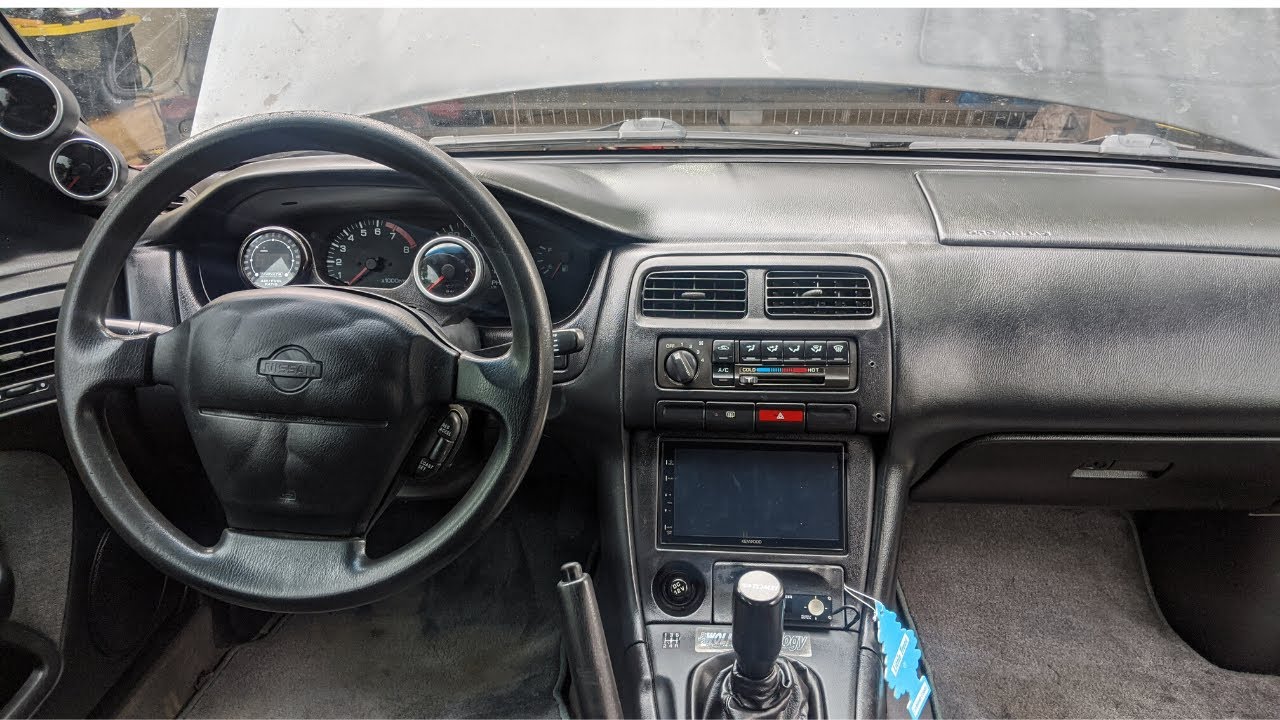
Faded and Cracked Dashboard
One of the most prevalent issues in the S14 240SX is a cracked and faded dashboard. Blame it on years of sun exposure, temperature fluctuations, and the overall quality of the plastic used. It's almost a badge of honor at this point, but it *can* be addressed.
Symptoms:
- Visible cracks, especially near the defroster vents and speaker grilles.
- Faded color, often turning a sickly grey-purple.
- Sticky or brittle surface.
Causes:
- UV radiation degrading the plastic.
- Expansion and contraction due to temperature changes.
- Age-related deterioration.
Solutions:
- Dashboard Cover/Overlay: This is the most cost-effective and easiest solution. You can find molded dashboard covers that fit directly over your existing dash.
- Pros: Relatively inexpensive (typically $100-$300), easy to install (usually just requires adhesive).
- Cons: May not perfectly match the original color or texture. Can look "added on" if not installed carefully.
- Tools Needed: Cleaning supplies, adhesive (usually silicone-based), potentially a heat gun for minor adjustments.
- Dashboard Repair: You can attempt to repair the cracks yourself using specialized plastic repair kits. These kits involve cleaning, filling, sanding, and painting the damaged areas.
- Pros: Can restore the original dashboard. Potentially cheaper than a full replacement if the damage isn't too severe.
- Cons: Requires significant skill and patience. Color matching can be difficult. May not be a long-term solution.
- Tools Needed: Plastic cleaner, plastic filler, sandpaper (various grits), primer, paint (matched to the original color), mixing sticks, masking tape.
- Estimated Cost: $50-$150 for repair materials.
- Dashboard Replacement: The most labor-intensive and expensive option, but it provides the best results. You'll need to source a new or used dashboard in good condition.
- Pros: Restores the dashboard to its original condition.
- Cons: Very expensive (dashboards can range from $500 to $1500+ depending on condition and rarity), requires significant mechanical skills and tools, time-consuming.
- Tools Needed: Screwdrivers, sockets, ratchets, trim removal tools, potentially a steering wheel puller, wiring diagrams.
- Estimated Cost: $600 - $2000+ depending on the dashboard cost and labor (if you're not doing it yourself).
Worn or Torn Seats
Another common issue is worn or torn seats. The original seat upholstery wasn't known for its durability, and years of use (and maybe some spirited driving) can take their toll.
Symptoms:
- Tears or rips in the fabric or leather.
- Worn or faded upholstery.
- Sagging or collapsed seat foam.
Causes:
- Friction from getting in and out of the car.
- UV exposure.
- Drying out and cracking of leather.
- Wear and tear on fabric seams.
Solutions:
- Seat Covers: A quick and affordable way to cover up damaged seats.
- Pros: Inexpensive (typically $50-$200 per set), easy to install.
- Cons: May not fit perfectly, can look cheap, may not be very durable.
- Tools Needed: None (usually).
- Upholstery Repair: Small tears and rips can sometimes be repaired by a professional upholsterer.
- Pros: Can be a cost-effective solution for minor damage.
- Cons: May not be a perfect match to the original upholstery, repairs may be visible.
- Estimated Cost: $50-$200 per repair.
- Upholstery Replacement: Replacing the entire seat upholstery is the best way to restore the seats to their original condition.
- Pros: Restores the seats to like-new condition. Allows for customization.
- Cons: Expensive, requires significant skill (or professional installation).
- Tools Needed: Hog ring pliers, hog rings, screwdriver, trim removal tools.
- Estimated Cost: $300-$1000+ per seat, depending on the material and installation costs.
- Seat Replacement: Swapping in seats from another 240SX (if you can find some in good condition) or aftermarket seats.
- Pros: Can improve comfort and aesthetics. Aftermarket options allow for customization.
- Cons: Finding good condition original seats can be difficult. Aftermarket seats may require modifications to fit.
- Tools Needed: Sockets, wrenches, potentially welding equipment (for seat bracket modifications).
- Estimated Cost: $200 - $1000+ per seat, depending on the source and condition.
Broken or Sticky Interior Switches
The switches in the 240SX can become brittle and break, or they can get sticky due to age and accumulated grime. Common culprits include the window switches, headlight switch, and climate control knobs.
Symptoms:
- Switches that don't function properly.
- Sticky or difficult to move switches.
- Broken switch housings.
Causes:
- Age-related deterioration of plastic.
- Accumulation of dirt and grime.
- Corrosion of electrical contacts.
Solutions:
- Cleaning: Sometimes, a thorough cleaning can restore functionality to sticky switches.
- Pros: Inexpensive, easy to do.
- Cons: May not work for all switches, especially if the damage is internal.
- Tools Needed: Contact cleaner, compressed air, small brushes, screwdrivers (for disassembly).
- Switch Repair: Some switches can be disassembled and repaired by replacing broken components or cleaning contacts.
- Pros: Cheaper than replacement.
- Cons: Requires skill and patience. Small parts can be difficult to work with.
- Tools Needed: Small screwdrivers, soldering iron (for some switches), contact cleaner, magnifying glass.
- Switch Replacement: Replacing the entire switch is the most reliable solution.
- Pros: Ensures proper functionality.
- Cons: Can be expensive, depending on the switch.
- Tools Needed: Screwdrivers, sockets, trim removal tools.
Loose or Rattling Interior Trim
Over time, the clips and fasteners that hold the interior trim panels in place can loosen or break, leading to rattles and vibrations. This can be especially annoying on bumpy roads.
Symptoms:
- Rattling or vibrating trim panels.
- Loose or sagging trim.
- Missing trim clips.
Causes:
- Broken or missing trim clips.
- Loose screws or bolts.
- Warped trim panels.
Solutions:
- Tightening Fasteners: Check and tighten any loose screws or bolts that hold the trim panels in place.
- Pros: Easy to do, inexpensive.
- Cons: May not solve the problem if the clips are broken.
- Tools Needed: Screwdrivers, sockets.
- Replacing Trim Clips: Replacing broken or missing trim clips is essential for securing the trim panels properly.
- Pros: Relatively inexpensive, effective for eliminating rattles.
- Cons: Requires identifying the correct type of clip.
- Tools Needed: Trim removal tools.
- Adding Padding: Adding foam padding or adhesive-backed felt to the back of trim panels can help to dampen vibrations and prevent rattles.
- Pros: Relatively inexpensive, effective for reducing rattles.
- Cons: May require removing the trim panels.
- Tools Needed: Trim removal tools, adhesive-backed felt or foam padding.
Odor Issues
Old cars can develop strange smells. Here's how to combat that:
Common Sources:
- Mold/Mildew: Usually from moisture intrusion (leaky window seals, sunroof drains).
- Old Food/Drinks: Decaying remnants under seats or carpets.
- Exhaust Fumes: Leaks in the exhaust system getting into the cabin.
Solutions:
- Thorough Cleaning: Vacuuming, shampooing carpets, cleaning all surfaces.
- Tools Needed: Vacuum with crevice tool, carpet shampooer, interior cleaner, microfiber cloths.
- Ozone Generator: Use an ozone generator (with caution!) to kill mold and bacteria. *Ensure no people or pets are in the car during operation and ventilate thoroughly afterward.*
- Estimated Cost: $50-$100 to rent, $100-$300 to buy.
- Check for Leaks: Inspect window seals, sunroof drains, and firewall for water intrusion. Address any leaks promptly.
- Potential Costs: Vary widely depending on the severity of the leak.
- Air Fresheners/Odor Absorbers: Use baking soda, charcoal bags, or commercial air fresheners as a temporary solution.
- Estimated Cost: $5-$20.
These are just some of the common interior problems you might encounter with your 1995 Nissan 240SX. Remember to take your time, do your research, and don't be afraid to ask for help from other 240SX enthusiasts. With a little effort, you can keep your car's interior looking and feeling great for years to come. Happy wrenching!