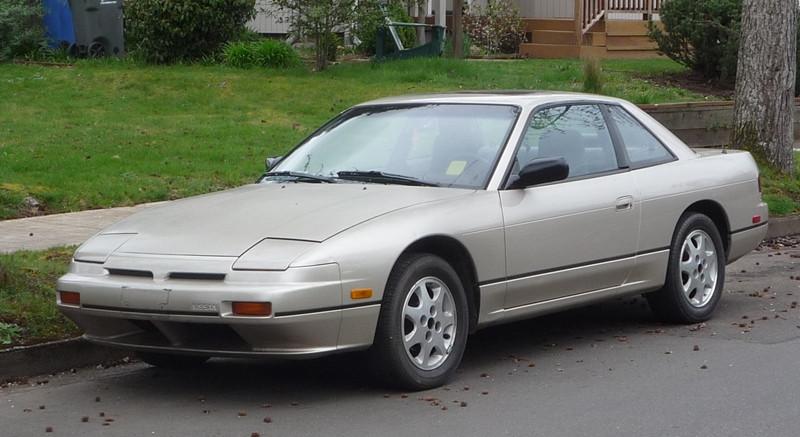
1989 Nissan 240sx Service Manual
So, you've got yourself a 1989 Nissan 240sx. Classic! These cars are fantastic, but being over 30 years old, they're bound to have a few quirks. Having the 1989 Nissan 240sx service manual on hand is absolutely essential for tackling most repair jobs yourself. Let's dive into some common issues and how that manual can be your best friend.
Problem: Overheating
Symptoms: Temperature gauge spiking, steam coming from under the hood, coolant loss, a sweet smell (coolant) near the engine.
Overheating is a serious issue that can lead to significant engine damage if ignored. The service manual will provide detailed diagrams of the cooling system, allowing you to systematically troubleshoot the problem. Here's a breakdown of common causes and how the manual can help:
Solution Breakdown:
- Low Coolant Level: Always the first place to check! The manual specifies the correct coolant type and capacity. Using the wrong coolant can damage the system. Refill to the proper level and monitor for leaks. The manual will illustrate where to locate drain plugs, bleeder valves, and the correct filling procedure.
- Faulty Thermostat: A stuck-closed thermostat prevents coolant from circulating properly. The manual outlines the removal and installation procedure, including the correct orientation and torque specifications. A new thermostat is relatively inexpensive (around $20-$40). You'll need a socket set, wrench, and possibly a coolant drain pan.
Pro Tip: Test the old thermostat by placing it in a pot of boiling water. It should open fully. A non-functioning thermostat is a sure sign of failure.
- Radiator Issues: A clogged radiator restricts coolant flow. The manual shows the radiator's construction and how to disconnect it. While you can attempt to flush the radiator yourself, a professional cleaning is often more effective. Or, consider replacement, which usually costs between $150-$300. The manual will give you the torque specs for mounting bolts and hose clamps - crucial to avoid leaks.
- Water Pump Failure: The water pump circulates coolant. Signs of failure include a noisy pump, coolant leaks from the pump area, or overheating. The service manual details the water pump replacement procedure, including the timing belt removal (if applicable). This is a more involved repair and requires patience and careful attention to detail. A new water pump can cost $50-$150. You’ll need a socket set, wrenches, a pulley holding tool, and possibly a timing belt tensioner tool.
Pro Tip: Consider replacing the timing belt and tensioner at the same time, as they often fail around the same mileage as the water pump.
- Head Gasket Leak: This is the worst-case scenario. A blown head gasket allows combustion gases to enter the cooling system, causing overheating. The manual contains detailed instructions on cylinder head removal and installation, including torque specifications for the head bolts. This is a complex repair best left to experienced mechanics due to the risk of further engine damage. Expect to pay anywhere from $800-$2000 for a professional head gasket replacement, depending on the shop and the extent of the damage. The manual will outline all the required torque specs which are crucial for proper sealing.
- Leaking Radiator Cap: Not sealing properly can cause pressure issues and coolant loss. Refer to the manual for the correct pressure rating for your radiator cap. Replacement caps are inexpensive and worth checking even if nothing else is obviously failing.
Problem: Rough Idle or Stalling
Symptoms: Engine vibrates excessively at idle, RPMs fluctuate wildly, engine stalls frequently, especially at stoplights.
A rough idle can be caused by a variety of issues related to fuel, air, or ignition. The service manual is indispensable for diagnosing these problems.
Solution Breakdown:
- Vacuum Leaks: The manual provides detailed vacuum hose diagrams. Carefully inspect all hoses for cracks or disconnections. Even a small leak can disrupt the air-fuel mixture. Replacing damaged hoses is a simple and inexpensive fix. You can also use a spray bottle with soapy water to find the leaks, bubbles will form when you spray at the damaged area.
- Dirty or Faulty Idle Air Control (IAC) Valve: The IAC valve regulates airflow at idle. The manual details the valve's location and removal procedure. Clean the valve with carburetor cleaner. If cleaning doesn't help, the valve may need replacement (around $50-$100). The manual contains the necessary voltage and resistance tests for the IAC valve.
- Faulty Mass Airflow Sensor (MAF): The MAF sensor measures the amount of air entering the engine. A faulty MAF can cause inaccurate fuel delivery. The manual provides testing procedures for the MAF sensor. Replacement sensors can be expensive (around $150-$300), so proper diagnosis is crucial. Unplugging the MAF while the engine is running can often give you a clue, if the engine runs significantly better then the MAF sensor is the most likely cause.
- Dirty Fuel Injectors: Clogged fuel injectors can restrict fuel flow. The manual details the fuel injector removal and testing procedure. You can try cleaning the injectors with fuel injector cleaner added to the fuel tank. For severe clogs, professional injector cleaning services are available.
- Faulty Oxygen Sensor: An oxygen sensor monitors the oxygen content in the exhaust. A failing sensor can cause the engine to run rich or lean. The manual provides testing procedures for the oxygen sensor. Replacement sensors cost around $30-$80. The manual will also specify the correct wiring and location of the sensor.
- Distributor Issues: (If applicable, early models only) Problems within the distributor, like a worn rotor or cap, or corroded contacts, can lead to misfires and rough idle. Follow the manual's diagnostic flow chart for ignition system issues to pinpoint the problem.
Problem: Brakes Squealing or Grinding
Symptoms: High-pitched squealing when braking, grinding noise during braking, pulsating brake pedal, extended stopping distances.
Brake problems are a safety concern and should be addressed immediately. The service manual is invaluable for brake system maintenance and repair.
Solution Breakdown:
- Worn Brake Pads: The most common cause of brake squealing. The manual outlines the brake pad replacement procedure, including torque specifications for the caliper bolts. New brake pads cost around $30-$60 per axle. You'll need a jack, jack stands, a socket set, wrenches, and a brake caliper compression tool. The service manual illustrates the correct brake pad compound needed for your specific 240sx model.
- Worn Brake Rotors: If the rotors are grooved or warped, they may need to be resurfaced or replaced. The manual specifies the minimum rotor thickness. Resurfacing rotors costs around $20-$40 per rotor. New rotors cost around $50-$100 per rotor. The manual will detail the correct procedures for rotor runout tests.
- Sticking Brake Calipers: A sticking caliper can cause uneven brake wear and brake drag. The manual details the caliper removal and inspection procedure. You may be able to rebuild the caliper with new seals and pistons (rebuild kits cost around $20-$40 per caliper). If the caliper is severely corroded, it may need to be replaced. The manual also specifies the correct lubricant to use on caliper slide pins.
- Air in the Brake Lines: Air in the brake lines can cause a spongy brake pedal. The manual outlines the brake bleeding procedure. You'll need a brake bleeder wrench and brake fluid. The manual specifies the correct type of brake fluid for your 240sx.
Pro Tip: Always start bleeding the brakes at the wheel furthest from the master cylinder.
- Faulty Master Cylinder: A faulty master cylinder can cause a soft brake pedal or complete brake failure. The manual details the master cylinder removal and installation procedure. Replacement master cylinders cost around $100-$200.
General Tips for Using the Service Manual:
- Read Carefully: The service manual is written for trained technicians. Take your time and read each step carefully.
- Follow Torque Specifications: Overtightening bolts can damage parts. Use a torque wrench to ensure proper tightening.
- Use the Correct Tools: Using the wrong tools can damage parts or injure yourself.
- Take Pictures: Before disassembling anything, take pictures to help you remember how it goes back together.
- Label Everything: Label all parts and wires to avoid confusion during reassembly.
- Safety First: Always disconnect the battery before working on the electrical system. Wear safety glasses and gloves.
The 1989 Nissan 240sx service manual is your ultimate resource for keeping your classic car running smoothly. With a little patience and the right tools, you can tackle many common repairs yourself and save a significant amount of money on labor costs. Remember to always prioritize safety and consult a professional mechanic if you are unsure about any aspect of the repair process.