1989 Nissan 240sx Tail Lights: A Guide To Replacement And Upgrades
The 1989 Nissan 240SX, known affectionately as the S13, remains a popular platform for both daily driving and performance modifications. One area that often needs attention, whether due to damage, age, or a desire for customization, is the tail lights. This guide provides a comprehensive overview of replacing and upgrading the tail lights on your 1989 240SX, covering everything from basic removal and installation to exploring aftermarket options.
Understanding Your 1989 240SX Tail Lights
Before diving into any work, it's essential to understand the anatomy of your 240SX's tail lights. The stock assembly typically consists of:
- Outer Lens: The visible, colored plastic housing that protects the bulbs.
- Reflector Housing: The internal structure that directs and amplifies the light emitted by the bulbs. Crucial for visibility, especially at night.
- Bulbs: The light sources themselves. The S13 typically uses a combination of incandescent bulbs for brake lights, turn signals, and running lights.
- Wiring Harness: The electrical connections that supply power to the bulbs.
- Mounting Hardware: Screws, bolts, and sometimes plastic clips that secure the entire assembly to the vehicle's body.
Understanding these components will make troubleshooting and replacement much easier. Note that the S13 has two main body styles: the fastback (hatchback) and the coupe. While the core functionality of the tail lights is the same, the physical design and mounting points differ slightly between the two. This guide will primarily focus on the fastback model, but will also address coupe-specific considerations where necessary.
Tail Light Removal: A Step-by-Step Guide
Removing the tail lights is a relatively straightforward process. Always disconnect the negative terminal of your battery before beginning any electrical work.
Tools You'll Need:
- Socket set (typically 10mm, 12mm, and sometimes Phillips head screws)
- Screwdrivers (Phillips and flathead)
- Plastic trim removal tools (optional, but recommended to avoid scratching paint)
- Gloves (to protect your hands)
Procedure:
- Access the Tail Light Assembly: Open the rear hatch or trunk. Locate the access panels on the interior trim behind the tail lights. These panels are usually held in place by plastic clips or screws. Remove them to gain access to the rear of the tail light assembly.
- Disconnect the Wiring Harness: Identify the wiring harness connected to the tail light assembly. Gently disconnect the harness by pressing the release clip and pulling the connector apart. Never yank on the wires, as this can damage the connectors or wires themselves.
- Remove Mounting Hardware: Locate the bolts or screws that secure the tail light assembly to the body. These are usually accessible from the inside of the trunk/hatch area. Carefully remove the hardware. Remember to keep track of the location of each screw, as some may be different sizes.
- Remove the Tail Light Assembly: Once the mounting hardware is removed, gently push the tail light assembly from the inside outwards. Be cautious, as the assembly may be stuck to the body due to weather stripping or sealant. If it's stuck, use a plastic trim removal tool to gently pry around the edges of the assembly until it comes loose. Avoid using metal tools, as they can easily scratch the paint.
- Inspect the Removed Tail Light: Once removed, inspect the tail light assembly for any damage, such as cracks in the lens, corrosion on the wiring, or damaged bulb sockets. This will help you determine whether you need to replace the entire assembly or just specific components.
Coupe-Specific Notes: The process for removing the tail lights on the coupe is very similar. The primary difference lies in the location of the access panels and the specific mounting hardware used. Refer to your vehicle's repair manual for detailed diagrams specific to the coupe model.
Tail Light Replacement: Installing a New Assembly
Installing a new tail light assembly is essentially the reverse of the removal process. Follow these steps:
- Prepare the New Tail Light: Before installing the new tail light, inspect it for any defects or damage. Ensure that all necessary bulbs are installed and functioning correctly.
- Connect the Wiring Harness: Connect the wiring harness to the new tail light assembly. Ensure that the connector is fully seated and the release clip is engaged.
- Mount the Tail Light Assembly: Carefully align the new tail light assembly with the mounting holes in the body. Gently push the assembly into place until it is flush with the body panel.
- Secure the Mounting Hardware: Reinstall the bolts or screws that secure the tail light assembly to the body. Tighten the hardware to the manufacturer's specified torque (if available). Do not overtighten, as this can damage the tail light assembly or the body panel.
- Test the Tail Lights: Reconnect the negative terminal of the battery. Turn on the ignition and test all tail light functions, including the running lights, brake lights, and turn signals. Ensure that all bulbs are functioning correctly.
- Reinstall Access Panels: Reinstall the access panels on the interior trim behind the tail lights.
Troubleshooting Common Tail Light Problems
Even with careful installation, you may encounter some issues. Here are a few common problems and their solutions:
- Bulb Not Working: The most common issue is a blown bulb. Replace the bulb with the correct type and wattage. Consult your owner's manual for bulb specifications. If the bulb continues to blow, there may be a short circuit in the wiring.
- Dim Lights: Dim lights can be caused by a corroded ground connection. Inspect the ground wire connection near the tail light assembly and clean any corrosion. You can also try adding a dedicated ground wire from the tail light assembly to the chassis.
- No Lights At All: Check the fuses related to the tail lights. A blown fuse can indicate a short circuit or overload in the system. Replace the fuse with the correct amperage rating. If the fuse blows again immediately, there is likely a short circuit that needs to be addressed.
- Water Leaks: Water leaks can damage the tail light assembly and cause electrical problems. Inspect the weather stripping around the tail light assembly and replace it if it is damaged or deteriorated. You can also apply a thin bead of sealant around the edges of the tail light assembly to prevent water from entering.
Upgrading Your 1989 240SX Tail Lights
Beyond simple replacement, there are several options for upgrading your 240SX's tail lights. These upgrades can enhance the appearance of your vehicle and improve visibility.
Aftermarket Tail Light Assemblies:
Many aftermarket companies offer complete tail light assemblies with different designs and features. Some common options include:
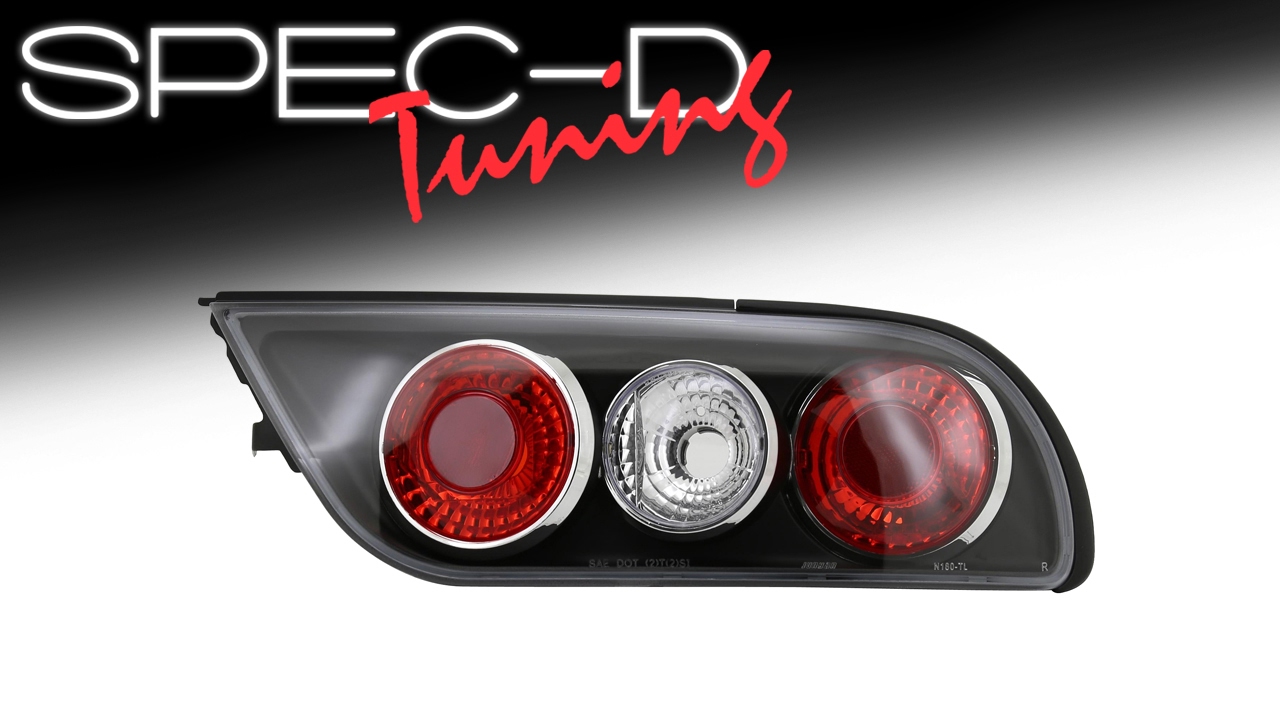
- Clear Lens Tail Lights: These tail lights have clear lenses instead of the traditional red lenses. They offer a more modern look and can be combined with colored bulbs for a unique effect.
- LED Tail Lights: LED (Light Emitting Diode) tail lights offer several advantages over traditional incandescent bulbs, including brighter light output, longer lifespan, and lower power consumption. They also offer a more modern and aggressive appearance.
- Smoked Tail Lights: Smoked tail lights have a tinted lens that reduces the amount of light emitted. While they can enhance the appearance of your vehicle, it's important to ensure that they meet legal requirements for visibility.
LED Bulb Upgrades:
You can also upgrade to LED bulbs without replacing the entire tail light assembly. LED bulbs are a direct replacement for incandescent bulbs and offer the same benefits as LED tail light assemblies. When selecting LED bulbs, ensure that they are compatible with your vehicle's electrical system and that they provide adequate brightness for safe operation. Pay attention to whether they are CAN bus compatible if your vehicle has that system. CAN bus (Controller Area Network) is a communication standard that allows different parts of a vehicle to communicate with each other.
Custom Tail Light Modifications:
For the truly adventurous, you can create custom tail light modifications. This can involve modifying the existing tail light assembly, fabricating new lenses, or integrating different lighting elements. This requires advanced skills and knowledge, and it's important to ensure that your modifications meet all applicable safety regulations.
Legal Considerations
Before making any modifications to your tail lights, it's crucial to be aware of the legal requirements in your area. Many jurisdictions have regulations regarding the color, brightness, and visibility of tail lights. Ensure that any modifications you make comply with these regulations to avoid legal issues.
By following this guide, you should be well-equipped to tackle any tail light replacement or upgrade project on your 1989 Nissan 240SX. Remember to prioritize safety and always double-check your work before hitting the road.