1991 Nissan 240sx Headlights: A Guide To Pop-up Headlight Repair
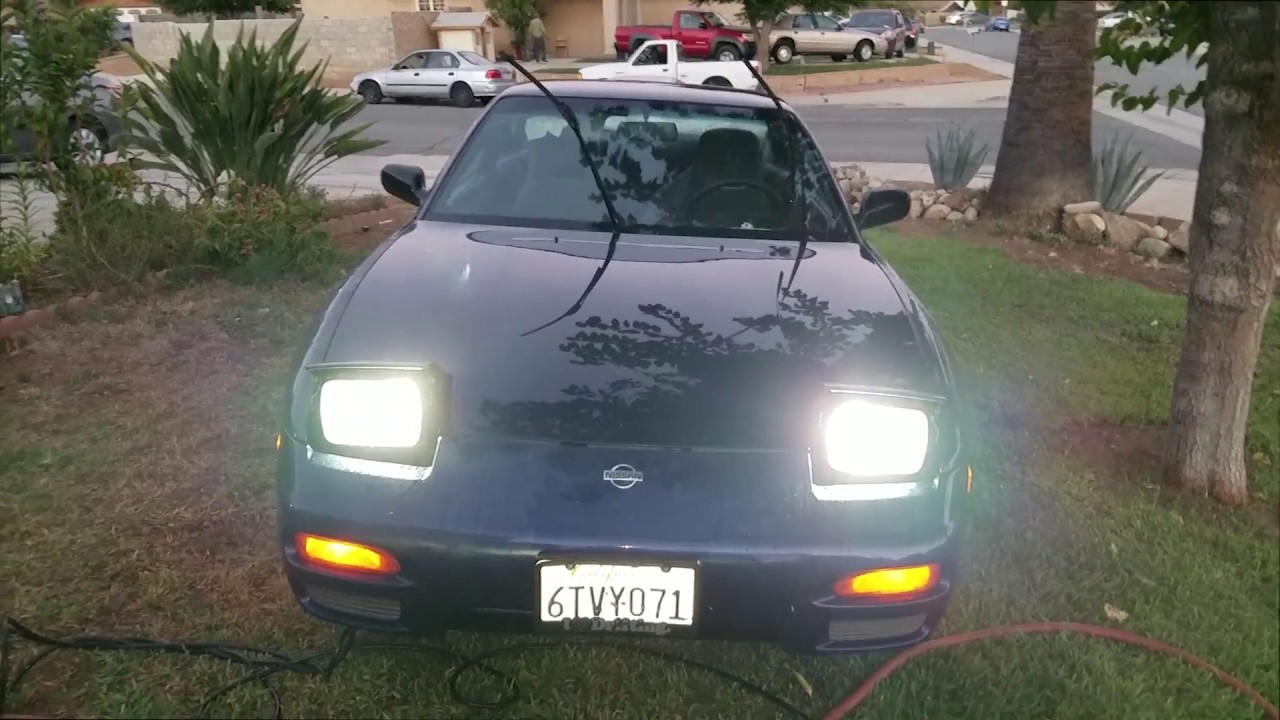
The 1991 Nissan 240SX, a beloved icon of the drift and tuner scene, is instantly recognizable by its pop-up headlights. These headlights, while stylish, are notorious for developing issues over time. Whether it's a single headlight refusing to open, both lights stuck down, or a grinding noise accompanying their operation, this guide will walk you through common problems and their solutions. We'll focus on the S13 chassis, specifically the 1991 model year, although much of this information applies to other years as well.
Understanding the Pop-Up Headlight System
Before diving into repairs, it's essential to understand the system's basic components. The 240SX pop-up headlight system is an electromechanical setup, meaning it relies on both electrical signals and mechanical parts to function. Key components include:
- Headlight Motors: These are the workhorses of the system. Each headlight has its own dedicated motor responsible for raising and lowering it.
- Headlight Relays: These are electrical switches that control the power flow to the headlight motors. They prevent high currents from damaging the headlight switch itself.
- Headlight Switch: Located on the steering column, this switch signals the relays to activate the headlight motors.
- Headlight Retractor Control Unit (HRCU): This is the "brain" of the system. It receives signals from the headlight switch and manages the activation and deactivation of the headlight motors.
- Linkage and Gears: These mechanical components connect the motor to the headlight housing, translating the motor's rotational motion into the raising and lowering action of the headlight. This often includes a "worm gear" which is known to fail.
- Limit Switches: These small switches are positioned at the top and bottom of the headlight travel. They signal the HRCU when the headlight is fully open or closed, preventing the motor from overrunning and damaging the system.
Common Problems and Their Solutions
Headlight Won't Open/Close (One Side)
This is a common issue and usually points to a problem with the motor, linkage, or wiring on the affected side.
- Check the Wiring: Start by inspecting the wiring harness leading to the headlight motor. Look for any signs of damage, such as frayed wires, corroded connectors, or loose connections. Use a multimeter to check for continuity in the wires and ensure the motor is receiving power when the headlight switch is activated. Continuity is a complete and unbroken electrical path.
- Inspect the Linkage: Examine the linkage connecting the motor to the headlight housing. Look for any signs of damage, such as bent or broken rods, worn-out bushings, or excessive play. If the linkage is damaged, it may need to be replaced. Also, check for obstructions that might be preventing free movement.
- Test the Headlight Motor: Disconnect the headlight motor and apply 12V directly to the motor terminals. If the motor doesn't respond, it's likely faulty and needs to be replaced. If the motor runs but is weak or makes unusual noises, it may be on its way out. Be careful to observe the correct polarity; reversing the polarity will cause the motor to run in the opposite direction.
- Check the Limit Switches: Inspect the limit switches located at the top and bottom of the headlight travel. Make sure they are properly positioned and functioning correctly. Use a multimeter to test their continuity. A faulty limit switch can prevent the motor from stopping at the correct position.
- Worm Gear Failure: The worm gear inside the motor housing is a common failure point. These gears are typically made of plastic and can degrade over time, leading to stripped teeth and an inability to transmit power. Rebuilding the motor with a metal worm gear is a popular and durable upgrade. Aftermarket metal gears are readily available online. Accessing the worm gear requires disassembling the headlight motor.
Both Headlights Won't Open/Close
If both headlights are affected, the problem is likely related to a component that controls both sides, such as the headlight switch, relay, or HRCU.
- Check the Headlight Switch: Use a multimeter to test the headlight switch for proper operation. Make sure it's sending the correct signals to the relays and HRCU when activated.
- Check the Headlight Relays: Locate the headlight relays (consult your 240SX repair manual for their exact location). Test each relay by applying 12V to the coil terminals and checking for continuity between the switch terminals. A faulty relay will need to be replaced. Often, tapping on the relay can temporarily restore function, indicating a failing relay.
- Inspect the HRCU: The HRCU is the most complex component in the system. If you suspect a problem with the HRCU, the best course of action is often to replace it with a known working unit. Diagnosing problems within the HRCU itself can be challenging without specialized equipment.
- Check the Ground Connections: Ensure all ground connections for the headlight system are clean and secure. Poor ground connections can cause a variety of electrical problems. Clean any corroded terminals and retighten the ground bolts.
Headlight Opens/Closes Slowly or Jerkily
This symptom often indicates a problem with lubrication, worn linkage, or a weak motor.
- Lubricate the Linkage: Apply a lubricant such as lithium grease to all moving parts of the headlight linkage. This can help reduce friction and improve the smoothness of operation.
- Inspect the Linkage for Wear: Look for signs of wear in the linkage bushings and joints. Replace any worn parts as needed.
- Check the Headlight Motor Voltage: Use a multimeter to measure the voltage at the headlight motor terminals while the headlights are being raised or lowered. Low voltage can indicate a weak motor or a wiring problem.
Grinding Noise During Operation
A grinding noise is almost always indicative of stripped or damaged gears within the headlight motor.
- Disassemble the Headlight Motor: Carefully disassemble the headlight motor to inspect the gears. Look for stripped teeth, cracks, or other signs of damage.
- Replace the Gears: Replace any damaged gears with new ones. As mentioned before, upgrading to a metal worm gear is a recommended improvement.
- Lubricate the Gears: After replacing the gears, apply a liberal amount of grease to the gears to ensure smooth operation.
Troubleshooting Tips and Tricks
- Use a Factory Service Manual (FSM): The FSM is your best friend when working on your 240SX. It contains detailed wiring diagrams, troubleshooting procedures, and component locations.
- Test with a Known Good Component: If possible, try swapping components with a known working unit to isolate the problem. For example, if you suspect a faulty relay, try swapping it with another relay of the same type.
- Pay Attention to Details: When disassembling components, take note of how they fit together and take pictures for reference. This will make reassembly much easier.
- Don't Force Anything: If something doesn't seem to fit, don't force it. Double-check your work and make sure you're using the correct tools and procedures.
- Consider Aftermarket Upgrades: Instead of just replacing broken parts, consider upgrading to more durable aftermarket components. For example, metal headlight motor gears are a popular upgrade that can prevent future failures.
- Check the Fuses: Although not directly related to the core functionality in all cases, check the fuses associated with the headlight circuit. A blown fuse, though less likely to cause a partial failure, can still contribute to some issues.
Safety Precautions
- Disconnect the Battery: Before working on any electrical components, disconnect the negative battery terminal to prevent electrical shocks.
- Use Proper Tools: Use the correct tools for the job. Using the wrong tools can damage components and increase the risk of injury.
- Work in a Well-Lit Area: Ensure you have adequate lighting to see what you're doing.
- Wear Safety Glasses: Wear safety glasses to protect your eyes from debris.
Repairing the pop-up headlights on your 1991 Nissan 240SX can be a rewarding experience. By following these steps and taking your time, you can restore this iconic feature to its former glory and keep your 240SX looking its best. Remember to consult your factory service manual for specific information related to your vehicle. Good luck!