1991 Nissan 240sx Mass Air Flow Sensor
The 1991 Nissan 240sx, a beloved car by enthusiasts and tuners alike, relies on a properly functioning Mass Air Flow (MAF) sensor for optimal engine performance. The MAF sensor, sometimes referred to as an air flow meter, is a crucial component in the engine management system. This article will delve into the purpose, symptoms of failure, troubleshooting, replacement, and maintenance of the 1991 Nissan 240sx MAF sensor, providing a comprehensive guide for owners and mechanics.
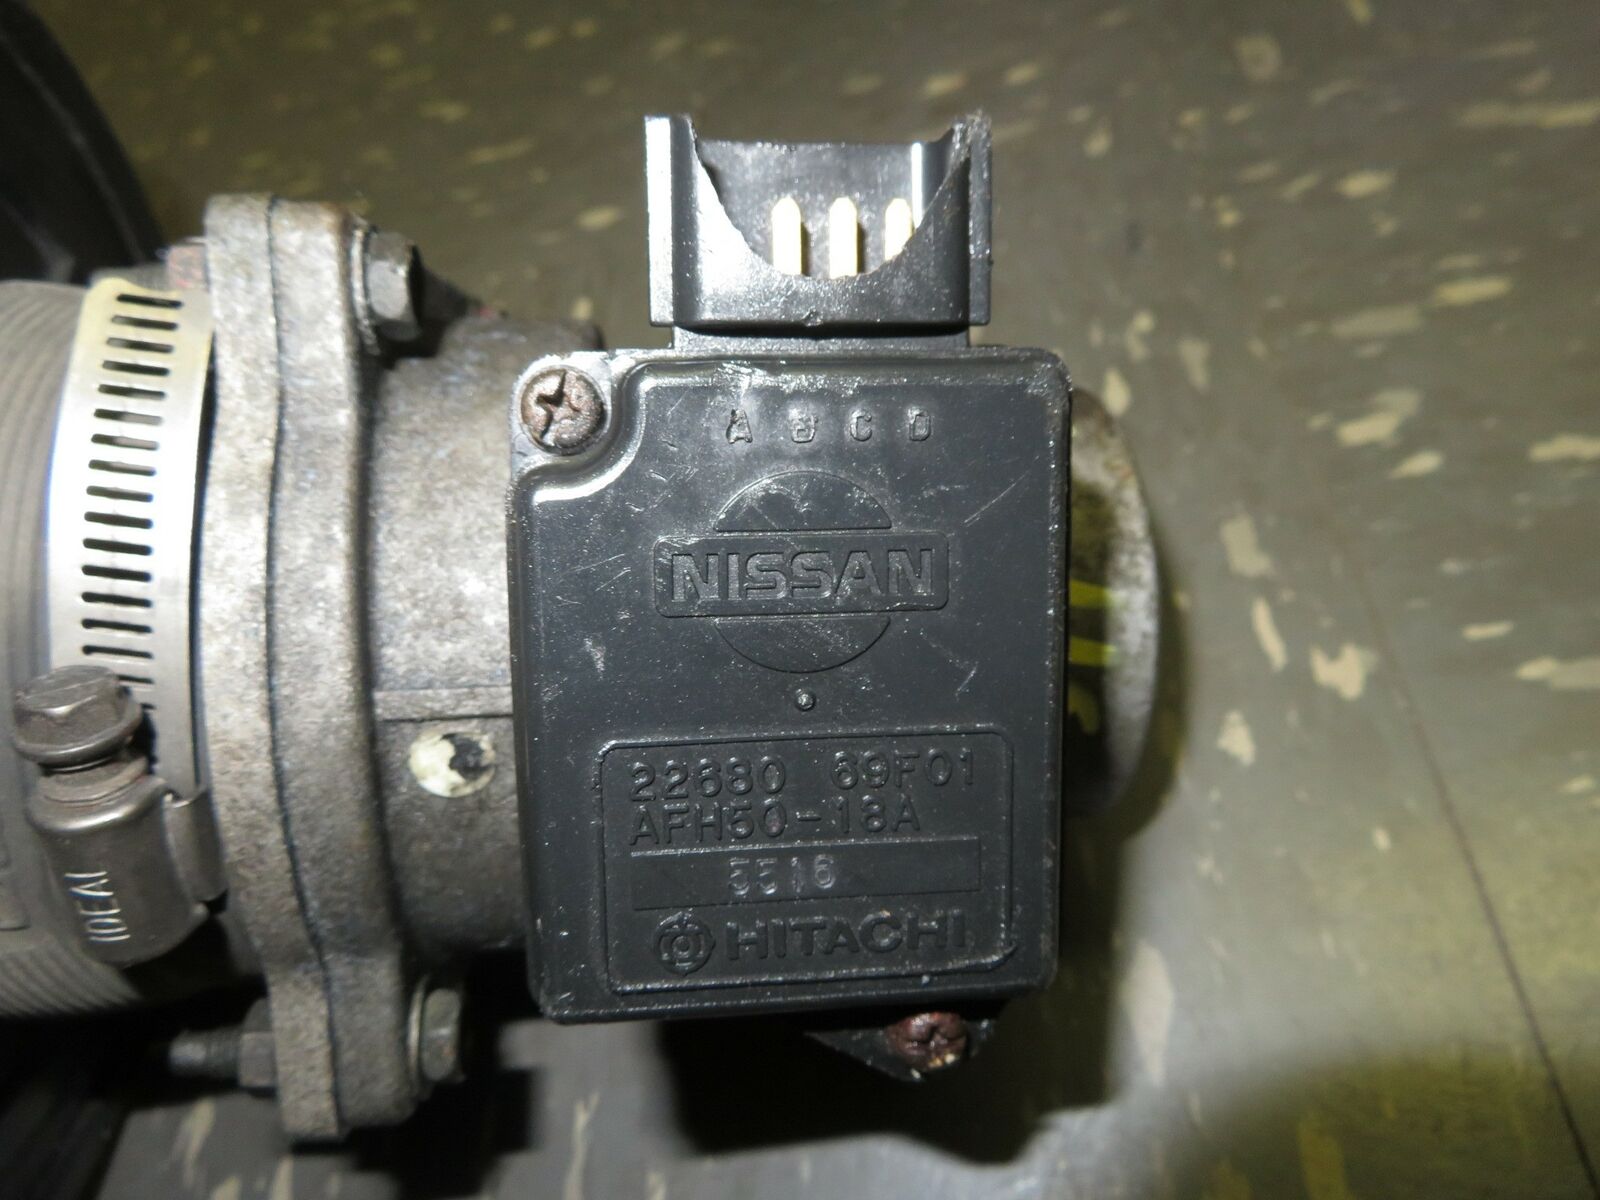
Understanding the 1991 Nissan 240sx Mass Air Flow Sensor
The Mass Air Flow (MAF) sensor's primary job is to measure the amount of air entering the engine. This information is then relayed to the Engine Control Unit (ECU), which uses it to calculate the correct amount of fuel to inject for optimal combustion. In essence, the MAF sensor is a critical input for achieving the proper air-fuel ratio, ensuring efficient and clean engine operation.
In the 1991 240sx, the MAF sensor is typically located in the intake tract, after the air filter and before the throttle body. Its placement allows it to accurately measure the volume of air drawn into the engine. Understanding its role and location is the first step in diagnosing potential issues.
Symptoms of a Failing MAF Sensor in a 1991 Nissan 240sx
A faulty MAF sensor can manifest in various ways, impacting your 240sx's performance and fuel economy. Recognizing these symptoms early can prevent further damage and potentially costly repairs. Common signs include:
- Poor Fuel Economy: The ECU, receiving incorrect data from the MAF sensor, may miscalculate the fuel mixture, leading to excessive fuel consumption.
- Rough Idle: An inaccurate air-fuel mixture can cause the engine to idle erratically, sometimes stalling or running very roughly.
- Stalling: The engine may stall frequently, especially at idle or during deceleration.
- Hesitation or Stumbling During Acceleration: When accelerating, the engine might hesitate or stumble due to an incorrect fuel mixture. This can feel like a lack of power or a delay in response to the accelerator pedal.
- Check Engine Light (CEL): A failing MAF sensor will often trigger the Check Engine Light. Diagnostic trouble codes (DTCs) related to the MAF sensor, such as P0100, P0101, P0102, or P0103, will likely be stored in the ECU.
- Black Smoke from Exhaust: Rich fuel mixtures (too much fuel, not enough air) can cause black smoke to exit the exhaust pipe.
- Difficulty Starting: In some cases, a faulty MAF sensor can make it difficult to start the engine.
- Failed Emissions Test: An improperly functioning MAF sensor can cause your 240sx to fail an emissions test due to excessive pollutants being released.
It's important to note that these symptoms can also be caused by other issues, so a thorough diagnosis is essential before replacing the MAF sensor.
Troubleshooting the 1991 Nissan 240sx MAF Sensor
Before replacing the MAF sensor, consider performing some basic troubleshooting steps to confirm the diagnosis and rule out other potential problems.
Visual Inspection:
Start by visually inspecting the MAF sensor and its wiring harness. Look for any signs of damage, such as:
- Cracked or broken sensor housing
- Damaged wiring or connectors
- Corrosion on the electrical pins
- Loose connections
Ensure that the wiring harness is securely connected to the MAF sensor and that there are no frayed or exposed wires.
Cleaning the MAF Sensor:
Sometimes, a MAF sensor can become contaminated with dirt, dust, or oil, which can affect its accuracy. Cleaning the sensor can sometimes restore its functionality. Use only a dedicated MAF sensor cleaner. Do not use carb cleaner or other solvents, as they can damage the delicate sensor elements. Follow these steps:
- Disconnect the MAF sensor from the wiring harness.
- Remove the MAF sensor from the intake tract.
- Carefully spray the sensor element with MAF sensor cleaner, following the instructions on the can.
- Allow the sensor to dry completely before reinstalling it.
Important: Handle the sensor element with extreme care, as it is fragile. Avoid touching the sensor element with your fingers.
Testing with a Multimeter:
A multimeter can be used to test the voltage output of the MAF sensor. Consult the 1991 Nissan 240sx repair manual for the specific voltage readings for your model. Generally, you will need to:
- Locate the MAF sensor signal wire. This information can be found in the repair manual or wiring diagram.
- Connect the positive lead of the multimeter to the signal wire and the negative lead to a good ground.
- Start the engine and observe the voltage reading at idle.
- Increase the engine speed and observe how the voltage changes. The voltage should increase smoothly as the engine speed increases.
If the voltage reading is outside the specified range or fluctuates erratically, the MAF sensor may be faulty. Remember to consult your repair manual for specific test procedures and voltage specifications.
Scanning for Diagnostic Trouble Codes (DTCs):
Use an OBD-I scanner (since the 1991 240sx uses an older OBD system) to check for any stored diagnostic trouble codes (DTCs) related to the MAF sensor. Common codes include P0100 (Mass or Volume Air Flow Circuit Malfunction), P0101 (Mass or Volume Air Flow Circuit Range/Performance), P0102 (Mass or Volume Air Flow Circuit Low Input), and P0103 (Mass or Volume Air Flow Circuit High Input). Even if the Check Engine Light is not illuminated, there may be pending codes stored in the ECU.
Replacing the 1991 Nissan 240sx MAF Sensor
If troubleshooting indicates a faulty MAF sensor, replacement is necessary. Here's a general guide to replacing the MAF sensor on a 1991 Nissan 240sx:
- Disconnect the Battery: Disconnect the negative battery terminal to prevent electrical shorts.
- Locate the MAF Sensor: As mentioned earlier, it's typically located in the intake tract between the air filter and the throttle body.
- Disconnect the Wiring Harness: Carefully disconnect the wiring harness from the MAF sensor.
- Remove the Old MAF Sensor: Loosen the clamps or screws that secure the MAF sensor to the intake tract. Remove the sensor.
- Install the New MAF Sensor: Install the new MAF sensor in the reverse order. Ensure that it is properly aligned and securely fastened.
- Reconnect the Wiring Harness: Reconnect the wiring harness to the MAF sensor.
- Reconnect the Battery: Reconnect the negative battery terminal.
- Start the Engine: Start the engine and allow it to idle. Check for any leaks or unusual noises.
- Clear Diagnostic Trouble Codes (DTCs): Use an OBD-I scanner to clear any stored DTCs.
- Test Drive: Take the car for a test drive to ensure that the issue has been resolved and that the engine is running smoothly.
Note: Always use a high-quality replacement MAF sensor from a reputable manufacturer. Using a cheap or low-quality sensor can lead to inaccurate readings and performance issues.
Maintaining Your 1991 Nissan 240sx MAF Sensor
Proper maintenance can help extend the life of your MAF sensor and prevent future problems:
- Regular Air Filter Replacement: A clean air filter will prevent dirt and debris from entering the engine and contaminating the MAF sensor. Follow the manufacturer's recommended maintenance schedule for air filter replacement.
- Avoid Over-Oiling Air Filters: If you are using an aftermarket oiled air filter, be careful not to over-oil it. Excess oil can coat the MAF sensor and affect its accuracy.
- Inspect and Clean the MAF Sensor Periodically: Periodically inspect the MAF sensor for dirt and debris. If necessary, clean it using a dedicated MAF sensor cleaner.
Conclusion
The Mass Air Flow (MAF) sensor is a vital component in your 1991 Nissan 240sx's engine management system. By understanding its function, recognizing the symptoms of failure, performing basic troubleshooting steps, and following proper replacement and maintenance procedures, you can ensure that your 240sx continues to run smoothly and efficiently. A functioning MAF sensor is crucial for maintaining optimal performance, fuel economy, and emissions compliance. If you are unsure about any of the procedures described in this article, consult a qualified mechanic. Remember, proper diagnosis is key before replacing any parts on your vehicle.