1991 Nissan 240sx Tail Lights: Restoring Vs. Upgrading
The 1991 Nissan 240SX, affectionately known as the S13, holds a special place in the hearts of car enthusiasts. Its sleek design and tunable engine made it a favorite for drifting, modifying, and generally enjoying on the road. One area that often shows its age on these vehicles is the tail lights. Cloudy lenses, cracked housings, and burnt-out bulbs are common issues. When faced with these problems, you have two main paths: restoration or upgrade. This article delves into the pros and cons of each, providing the technical information you need to make an informed decision.
Restoring Your 240SX Tail Lights
Restoring your original tail lights aims to bring them back to their factory-fresh condition. This approach appeals to those who value originality or want to maintain the classic look of their S13. Restoration typically involves cleaning, polishing, and repairing existing components.
Cleaning and Polishing
Over time, the polycarbonate plastic used in tail light lenses can become cloudy due to oxidation and UV exposure. This reduces light output and detracts from the vehicle's appearance. The process of cleaning and polishing involves removing this outer layer of oxidation to reveal the clear plastic underneath.
Materials and Tools Needed:
- Sandpaper: Different grits, typically ranging from 400 to 3000 grit. Wet/dry sandpaper is recommended.
- Polishing Compounds: A cutting compound and a polishing compound are essential.
- Buffing Pads: Foam buffing pads specifically designed for plastic.
- Power Drill or Buffer: A variable-speed drill or buffer is ideal for applying polishing compounds.
- Microfiber Cloths: For wiping away residue and polishing.
- Masking Tape: To protect the surrounding paint.
- Water Spray Bottle: To keep the sandpaper lubricated.
- UV Protectant: To prevent future oxidation.
Procedure:
- Clean the lenses: Wash the tail lights thoroughly with soap and water to remove dirt and debris.
- Mask the surrounding area: Use masking tape to protect the paint around the tail lights.
- Wet Sanding: Start with 400-grit sandpaper and wet sand the lens in a back-and-forth motion. Apply moderate pressure and keep the sandpaper lubricated with water. Gradually increase the grit, moving to 600, 800, 1000, 1500, 2000, 2500 and finally 3000. Ensure each grit removes the scratches from the previous grit. This is the most crucial step. If you skip a grit, you will still see deeper scratches.
- Polishing: Apply a cutting compound to a buffing pad and buff the lens at a moderate speed. Overlapping passes are important. Switch to a polishing compound and a clean buffing pad, repeating the process to achieve a clear finish.
- Wiping and Inspection: Wipe the lenses clean with a microfiber cloth and inspect for any remaining imperfections. Repeat the polishing steps as needed.
- UV Protection: Apply a UV protectant to the lenses to prevent future oxidation. This will help maintain the clarity of the lenses for a longer period.
Technical Note: The key to successful tail light restoration is patience and proper sanding technique. It is crucial to remove all scratches from each grit before moving on to the next. Skipping grits will result in a hazy or scratched finish.
Repairing Cracks and Damage
Minor cracks and chips can often be repaired using specialized plastic repair adhesives. However, severely damaged lenses may require replacement, either with a new OEM (Original Equipment Manufacturer) part or a used one in better condition.
Materials and Tools Needed:
- Plastic Repair Adhesive: Choose an adhesive specifically designed for polycarbonate plastics.
- Sandpaper: Fine-grit sandpaper (600 grit or higher) for smoothing the repaired area.
- Applicator: A small brush or applicator tip for applying the adhesive.
- Clamps or Tape: To hold the cracked pieces together while the adhesive cures.
Procedure:
- Clean the damaged area: Thoroughly clean the cracked or chipped area with isopropyl alcohol.
- Apply the adhesive: Carefully apply the plastic repair adhesive to the crack or chip.
- Clamp or tape: Secure the cracked pieces together with clamps or tape to ensure a tight bond while the adhesive cures. Follow the manufacturer's instructions for curing time.
- Sand and Smooth: Once the adhesive is fully cured, use fine-grit sandpaper to smooth the repaired area. Start with a slightly coarser grit if necessary, then move to finer grits for a seamless finish.
- Polish (Optional): If desired, polish the repaired area using the same polishing techniques described above for restoring clarity.
Replacing Bulbs and Sockets
Over time, bulbs can burn out, and sockets can corrode, leading to dim or non-functional tail lights. Replacing these components is a straightforward task. Consider upgrading to LED bulbs for improved brightness and longevity. Ensure you use the correct bulb type for the 1991 240SX (typically 1157 for brake/tail lights and 1156 for turn signals).
Upgrading Your 240SX Tail Lights
Upgrading your tail lights can enhance the appearance of your S13 and potentially improve visibility. A plethora of aftermarket options exist, ranging from smoked lenses to LED conversions.
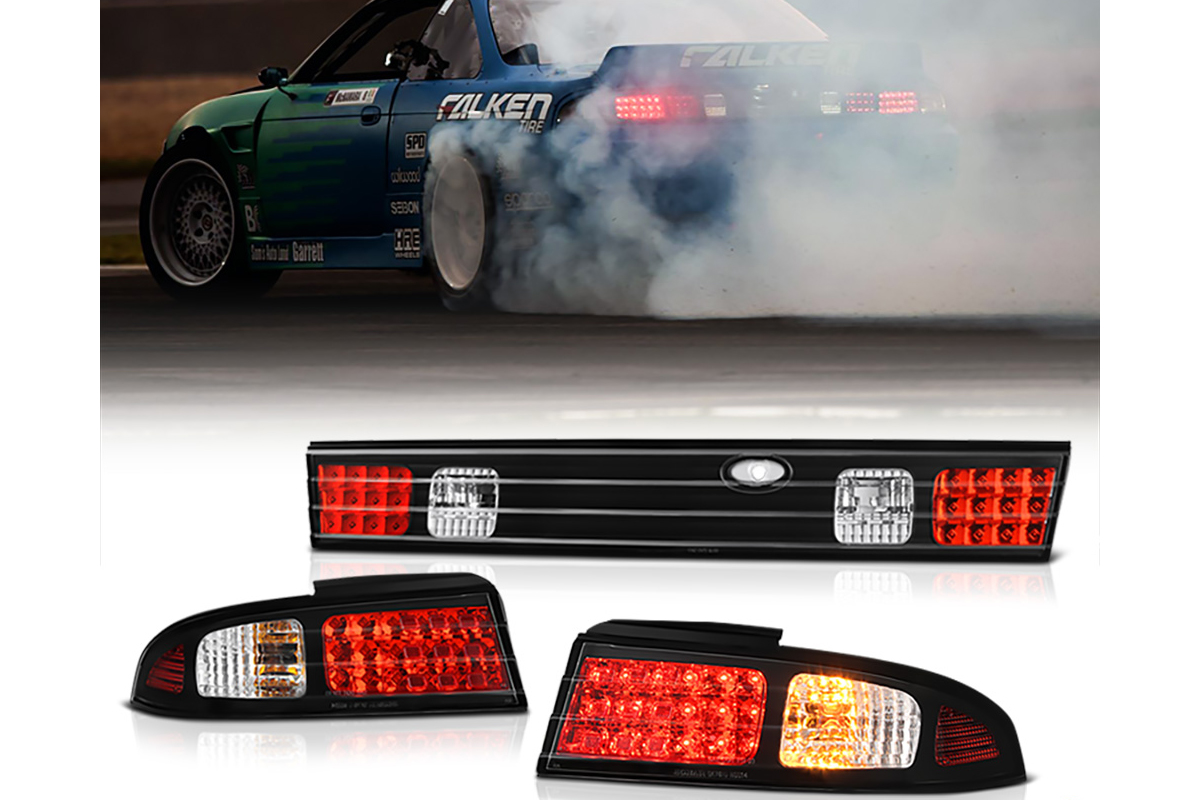
Aftermarket Tail Light Assemblies
Several companies offer complete aftermarket tail light assemblies for the 1991 240SX. These assemblies often feature modern designs, LED lighting, and improved aesthetics. When choosing an aftermarket assembly, consider the following:
- Quality: Look for assemblies made from high-quality materials with durable construction. Read reviews and research the manufacturer's reputation.
- Fitment: Ensure the assembly is specifically designed for the 1991 240SX to guarantee proper fitment. Poor fitment can lead to gaps, leaks, and difficulty in installation.
- Lighting Technology: Consider assemblies that utilize LED technology for improved brightness, longevity, and energy efficiency.
- DOT Compliance: Verify that the assembly meets Department of Transportation (DOT) standards for safety and legality. Non-compliant lights could result in fines.
LED Conversion Kits
LED conversion kits allow you to replace the incandescent bulbs in your existing tail light housings with LED bulbs. This is a relatively inexpensive way to upgrade your tail lights and improve brightness. However, some things to keep in mind:
- Compatibility: Ensure that the LED bulbs are compatible with your vehicle's electrical system. Some LEDs may require resistors to prevent hyperflashing (rapid turn signal blinking).
- Brightness: Choose LEDs with adequate brightness to ensure visibility. Some LEDs may appear dimmer than incandescent bulbs, especially in daylight.
- Heat Dissipation: LEDs generate heat, so choose bulbs with good heat dissipation properties to prevent premature failure.
Smoked Tail Lights
Smoked tail lights offer a more aggressive and customized look. They can be achieved by applying a tint film to the lenses or purchasing pre-tinted aftermarket assemblies. It's crucial to ensure the taillights remain bright enough for other drivers to see clearly, especially at night. Overly dark tint can be a safety hazard and may violate local traffic laws.
Technical Note: When installing any aftermarket tail light assembly or LED conversion kit, always disconnect the battery before starting work. Ensure all connections are secure and properly insulated. Test the lights thoroughly after installation to verify proper function.
Restoration vs. Upgrade: Which is Right for You?
The choice between restoring and upgrading your 1991 240SX tail lights depends on your priorities and budget.
Choose Restoration If:
- You prioritize originality and want to maintain the classic look of your S13.
- Your budget is limited.
- The existing tail lights are in relatively good condition and only require cleaning, polishing, or minor repairs.
Choose Upgrade If:
- You want to enhance the appearance of your S13 with a more modern or customized look.
- You prioritize improved brightness and visibility.
- You are willing to invest in aftermarket parts and potentially more complex installation procedures.
Ultimately, the decision is yours. Carefully weigh the pros and cons of each approach and consider your own skills, resources, and preferences. Whether you choose to restore your original tail lights or upgrade to aftermarket assemblies, taking care of your S13's lighting will improve its appearance and enhance your driving experience.