1993 Nissan 240sx S13 Hatchback
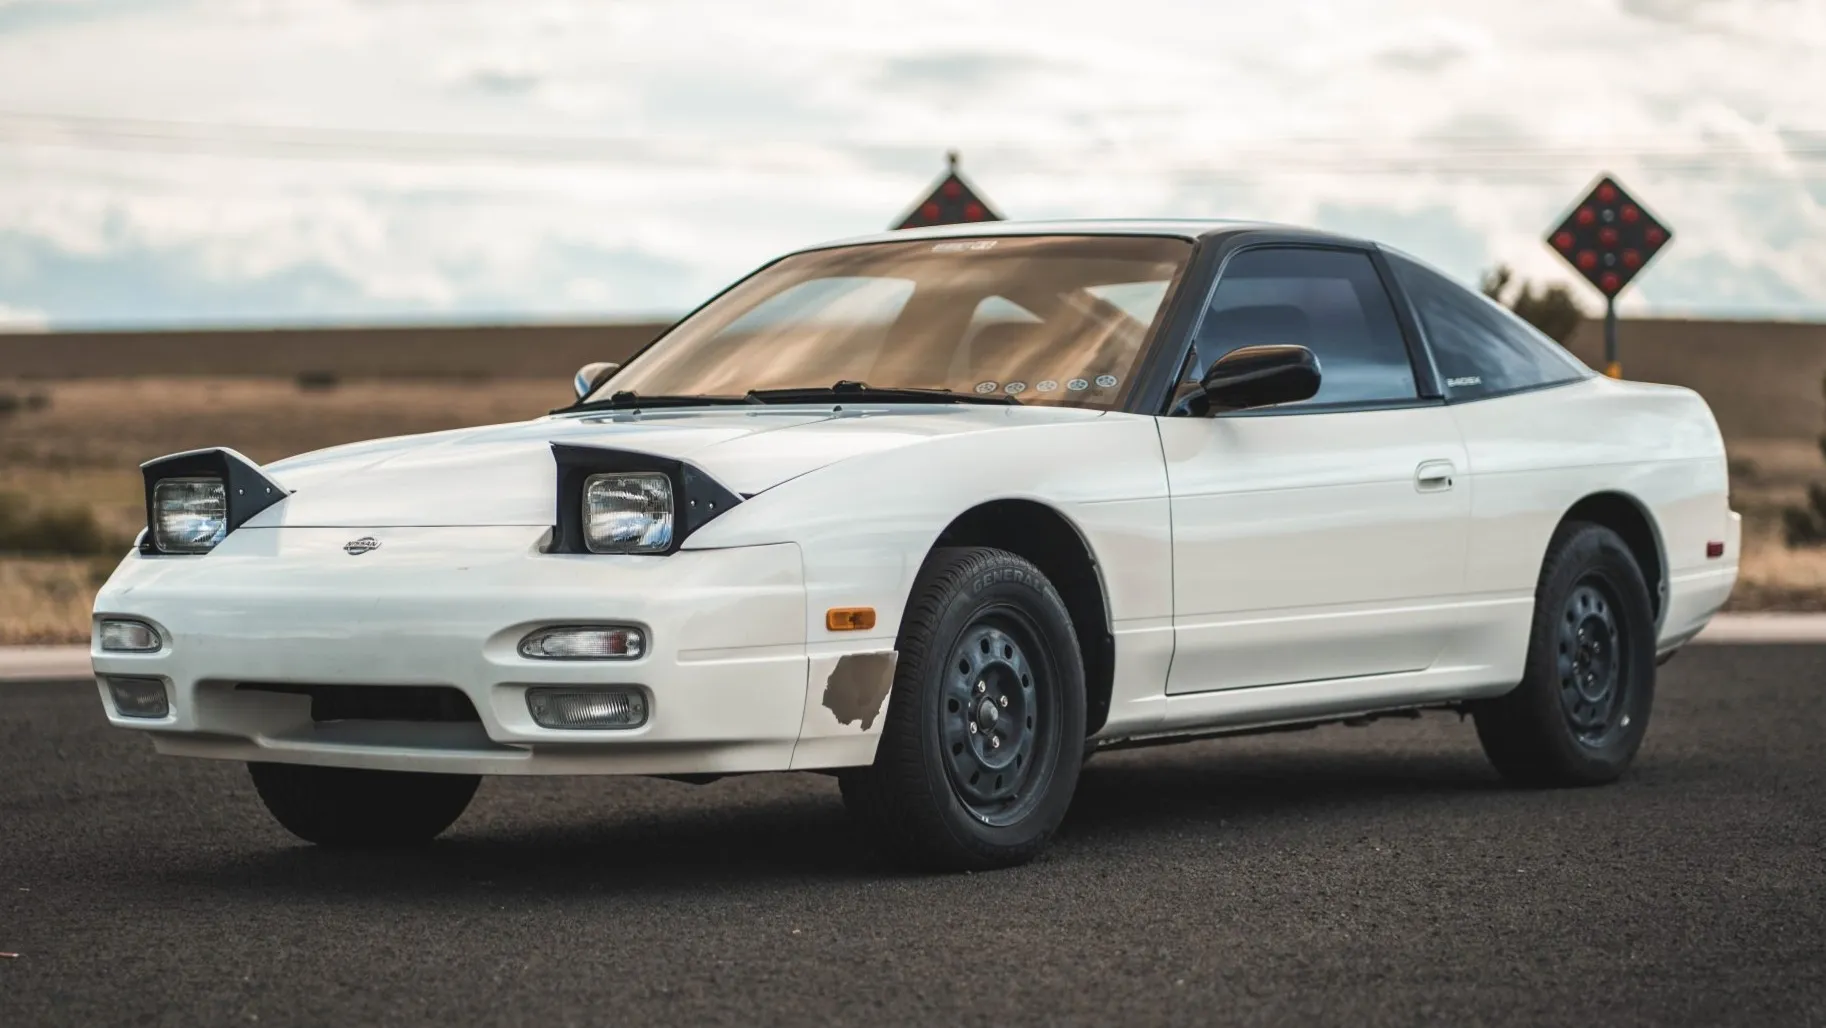
The 1993 Nissan 240SX S13 hatchback. A legend. A tuner's dream. But like any car pushing three decades, it's bound to have some quirks and issues. Let's tackle some common problems you might be facing and, more importantly, how to fix them.
Problem: Rust - The Silent Killer
Unfortunately, time is undefeated, and rust is a major enemy of the S13. Especially in areas with harsh winters or coastal climates. Early detection is key!
Common Rust Locations:
- Rear Quarter Panels: Behind the rear wheels, these are notorious. Check along the wheel arch and the rocker panel seam.
- Frame Rails: Crucial for structural integrity. Inspect underneath the car, especially near the rear suspension mounts.
- Floor Pans: Check from inside the cabin and underneath. Look for soft spots or perforations.
- Strut Towers: Extremely important for handling. Cracking or excessive rust here is a serious concern.
- Hatch Area: Around the rear window seal and hinges. Water tends to accumulate here.
Solution: Rust Repair
The repair method depends on the severity. For minor surface rust, you can often handle it yourself. For more serious rust, you'll need a professional.
- Assessment: Thoroughly inspect the area to determine the extent of the damage. Use a screwdriver to poke at suspected areas. If it goes through easily, you're dealing with significant rust.
- Surface Rust Repair (DIY):
- Tools Needed: Wire brush, sandpaper (various grits), rust converter, primer, paint (matching your car's color), clear coat.
- Procedure: Remove loose rust with a wire brush. Sand the area down to bare metal. Apply rust converter to neutralize any remaining rust. Prime the area and then paint, following the paint manufacturer's instructions. Finish with clear coat for protection.
- Estimated Cost (DIY): $50 - $150 (depending on the quality of materials)
- Significant Rust Repair (Professional):
- Description: This typically involves cutting out the rusted metal and welding in new panels. Frame rail repair might require specialized equipment and expertise.
- Considerations: Find a reputable body shop with experience in rust repair and welding. Get multiple quotes. Ensure they use quality replacement panels.
- Estimated Cost (Professional): $500 - $5000+ (depending on the extent of the damage and the labor rates in your area) Frame rail repair can be especially costly.
Problem: Worn Suspension Components
After 30 years, suspension components are likely worn. This can lead to poor handling, excessive body roll, and uneven tire wear.
Common Worn Suspension Parts:
- Struts/Shocks: Leaking fluid, bouncy ride, poor damping.
- Springs: Sagging, cracked, or broken.
- Control Arm Bushings: Cracked, torn, or missing.
- Ball Joints: Loose, noisy, or worn.
- Tie Rod Ends: Loose, noisy, or worn.
- Sway Bar End Links: Cracked, broken, or noisy.
Solution: Suspension Refresh
A complete suspension refresh can drastically improve the handling and ride quality of your S13. You have several options:
- OEM Replacement: Replacing worn parts with original equipment manufacturer (OEM) or equivalent parts. This is a good option if you want to maintain the stock ride and handling characteristics.
- Performance Upgrade: Upgrading to aftermarket performance parts, such as coilovers, stiffer sway bars, and adjustable control arms. This is a good option if you want to improve handling for track days or spirited driving.
- Partial Refresh: Replacing only the most worn components. This is a more budget-friendly option, but it might not address all the issues.
Procedure & Costs
- Struts/Shocks & Springs Replacement:
- Tools Needed: Jack, jack stands, spring compressors, wrenches, sockets, penetrating oil.
- Estimated Cost (DIY with OEM parts): $300 - $800 (depending on the brand and quality of parts)
- Estimated Cost (Professional): $600 - $1200 (including labor)
- Control Arm Bushing Replacement:
- Tools Needed: Jack, jack stands, wrenches, sockets, ball joint press (or access to one), penetrating oil. Bushing removal/install tool is highly recommended
- Estimated Cost (DIY with OEM bushings): $100 - $300 (depending on which bushings are replaced and if you have access to a press)
- Estimated Cost (Professional): $400 - $1000 (including labor, can be labor intensive)
- Ball Joint & Tie Rod End Replacement:
- Tools Needed: Jack, jack stands, wrenches, sockets, ball joint separator (pickle fork or ball joint press), penetrating oil.
- Estimated Cost (DIY with OEM parts): $100 - $300 (depending on which parts are replaced)
- Estimated Cost (Professional): $300 - $700 (including labor)
- Coilover Installation (Performance Upgrade):
- Tools Needed: Jack, jack stands, wrenches, sockets, penetrating oil.
- Estimated Cost (DIY with aftermarket coilovers): $800-$2000 (depending on coilover quality)
- Estimated Cost (Professional): $1000-$2500 (Including labor and alignment)
Don't forget to get a wheel alignment after any suspension work!
Problem: Electrical Gremlins
Old wiring, corroded connections, and failing sensors can cause a variety of electrical problems in the S13.
Common Electrical Issues:
- Dim Headlights: Often caused by corroded grounds or a failing headlight relay.
- Non-Functional Gauges: Speedometer, tachometer, fuel gauge, etc., can fail due to sensor issues, wiring problems, or a faulty instrument cluster.
- Starting Problems: Can be caused by a weak battery, faulty starter, bad ignition switch, or a failing fuel pump relay.
- Power Window/Door Lock Issues: Often caused by broken wires in the door harness, faulty motors, or a failing control module.
- Check Engine Light (CEL): Indicates a problem with the engine or emissions system. Requires a scan tool to diagnose.
Solution: Electrical Troubleshooting and Repair
Electrical problems can be tricky to diagnose, but a systematic approach can help.
- Visual Inspection: Check for obvious signs of damage, such as broken wires, corroded connectors, and burnt fuses.
- Grounds: Clean and tighten all ground connections. Poor grounds are a common cause of electrical problems.
- Fuses and Relays: Check all fuses and relays to make sure they are not blown or faulty.
- Wiring Diagram: Obtain a wiring diagram for your car. This will help you trace circuits and identify potential problems.
- Multimeter: Use a multimeter to test for voltage, continuity, and resistance.
- Scan Tool: Use a scan tool to read diagnostic trouble codes (DTCs) from the engine control unit (ECU). This can help you pinpoint the source of the problem.
Specific Electrical Issue Solutions
- Dim Headlights:
- Solution: Clean all ground connections associated with the headlights. Replace headlight relay. Upgrade headlight wiring harness.
- Estimated Cost: $20 - $150 (depending on the solution)
- Non-Functional Gauges:
- Solution: Check the wiring and connectors to the affected gauge. Replace the sensor associated with the gauge. Test the instrument cluster.
- Estimated Cost: $50 - $300 (depending on the gauge and the problem)
- Check Engine Light:
- Solution: Use an OBD-I scanner to read the code. Diagnose the problem based on the code. Fix the issue and clear the code.
- Estimated Cost: $0 (to read the code with your own scanner) - $Varies depending on the repair needed.
If you're not comfortable working with electrical systems, it's best to take your car to a qualified mechanic.
Problem: Cooling System Issues
Overheating is a common problem on older cars, and the S13 is no exception. A well-maintained cooling system is crucial to prevent engine damage.
Common Cooling System Problems:
- Leaking Radiator: Cracks, corrosion, or leaks at the seams.
- Leaking Hoses: Cracked, brittle, or swollen hoses.
- Faulty Thermostat: Stuck open or closed.
- Water Pump Failure: Leaking, noisy, or not circulating coolant.
- Clogged Radiator: Reduced cooling capacity.
- Air in the System: Can cause overheating and poor cooling performance.
Solution: Cooling System Maintenance and Repair
- Visual Inspection: Check for leaks, cracks, and damage to the radiator, hoses, water pump, and thermostat housing.
- Pressure Test: Use a cooling system pressure tester to check for leaks.
- Thermostat Replacement: Replace the thermostat as part of routine maintenance (every 2-3 years).
- Radiator Flush: Flush the cooling system to remove debris and contaminants.
- Hose Replacement: Replace old or damaged hoses.
- Water Pump Replacement: Replace the water pump if it is leaking, noisy, or not circulating coolant properly.
Cooling System Repair Costs
- Radiator Replacement:
- Tools Needed: Wrench set, socket set, hose clamp pliers, drain pan.
- Estimated Cost (DIY with aftermarket radiator): $150-$400.
- Estimated Cost (Professional): $300-$700 (parts + labor).
- Hose Replacement:
- Tools Needed: Hose clamp pliers, drain pan.
- Estimated Cost (DIY with aftermarket hoses): $30-$100.
- Estimated Cost (Professional): $100-$300 (parts + labor).
- Water Pump Replacement:
- Tools Needed: Wrench set, socket set, pulley holder, drain pan, gasket scraper.
- Estimated Cost (DIY with aftermarket pump): $80-$200.
- Estimated Cost (Professional): $300-$600 (parts + labor).
- Thermostat Replacement:
- Tools Needed: Wrench set, socket set, drain pan, gasket scraper.
- Estimated Cost (DIY with aftermarket thermostat): $20-$50.
- Estimated Cost (Professional): $100-$200 (parts + labor).
Always use the correct type of coolant for your S13. Mix coolant with distilled water, not tap water. Burp the system after refilling to remove any trapped air.
Keeping your 1993 Nissan 240SX S13 hatchback running smoothly requires attention and care. Addressing these common issues proactively will help you enjoy this iconic car for years to come. Remember to consult your factory service manual for specific instructions and torque specifications. Happy wrenching!