1993 Nissan 240sx Tail Lights: Finding The Perfect Fit
The 1993 Nissan 240SX, a beloved platform for drifting, modification, and general automotive enthusiasm, has a tail light assembly that's both iconic and surprisingly complex when it comes to sourcing replacements or upgrades. This article dives deep into the nuances of 240SX tail lights, covering everything from identifying the correct year models to understanding aftermarket options and troubleshooting common issues. We'll approach this from the perspective of a knowledgeable mechanic guiding a capable DIYer.
Identifying the Right Tail Lights: A Year-by-Year Breakdown
First and foremost, accurate identification of your 240SX's year and model is crucial. The 240SX, sold in the US market from 1989 to 1998, has significant visual differences in its tail lights depending on the year. Mismatched tail lights are not only aesthetically jarring but can also lead to wiring incompatibility issues.
1989-1990 (S13 Hatchback)
The initial years of the S13 hatchback featured a distinctive, wrap-around design. This design utilized a two-piece setup on each side, with a larger upper section containing the brake and tail lights, and a smaller lower section containing the turn signal and reverse lights. These are relatively hard to find in good condition, as they are the oldest. Be prepared to pay a premium for NOS (New Old Stock) or well-preserved used examples.
Key identifiers: Two-piece design, wrap-around lens. Look for the correct amber turn signal lens for legal compliance in most jurisdictions.
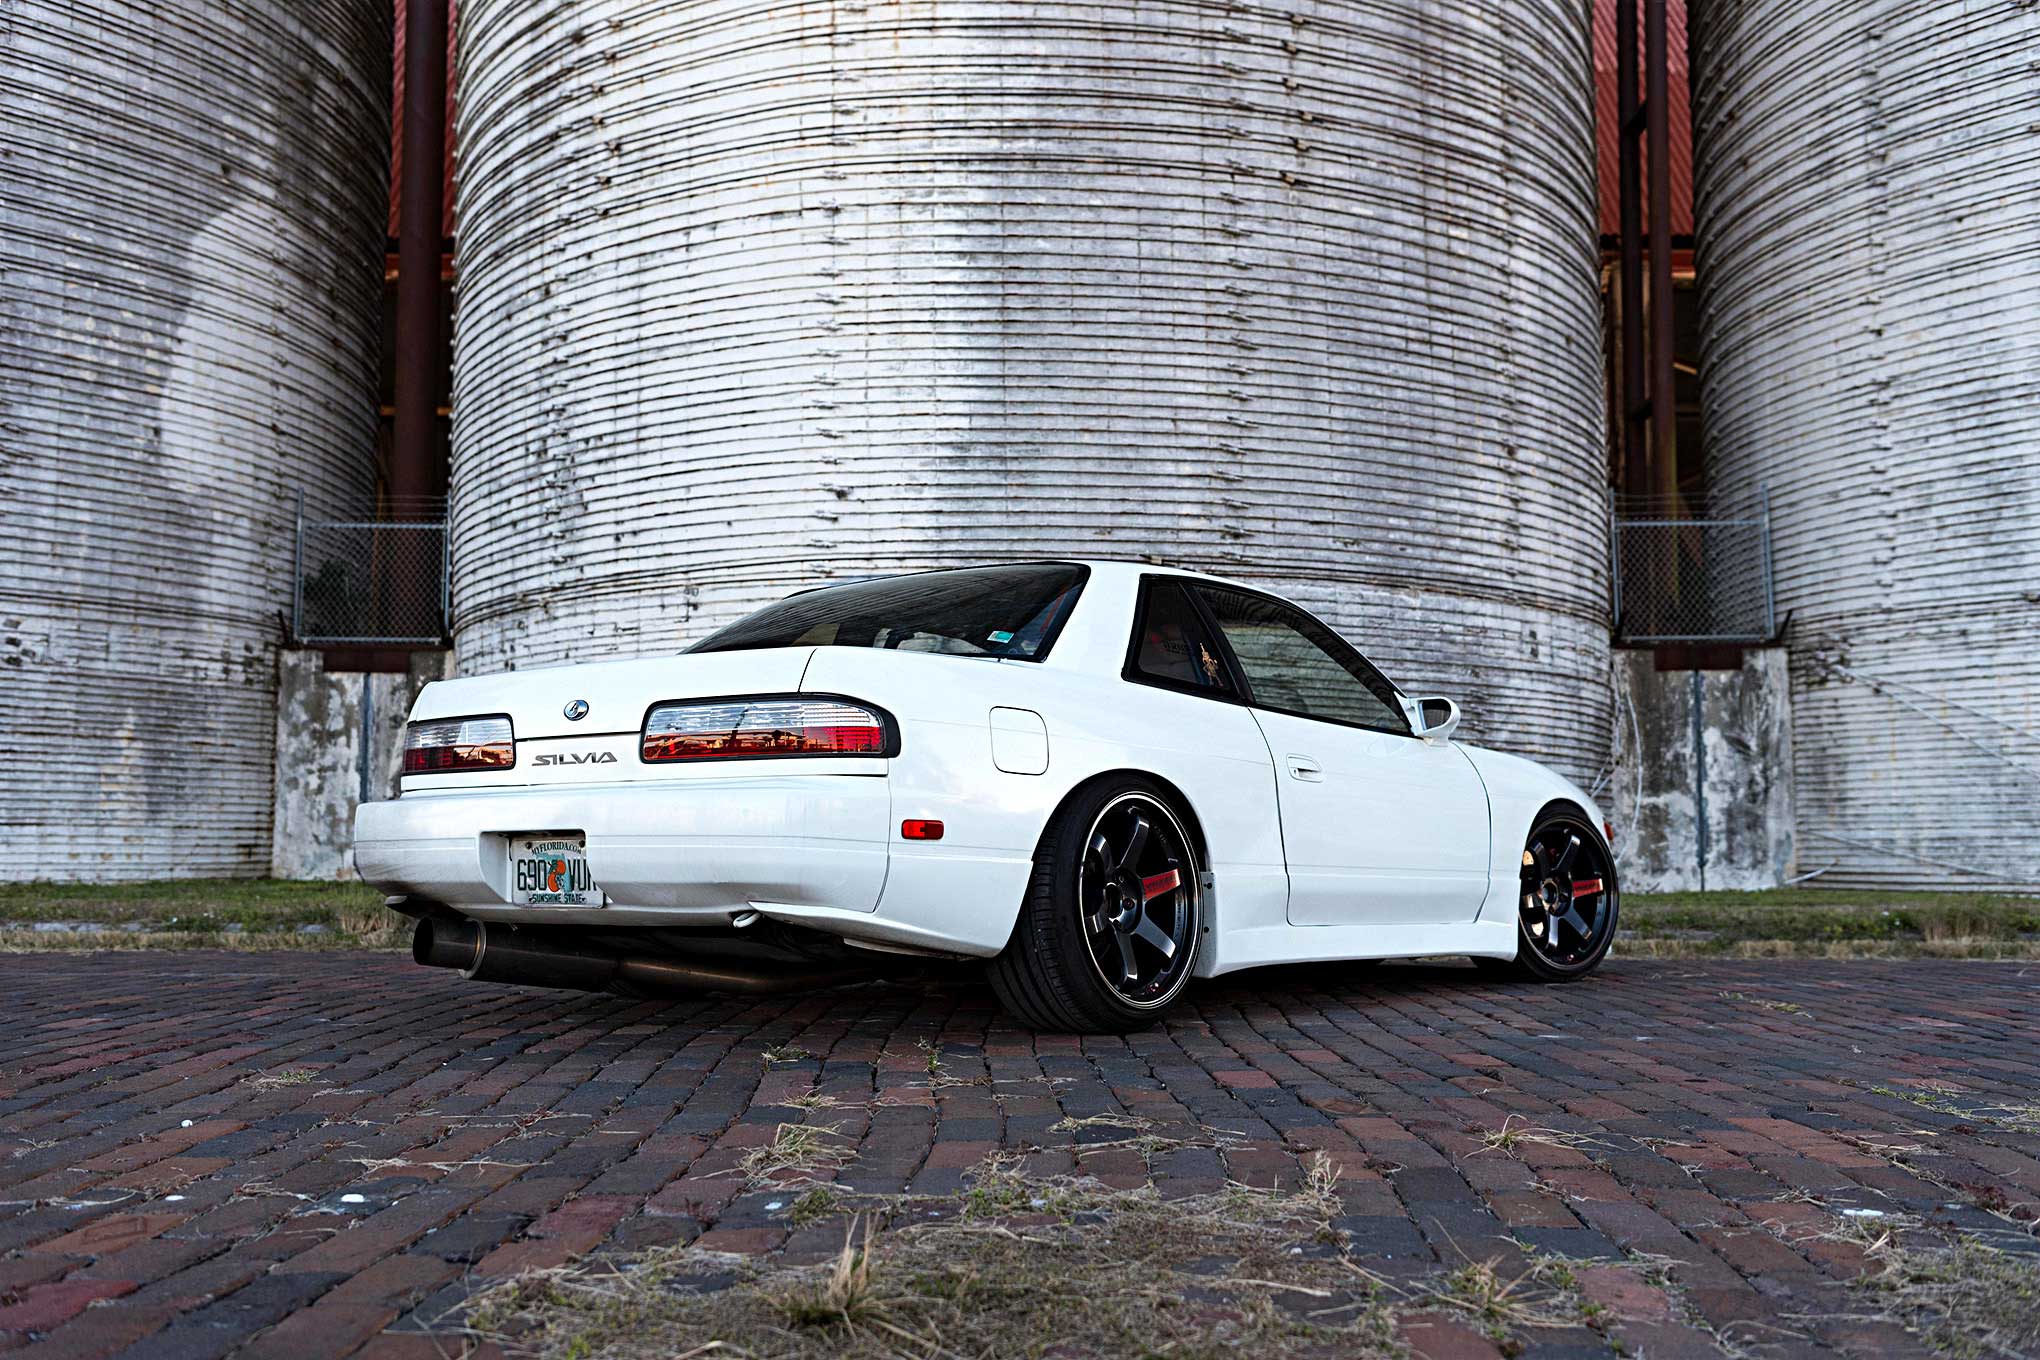
1991-1994 (S13 Hatchback)
This is where things get interesting. While visually similar to the 1989-1990 models at a glance, the 1991-1994 S13 hatchback tail lights have subtle but important differences in the lens patterns and internal wiring. It's generally possible to swap between these years, but you might need to make minor wiring adjustments or swap bulb sockets for optimal functionality. Some aftermarket companies claim to have solutions that fit all S13 models, however, verify compatibility.
Key identifiers: Two-piece design, subtle lens pattern variations compared to earlier models. Check the bulb socket configurations if swapping between these years.
1995-1998 (S14)
The S14 chassis brought a complete redesign, and the tail lights are no exception. The S14 featured a smooth, integrated design that shared no parts with the earlier S13. The S14 also had two versions referred to as Zenki and Kouki. Zenki models were produced from 1995-1996. The Kouki models were produced from 1997-1998. The tail lights on the two models have a noticeably different shape.
Key identifiers: Smooth, integrated design. Look for the correct Zenki or Kouki model year tail lights to ensure a proper fit.
Understanding Aftermarket Options
The popularity of the 240SX has fueled a vibrant aftermarket scene, offering a wide array of tail light options. These range from direct replacements to heavily modified designs. When considering aftermarket tail lights, keep the following in mind:
- Quality: Not all aftermarket parts are created equal. Research the manufacturer and read reviews before purchasing. Cheaper options may suffer from poor fitment, premature LED failure, or inadequate sealing, leading to water ingress.
- Fitment: Even "direct fit" aftermarket tail lights can require minor modifications. Be prepared to adjust wiring, trim mounting brackets, or use additional weather stripping.
- Legality: Some aftermarket tail lights may not be DOT (Department of Transportation) approved, which could lead to issues with law enforcement or vehicle inspections. Check your local regulations.
- Wiring: Aftermarket LED tail lights often require resistors to prevent "hyper flashing" (rapid turn signal blinking). These resistors mimic the load of traditional incandescent bulbs. The resistor should be placed in parallel to the LED.
Common aftermarket tail light styles include:
- LED Tail Lights: Offer improved brightness, faster response times, and a more modern look. Available in various configurations, including full LED replacements and LED bulb upgrades.
- Clear/Smoked Lenses: Provide a customized appearance. Be aware that smoked lenses can reduce light output, potentially compromising safety.
- Custom Housings: Completely redesigned tail light housings with unique shapes and features. These often require significant modifications to install.
Troubleshooting Common Tail Light Issues
Here are some common problems you might encounter with 240SX tail lights and how to diagnose them:
Dim or Non-Functional Bulbs
This is the most frequent issue. Start by checking the bulbs themselves. Examine the filament for breaks. If the bulb is intact, use a multimeter to test for continuity. If the bulb is good, move on to checking the socket.
Troubleshooting steps:
- Check the bulb: Visual inspection and continuity test.
- Inspect the socket: Look for corrosion or damage. Clean the contacts with electrical contact cleaner.
- Test the wiring: Use a multimeter to check for voltage at the socket when the lights are switched on.
- Check the ground: A poor ground connection can cause dim or erratic behavior. Clean the ground connection point.
Hyper Flashing (Rapid Turn Signal Blinking)
As mentioned earlier, this typically occurs when replacing incandescent bulbs with LEDs. The reduced current draw of LEDs triggers the flasher relay to interpret it as a blown bulb.
Troubleshooting steps:
- Install resistors: Wire resistors in parallel with the LED turn signal bulbs. Resistor wattage should be rated for the application (typically 6-ohm, 50-watt resistors are used).
- Replace the flasher relay: Install an electronic flasher relay designed for LEDs. These relays are not sensitive to the lower current draw of LEDs.
Water Ingress
Water inside the tail light housing can damage bulbs, corrode contacts, and reduce light output.
Troubleshooting steps:
- Inspect the seals: Check the rubber seals around the lens and housing for cracks or damage. Replace the seals if necessary.
- Check the drain holes: Ensure that any drain holes in the housing are clear of debris.
- Apply sealant: If the seals are intact but water is still entering, apply a bead of silicone sealant around the perimeter of the lens.
Wiring Issues
Damaged or corroded wiring can cause a variety of problems, including intermittent light failure, short circuits, and blown fuses.
Troubleshooting steps:
- Visual inspection: Carefully inspect the wiring harness for any signs of damage, such as frayed wires, cracked insulation, or corrosion.
- Continuity testing: Use a multimeter to check for continuity between the tail light connector and the corresponding pins on the vehicle's wiring harness.
- Voltage testing: Check for voltage at the tail light connector when the lights are switched on.
- Repair or replace damaged wiring: Use proper wiring repair techniques, such as soldering and heat shrinking, to repair damaged wires. If the wiring is severely damaged, replace the entire wiring harness.
Removing and Replacing Tail Lights: A Step-by-Step Guide
While the specifics may vary slightly depending on the year and model of your 240SX, the general process for removing and replacing tail lights is as follows:
- Disconnect the battery: This is a safety precaution to prevent electrical shorts.
- Remove the interior trim: Access to the tail light mounting bolts is typically gained by removing interior trim panels in the trunk or hatch area.
- Disconnect the wiring harness: Disconnect the wiring harness from the tail light assembly.
- Remove the mounting bolts: Unscrew the bolts that secure the tail light assembly to the vehicle's body.
- Remove the tail light assembly: Carefully pull the tail light assembly away from the vehicle. You may need to gently pry it loose if it is stuck.
- Install the new tail light assembly: Align the new tail light assembly with the mounting holes and secure it with the bolts.
- Reconnect the wiring harness: Reconnect the wiring harness to the tail light assembly.
- Reinstall the interior trim: Reinstall the interior trim panels.
- Reconnect the battery: Reconnect the battery.
- Test the lights: Verify that all tail lights, brake lights, turn signals, and reverse lights are functioning properly.
Pro Tip: Before installing a new tail light assembly, apply a thin layer of dielectric grease to the bulb sockets and wiring connectors. This will help prevent corrosion and ensure a good electrical connection.
Conclusion
Finding the perfect fit for your 1993 Nissan 240SX tail lights requires careful attention to detail, especially considering the nuances between different model years and the vast array of aftermarket options available. By understanding the specific characteristics of your vehicle and following the troubleshooting steps outlined in this article, you can ensure that your 240SX not only looks its best but also remains safe and compliant with local regulations. Remember to always prioritize quality and safety when selecting replacement or upgrade components.