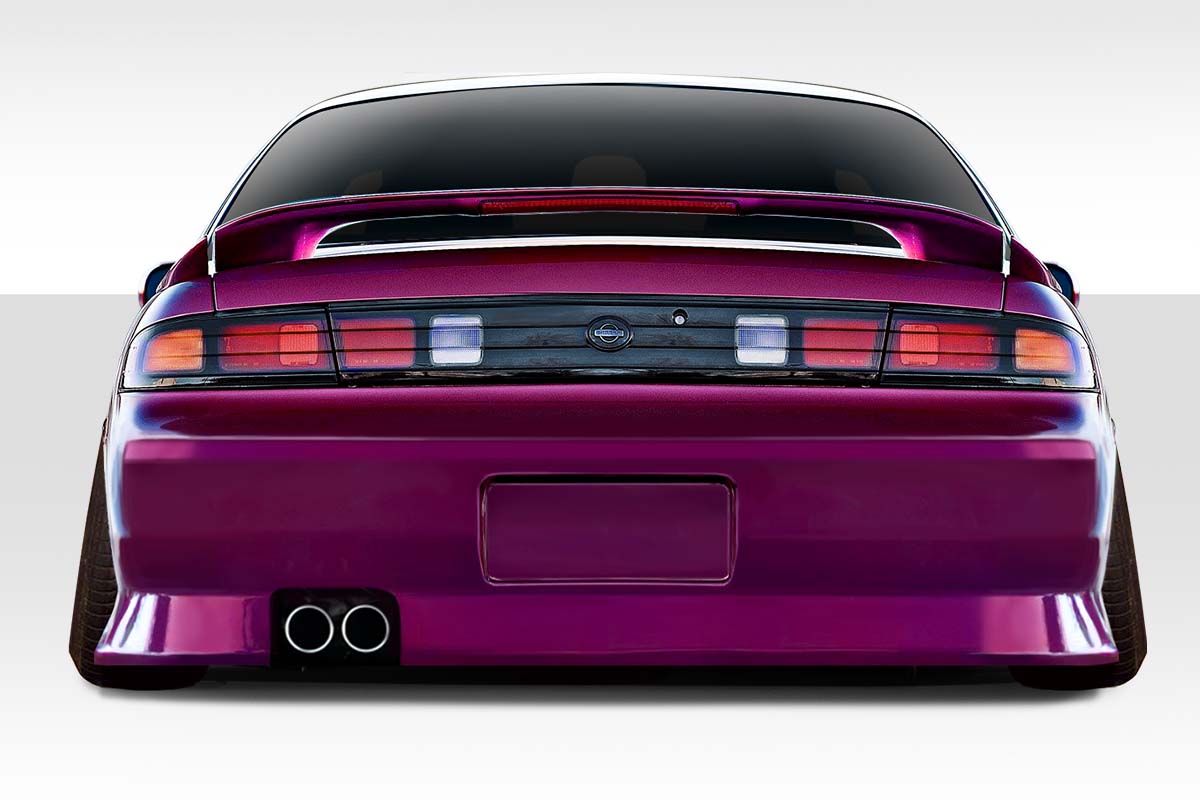
1995 Nissan 240sx Body Kit: Installation Guide
So, you've taken the plunge and gotten yourself a body kit for your 1995 Nissan 240SX. Congratulations! It's a fantastic way to personalize your ride and give it a fresh, aggressive look. However, before you start tearing things apart, let's talk about the installation process. A poorly installed body kit can look worse than no kit at all, and lead to headaches down the road. This guide aims to help you avoid common pitfalls and get the job done right.
Common Problems & Solutions for Your 240SX Body Kit Installation
Installing a body kit isn't always a straightforward bolt-on affair. Expect some challenges, especially if you're working with aftermarket parts. Here are some frequently encountered issues and how to tackle them:
Problem 1: Poor Fitment
This is probably the most common complaint. Body kits, especially those from lesser-known manufacturers, rarely fit perfectly straight out of the box. Expect to do some tweaking. A gap here, an overhang there – it's all part of the process.
Solution: Patience is key! Don't force anything. Begin by test-fitting everything before you even think about paint. This includes bumpers, side skirts, and any other components. Identify the areas where the fit is off. You'll likely need a combination of the following techniques:
- Sanding/Grinding: A rotary tool (like a Dremel) or sandpaper will be your best friends. Start with a coarse grit and work your way to finer grits for a smooth finish. Focus on removing material where the kit is interfering with the car's body.
- Heat Gun: Carefully applying heat can make the fiberglass or polyurethane more pliable. Be extremely cautious – excessive heat can damage the material. Gently heat the area that needs adjustment and try to bend it into the desired shape. Secure it in place while it cools using clamps or tape.
- Adding Material (Fiberglass): For significant gaps, you might need to add fiberglass. This involves layering fiberglass cloth and resin to build up the area. This requires some skill and patience, but there are plenty of tutorials online.
- Shims: Small shims can be used to adjust the height or angle of certain areas. Washers or thin pieces of plastic can work well.
Cost Estimate: Sandpaper, rotary tool bits, and body filler are relatively inexpensive (under $50). Fiberglass repair kits can range from $30-$100 depending on the size and quality.
Problem 2: Incorrect Mounting Hardware
Many body kits come with generic mounting hardware that either doesn't fit properly or is simply inadequate. Cheap screws and flimsy brackets are a recipe for disaster.
Solution: Ditch the provided hardware and invest in quality replacements. Stainless steel bolts, nuts, and washers are a good choice as they resist rust and corrosion. Consider using rivnuts (also called nut serts) for secure attachment points. These create a threaded hole in thin sheet metal, allowing you to bolt the kit directly to the car's body. You may also need to fabricate custom brackets to properly support certain areas of the kit. Metal stock from a hardware store can be easily cut and bent to create sturdy mounting points.
Pro Tip: Before drilling any holes in your car, double-check the fitment and mark the locations carefully. Use a center punch to create a pilot hole before drilling to prevent the drill bit from wandering.
Cost Estimate: A good assortment of stainless steel hardware and rivnuts will cost around $50-$75. Metal stock for brackets is usually inexpensive (under $20).
Problem 3: Damaged or Cracked Body Kit
Shipping can be rough on body kits. It's not uncommon to receive a kit with cracks, chips, or other damage. Even handling the kit during installation can lead to accidental damage.
Solution: If the damage is significant upon arrival, contact the seller immediately. Take photos of the damage and keep all packaging materials. They may offer a replacement or partial refund. For minor cracks and chips, fiberglass repair is your best bet. Follow the instructions on the repair kit carefully. For more severe damage, you might need to consult with a professional body shop. They have the tools and expertise to repair complex fiberglass damage.
Cost Estimate: Minor fiberglass repairs can be done for under $50. Professional body shop repairs can range from $200-$500 depending on the severity of the damage.
Problem 4: Difficulty with Bumper Removal and Installation
Removing the factory bumpers on a 240SX can be tricky, especially if they've been on the car for a long time. Rust and corrosion can seize bolts and clips, making removal a frustrating process. Installing the new bumper can also be difficult if the mounting points are not properly aligned.
Solution: Before attempting to remove the bumpers, soak the bolts and clips with penetrating oil (like PB Blaster) for several hours, or even overnight. This will help to loosen the rust and corrosion. Use a breaker bar or impact wrench to remove stubborn bolts. Be careful not to strip the bolt heads. If a bolt breaks, you may need to use a bolt extractor to remove the remaining portion. When installing the new bumper, make sure all the mounting points are properly aligned before tightening the bolts. You may need to use a pry bar or jack to adjust the position of the bumper. Having an extra set of hands can be a big help during this process.
Cost Estimate: Penetrating oil is relatively inexpensive (under $10). A bolt extractor set can cost between $20-$50. Professional bumper removal and installation can cost between $100-$300.
Problem 5: Paint Matching
Getting the paint to match the existing paint on your 240SX can be a challenge, especially if the car has been repainted in the past. Even if you have the original paint code, the paint may have faded over time.
Solution: The best way to ensure a perfect paint match is to have a professional auto paint shop custom mix the paint. They can use a spectrophotometer to analyze the existing paint on your car and create a formula that perfectly matches the color. Alternatively, you can bring a removable panel (like the gas door) to the paint shop for them to match. Be sure to use a high-quality automotive primer and clear coat for a durable and long-lasting finish. Apply several thin coats of paint rather than one thick coat to avoid runs and drips.
Cost Estimate: Custom paint mixing can cost between $50-$100 per pint. High-quality primer and clear coat can cost around $50-$100 per quart. Professional painting can range from $300-$1000 depending on the size and complexity of the job.
Essential Tools for the Job
Having the right tools will make the installation process much easier and more efficient. Here's a list of essential tools you'll need:
- Socket set and wrenches
- Screwdrivers (Phillips and flathead)
- Drill and drill bits
- Rotary tool (Dremel) with various bits
- Heat gun
- Sandpaper (various grits)
- Body filler and spreader
- Fiberglass repair kit (if needed)
- Penetrating oil
- Masking tape
- Safety glasses and gloves
- Jack and jack stands
- Pry bar
- Rivnut tool (optional)
Final Thoughts
Installing a body kit on your 1995 Nissan 240SX can be a rewarding experience, but it requires patience, attention to detail, and a willingness to troubleshoot problems. Don't be afraid to seek help from online forums or experienced mechanics if you get stuck. With the right tools and knowledge, you can transform your 240SX into a head-turning machine.
Disclaimer: This guide is intended for informational purposes only and should not be considered a substitute for professional advice. Always consult with a qualified mechanic if you are unsure about any aspect of the installation process. Working on your car can be dangerous, so always take appropriate safety precautions.