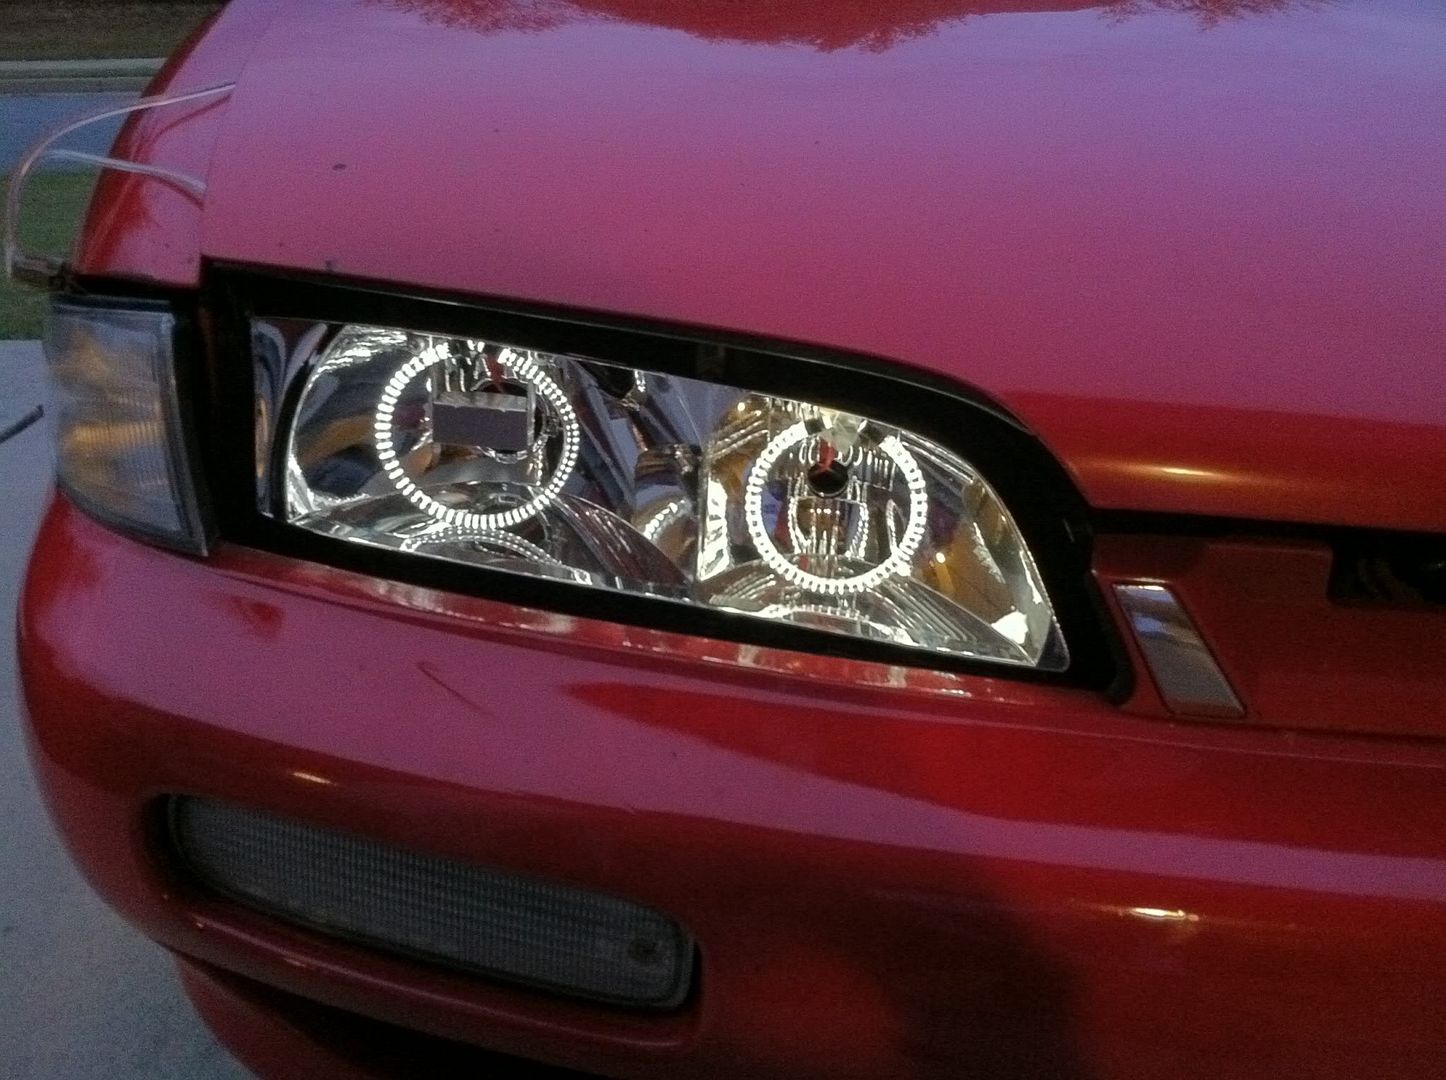
1995 Nissan 240sx Headlights: Replacement Guide
Replacing the headlights on a 1995 Nissan 240SX is a common maintenance task that can significantly improve your visibility and safety, especially at night. Over time, headlight lenses can become cloudy, yellowed, or damaged, reducing their effectiveness. This guide provides a comprehensive overview of the replacement process, covering everything from selecting the right headlights to step-by-step instructions and essential safety tips.
Why Replace Your 1995 Nissan 240SX Headlights?
There are several compelling reasons to replace your 240SX's headlights. Here's a breakdown:
- Improved Visibility: Cloudy or damaged headlights drastically reduce the amount of light they emit, making it difficult to see at night and in inclement weather. New headlights restore optimal brightness, enhancing your ability to see obstacles and other vehicles.
- Enhanced Safety: Reduced visibility increases the risk of accidents. Brighter headlights make you more visible to other drivers and improve your reaction time in hazardous situations.
- Aesthetic Appeal: New headlights can significantly improve the overall appearance of your 240SX, giving it a cleaner and more modern look. Cloudy or yellowed headlights can make a car look older and neglected.
- Legal Compliance: In many jurisdictions, driving with damaged or non-functioning headlights is illegal. Replacing them ensures you comply with local traffic laws and avoid potential fines.
- Resale Value: Maintaining your vehicle, including replacing worn headlights, can increase its resale value. Potential buyers will appreciate the attention to detail and the improved safety features.
Choosing the Right Replacement Headlights
Selecting the correct headlights for your 1995 Nissan 240SX is crucial for proper fitment, performance, and safety. Here's what to consider:
Headlight Types:
- Halogen Headlights: These are the standard headlights that came with the 240SX from the factory. They are relatively inexpensive and readily available. While they provide adequate light, they are generally less bright and have a shorter lifespan than other options.
- LED Headlights: LED (Light Emitting Diode) headlights offer several advantages over halogen bulbs. They are brighter, more energy-efficient, and have a significantly longer lifespan. When choosing LED headlights, ensure they are designed for automotive use and compatible with your 240SX's electrical system. Some may require additional wiring or adapters.
- HID Headlights: HID (High-Intensity Discharge) headlights, also known as xenon headlights, produce a very bright, white light. They are more expensive than halogen bulbs and often require a ballast to operate. Retrofitting HID headlights into a vehicle not originally equipped with them can be complex and may require professional installation. Ensure that the kit you select is legal and DOT-approved for street use.
Compatibility and Fitment:
Always verify that the headlights you choose are specifically designed for the 1995 Nissan 240SX. Check the manufacturer's website or consult with an automotive parts retailer to ensure proper fitment. Using headlights that are not designed for your vehicle can lead to installation issues, poor performance, and even damage to your vehicle's electrical system.
Brand and Quality:
Opt for reputable brands known for producing high-quality headlights. While cheaper options may be tempting, they often have shorter lifespans, lower brightness, and may not meet safety standards. Research different brands and read customer reviews to make an informed decision. Some popular brands for automotive lighting include Philips, Sylvania, and Osram.
DOT Approval:
Ensure that the headlights you choose are DOT (Department of Transportation) approved. DOT approval indicates that the headlights meet federal safety standards and are legal for use on public roads. Look for the DOT marking on the headlight lens.
Tools and Materials Needed
Before you begin the headlight replacement process, gather the necessary tools and materials:
- New replacement headlights
- Socket set with appropriate size sockets (typically 10mm or 12mm)
- Screwdrivers (Phillips and flathead)
- Pliers
- Gloves (to protect your hands)
- Safety glasses (to protect your eyes)
- Work light or flashlight
- Optional: Penetrating oil (for stubborn bolts)
Step-by-Step Headlight Replacement Guide
This guide provides a general overview of the headlight replacement process for a 1995 Nissan 240SX. Always consult your vehicle's repair manual for specific instructions and torque specifications.
- Disconnect the Battery: Before working on any electrical components, disconnect the negative terminal of your car battery. This will prevent accidental electrical shocks and protect your vehicle's electrical system.
- Access the Headlight Assembly: The location of the headlight assembly access points may vary slightly depending on your 240SX's trim level. Typically, you'll need to remove several bolts and screws that secure the headlight assembly to the vehicle's body. These are usually located around the grille and fender area. You may need to remove the grille itself for easier access. Refer to your car's service manual for specific instructions.
- Remove the Old Headlight Assembly: Carefully disconnect any wiring harnesses connected to the old headlight assembly. These harnesses typically have a locking mechanism that needs to be released before they can be disconnected. Use pliers if necessary, but be careful not to damage the connectors. Once the wiring is disconnected, gently remove the old headlight assembly from the vehicle.
- Install the New Headlight Assembly: Connect the wiring harnesses to the new headlight assembly. Ensure that the connectors are securely attached. Align the new headlight assembly with the mounting points and secure it with the bolts and screws you removed earlier. Tighten the bolts and screws to the manufacturer's specified torque.
- Test the Headlights: Reconnect the negative terminal of your car battery. Turn on the headlights to ensure they are functioning correctly. Check both the low beams and high beams. If the headlights do not work, double-check the wiring connections and the bulb itself.
- Adjust the Headlight Alignment: After installing the new headlights, it's important to adjust the headlight alignment to ensure proper visibility and avoid blinding other drivers. Park your car on a level surface, facing a wall or garage door. Use the adjustment screws on the headlight assembly to adjust the vertical and horizontal alignment of the headlights. There are many online resources that provide detailed instructions on how to properly adjust headlight alignment.
- Reinstall Grille and Other Components: If you removed the grille or any other components to access the headlight assembly, reinstall them in the reverse order of removal. Ensure that all components are securely attached.
Safety Precautions
Safety is paramount when working on your vehicle. Keep these precautions in mind:
- Disconnect the Battery: Always disconnect the negative terminal of the car battery before working on any electrical components.
- Wear Safety Glasses: Protect your eyes from debris and potential hazards.
- Use Gloves: Protect your hands from dirt, grease, and sharp edges.
- Work in a Well-Lit Area: Ensure you have adequate lighting to see what you are doing.
- Consult a Professional: If you are not comfortable performing the headlight replacement yourself, consult a qualified mechanic.
Troubleshooting
Here are some common issues you might encounter during headlight replacement and how to address them:
- Headlights Not Working: Check the bulb, wiring connections, and fuses. A blown fuse is a common cause of headlight failure.
- Headlights Too Dim: Ensure the headlights are properly grounded. A poor ground connection can reduce headlight brightness.
- Headlights Flickering: Check the wiring connections and the voltage regulator. Flickering headlights can indicate a problem with the electrical system.
- Difficulty Removing Old Headlights: Use penetrating oil to loosen stubborn bolts. Allow the oil to soak in for several minutes before attempting to remove the bolts.
Maintenance Tips
To keep your headlights in optimal condition, consider these maintenance tips:
- Clean Headlight Lenses Regularly: Use a headlight restoration kit or a mild abrasive polish to remove cloudiness and yellowing.
- Inspect Headlights Regularly: Check for cracks, damage, and proper alignment.
- Replace Bulbs as Needed: Replace bulbs as soon as they burn out to maintain optimal visibility.
Replacing the headlights on your 1995 Nissan 240SX is a straightforward process that can significantly improve your safety and driving experience. By following this guide and taking the necessary precautions, you can ensure a successful headlight replacement and enjoy improved visibility on the road.