1995 Nissan 240sx S14 Body Kits
The 1995 Nissan 240SX, specifically the S14 chassis, remains a favorite among drifting enthusiasts, tuners, and those simply looking for a stylish and capable sports coupe. A major part of customizing an S14 often involves aftermarket body kits. This article will delve into the world of S14 body kits, covering different styles, materials, fitment considerations, and installation tips for the experienced DIYer.
Understanding S14 Body Kit Basics
A body kit, in its simplest form, is a collection of exterior automotive body parts designed to modify the appearance of a vehicle. For the S14, these kits typically include a front bumper, side skirts, and a rear bumper (or rear lip). Some kits might also include wider fenders, hood modifications, or rear spoilers. The purpose of these kits varies from aesthetic enhancements to improving aerodynamic performance.
Common Components in an S14 Body Kit
Here's a breakdown of typical parts you'll find in an S14 body kit:
- Front Bumper: Replaces the factory front bumper, often featuring more aggressive styling, larger air intakes for improved cooling, and provisions for mounting aftermarket lighting.
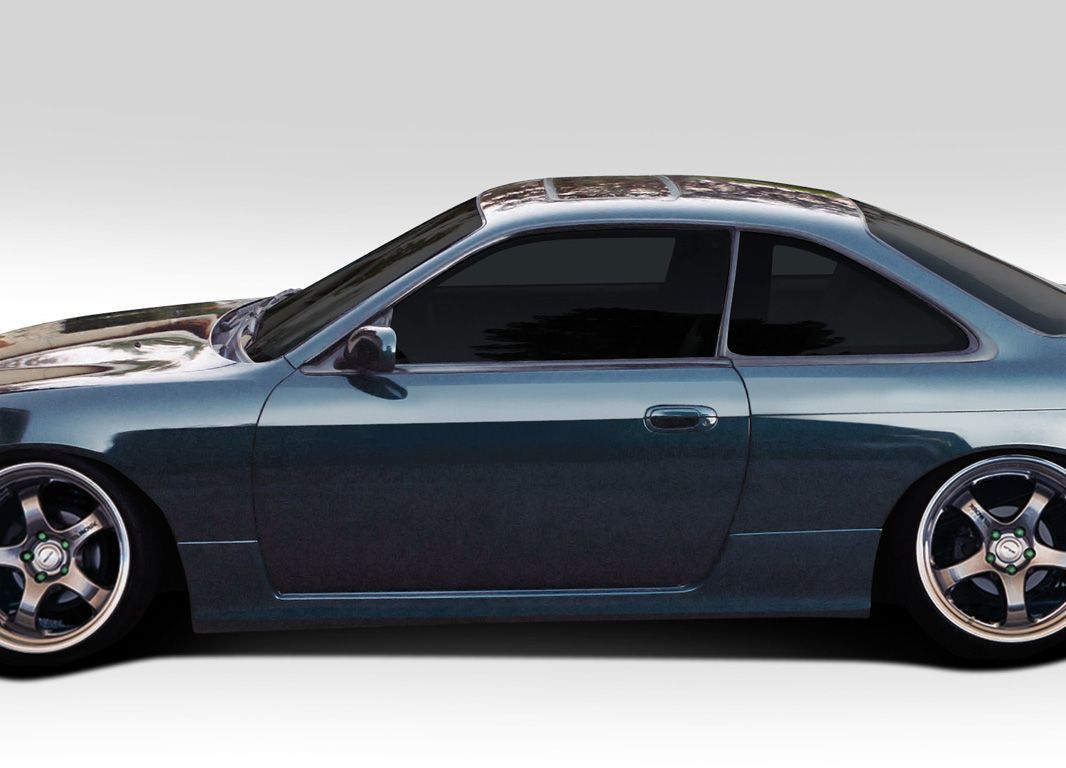
- Side Skirts (Side Steps): Mounted along the sides of the car, connecting the front and rear bumpers visually, and potentially improving airflow along the vehicle's sides.
- Rear Bumper/Lip: The rear bumper either replaces the factory bumper entirely or adds a "lip" to the bottom, offering a more aggressive or refined look. Some offer provisions for dual exhaust outlets or diffusers.
- Fenders (Optional): Wider fenders, sometimes called over fenders, are used to accommodate wider wheels and tires, crucial for performance-oriented builds. These often require cutting and welding to properly integrate with the factory body.
- Spoiler/Wing (Optional): Mounted on the trunk lid, spoilers and wings are designed to increase downforce, improving grip at higher speeds. Different designs offer varying degrees of effectiveness.
Materials Used in S14 Body Kits
The material used in a body kit significantly impacts its weight, durability, and price. Here's a rundown of common materials:
- Fiberglass Reinforced Plastic (FRP): FRP is the most common material for aftermarket body kits due to its relatively low cost and ease of manufacturing. It's lightweight but can be brittle and prone to cracking, especially upon impact. FRP kits often require more preparation and fitment work before painting.
- Polyurethane (PU): PU is a more flexible and durable material than FRP. It's less likely to crack upon impact and offers better resistance to everyday wear and tear. PU kits are generally more expensive than FRP, but the increased durability often justifies the cost.
- Carbon Fiber (CF): CF is a high-end material known for its exceptional strength-to-weight ratio and distinctive appearance. CF body kits are significantly more expensive than FRP or PU and are often used for racing or show cars where weight savings and aesthetics are paramount. Carbon fiber parts are often finished with a clear coat to protect the weave from UV damage.
- Acrylonitrile Butadiene Styrene (ABS) Plastic: Similar to the material of the original factory bumpers. ABS Plastic is known for being lightweight and easily molded, as well as recyclable.
Style Considerations and Popular Body Kit Brands
The S14 has a vast aftermarket following, leading to a wide array of body kit styles. Here are some popular styles and brands to consider:
- OEM Style: These kits mimic the factory styling of the S14, often offering subtle enhancements for a cleaner look.
- JDM (Japanese Domestic Market) Style: These kits often feature more aggressive styling, inspired by Japanese tuning trends. Examples include the BN Sports, Vertex, and Origin Labo kits.
- Drift Style: Designed with drifting in mind, these kits often prioritize functionality and durability. They may feature integrated diffusers or splitters to improve aerodynamics and withstand the rigors of drifting.
- VIP Style: Focuses on luxury and a low-riding stance.
Popular Brands:
- BN Sports: Known for their aggressive and iconic JDM style kits.
- Vertex: Another popular JDM brand known for its sleek and aerodynamic designs.
- Origin Labo: Offers a wide range of body kits, from subtle to extremely aggressive.
- DMAX: Stylish and unique designs made in Japan.
- KBD Bodykits: Polyurethane made kits offering increased durability and easy installation.
Fitment and Installation
Proper fitment is crucial for a successful body kit installation. Aftermarket body kits, especially those made from FRP, often require modification to achieve a perfect fit. Be prepared for some degree of trimming, sanding, and filling.
Preparation Steps:
- Inspect the Kit: Carefully inspect all components for damage upon arrival. Report any issues to the vendor immediately.
- Test Fit: Before painting, test fit all components to the car. Identify any areas that require modification. This is the most important step.
- Trimming and Sanding: Use a rotary tool or sanding block to trim excess material or smooth rough edges.
- Filling: Use body filler to fill any gaps or imperfections. Sand the filler smooth to create a seamless transition.
Installation Steps:
- Remove Existing Components: Carefully remove the factory bumpers, side skirts, and any other components that will be replaced by the body kit.
- Mounting: Use bolts, screws, or rivets to secure the body kit components to the car. Ensure all components are properly aligned before tightening the fasteners. Some kits may require drilling new holes.
- Adhesive (Optional): For added security, you can use automotive-grade adhesive to bond the body kit components to the car.
- Finishing: Once the kit is securely mounted, inspect the fitment one last time. Apply seam sealer to any gaps to prevent water intrusion.
Tools You'll Need:
- Socket Set and Wrenches: For removing and installing fasteners.
- Rotary Tool: For trimming and sanding.
- Sanding Block: For smoothing surfaces.
- Body Filler: For filling gaps and imperfections.
- Masking Tape: For protecting painted surfaces.
- Drill: For drilling new mounting holes (if necessary).
- Riveter: For installing rivets (if necessary).
- Safety Glasses and Gloves: For personal protection.
Painting and Finishing
Painting the body kit to match your car's color is a crucial step in the installation process. It's highly recommended to have the body kit professionally painted for the best results, however, an experienced DIYer can achieve great results with the right equipment and techniques.
Painting Tips:
- Surface Preparation: Ensure the surface is clean, smooth, and free of any contaminants. Use a wax and grease remover to degrease the surface.
- Primer: Apply a coat of primer to the surface to provide a good base for the paint.
- Paint: Apply several thin coats of paint, allowing each coat to dry completely before applying the next.
- Clear Coat: Apply a coat of clear coat to protect the paint and give it a glossy finish.
- Wet Sanding and Polishing: After the clear coat has dried, wet sand the surface with fine-grit sandpaper to remove any imperfections. Then, polish the surface to restore the gloss.
Common Issues and Troubleshooting
Even with careful preparation, you might encounter some issues during the body kit installation process. Here are some common problems and solutions:
- Poor Fitment: If the body kit doesn't fit properly, you may need to trim, sand, or fill specific areas. In some cases, you may need to modify the mounting points.
- Cracking: FRP body kits are prone to cracking, especially upon impact. If a crack occurs, you can repair it with fiberglass resin and mat.
- Paint Problems: Paint can peel, chip, or fade over time. Proper surface preparation and the use of high-quality paint will help prevent these issues.
Final Thoughts
Installing a body kit on your 1995 Nissan 240SX S14 is a rewarding project that can dramatically improve the car's appearance and potentially its performance. By carefully selecting a kit, properly preparing the components, and taking your time with the installation process, you can achieve professional-looking results. Remember to prioritize safety and consult with experienced professionals if you encounter any difficulties. Good luck with your build!