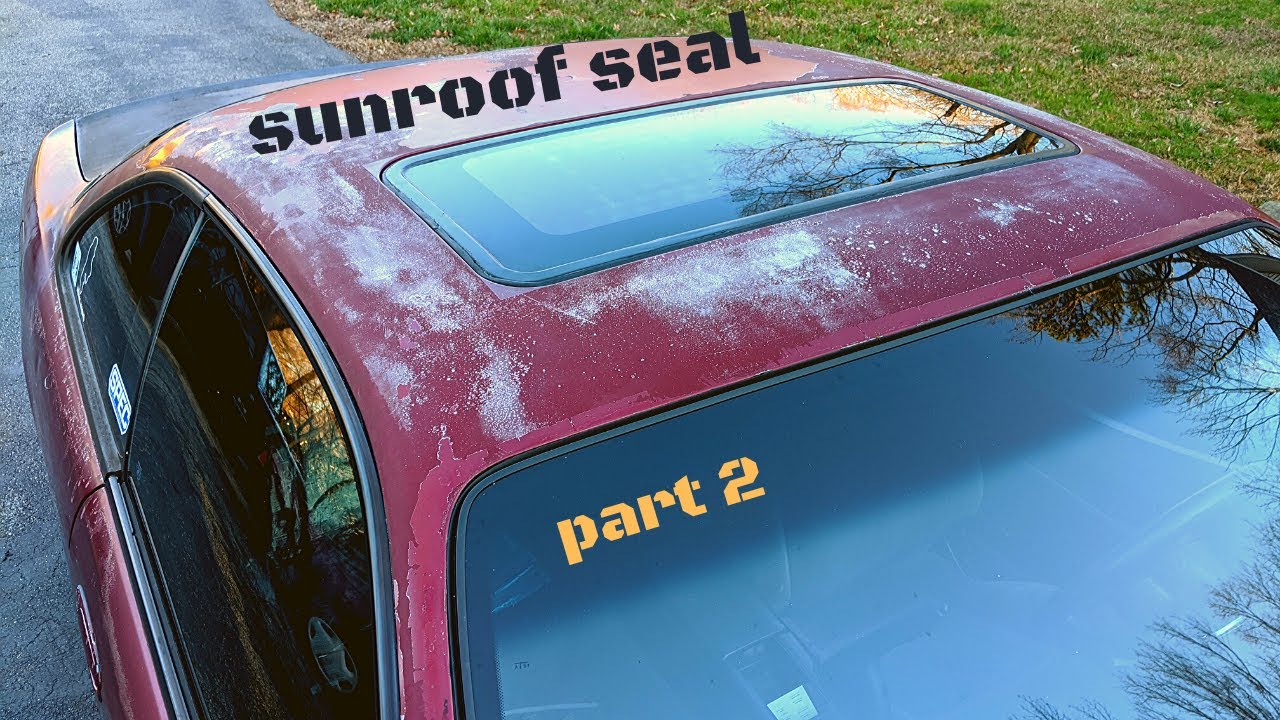
1995 Nissan 240sx Sunroof Seal: Fixing Leaks & Wind Noise
The 1995 Nissan 240SX, a beloved car by tuners and drifters alike, is unfortunately prone to common issues like a leaky or noisy sunroof. While age plays a significant role, the sunroof seal (technically, the weatherstrip) is often the culprit. This guide provides a detailed breakdown of how to diagnose and address sunroof seal problems in your 240SX, keeping your cabin dry and quiet.
Understanding the 240SX Sunroof System
Before diving into the repair, let's briefly understand the components involved. The 240SX sunroof, in most models, is a pop-up and slide-back design. Key components include:
- Sunroof Panel: The glass or metal section that opens and closes.
- Sunroof Frame: The metal structure that houses the panel and mechanism. This is typically welded to the roof of the car.
- Sunroof Seal/Weatherstrip: The rubber gasket surrounding the sunroof panel, providing a weather-tight seal against the frame. This is what we’ll focus on.
- Sunroof Motor & Mechanism: The electric motor and associated gears and linkages that control the opening and closing of the sunroof.
- Drain Tubes: Small tubes located at each corner of the sunroof frame that channel water away from the sunroof assembly and out of the car's body. These are *critical* for preventing leaks, even with a good seal.
Diagnosing Sunroof Leaks and Wind Noise
Pinpointing the source of the leak or noise is the first step. Here's a systematic approach:
1. Water Test
This is the most direct method for identifying leaks. Have a friend help you. One person should be inside the car observing, while the other slowly pours water around the perimeter of the closed sunroof. Use a garden hose with a gentle spray nozzle.
Important: Avoid high-pressure spraying, which can force water past even a good seal and mislead your diagnosis.
Look for water entering the cabin. Common entry points include:
- Directly through the seal: This indicates a damaged, worn, or improperly seated seal.
- Around the headliner: This can indicate a blocked drain tube, causing water to overflow the sunroof frame and seep into the headliner.
- Down the A-pillar: This also suggests a blocked drain tube, specifically the front ones.
2. Visual Inspection of the Seal
Closely examine the sunroof seal for:
- Cracks and Dry Rot: Rubber deteriorates over time, leading to cracking and hardening.
- Tears or Damage: Any visible tears or punctures compromise the seal.
- Deformation: The seal may be flattened, compressed, or no longer making proper contact with the sunroof panel or frame.
- Incorrect Installation: If the seal has been previously replaced, it might be improperly installed or not fully seated in its groove. Look for areas where it appears loose or uneven.
3. Checking the Drain Tubes
Even a good seal can't handle heavy rain if the drain tubes are clogged. Locate the drain tube openings in each corner of the sunroof frame (you'll need to open the sunroof partially). To test them, carefully pour water directly into each opening. The water should drain freely from the corresponding exit point (typically located near the wheel wells).
If the water backs up, the tube is clogged. Common culprits include debris like leaves, dirt, and pine needles.
4. Wind Noise Diagnosis
Wind noise is usually caused by gaps between the sunroof panel and the frame, which can be caused by a degraded seal, misaligned panel, or a combination of both. Drive the car at varying speeds to identify when the noise is most prominent. Press gently on the sunroof panel from the inside while driving. If the noise diminishes, the panel is likely not sealing properly.
Repairing or Replacing the Sunroof Seal
Based on your diagnosis, you have a few options:
1. Cleaning and Conditioning the Seal
If the seal is only slightly degraded (e.g., minor dryness or stiffness), cleaning and conditioning might restore some of its pliability. Use a dedicated rubber cleaner and conditioner, available at most auto parts stores. Apply the cleaner according to the product instructions, and then liberally apply the conditioner. This can temporarily improve the seal and reduce wind noise.
Important: This is a temporary fix and won't repair significant damage.
2. Adjusting the Sunroof Panel
Sometimes, the sunroof panel is simply misaligned, preventing the seal from making proper contact. The 240SX sunroof typically has adjustment screws that allow you to fine-tune the height and alignment of the panel within the frame. Refer to the 240SX factory service manual (FSM) for the precise location and adjustment procedure for these screws.
Caution: Making incorrect adjustments can worsen the problem or even damage the sunroof mechanism. Consult the FSM and proceed carefully. Mark the original position of the screws before making any changes so you can return to the starting point if needed.
3. Replacing the Sunroof Seal
If the seal is cracked, torn, or significantly deformed, replacement is the best option. Here's the process:
- Obtain the Correct Seal: Purchase a new sunroof seal specifically designed for the 1995 Nissan 240SX. Aftermarket options are available, but OEM (Original Equipment Manufacturer) seals often provide the best fit and durability.
- Remove the Old Seal: Carefully peel off the old seal from the sunroof frame. It may be glued in place, so use a plastic scraper or putty knife to gently separate it. Be careful not to damage the frame. Clean the area thoroughly with isopropyl alcohol to remove any residual adhesive.
- Install the New Seal: Most sunroof seals have a molded groove that fits onto the edge of the sunroof frame. Start at one corner and press the seal firmly into place, working your way around the entire perimeter. Ensure the seal is fully seated and that there are no gaps. Some seals may require adhesive. If so, use a weatherstrip adhesive recommended by the seal manufacturer. Apply a thin, even layer of adhesive to the frame before installing the seal.
- Test the Seal: After installation, perform the water test described earlier to verify that the new seal is leak-free.
4. Clearing Drain Tubes
Clearing blocked drain tubes is crucial, regardless of whether you're replacing the seal or not. Here are a few methods:
- Compressed Air: Carefully use compressed air to blow out the debris from the drain tubes. Use short bursts of air at low pressure to avoid damaging the tubes. Caution: Wear eye protection to prevent debris from flying into your eyes.
- Flexible Wire or Cable: A flexible wire or cable (like a bicycle brake cable) can be carefully inserted into the drain tube to dislodge the blockage. Rotate the wire as you push it in to break up the debris.
- Wet/Dry Vacuum: Attach a small hose to the vacuum and attempt to suck out the blockage from the drain tube opening.
- Pouring Hot Water: Pouring hot (but not boiling) water down the drain tubes can sometimes dissolve minor blockages.
Important: After clearing the drain tubes, test them thoroughly by pouring water into the sunroof frame and ensuring it drains freely.
Additional Tips and Considerations
- Factory Service Manual (FSM): The 240SX FSM is an invaluable resource for detailed information and diagrams regarding the sunroof system. You can find it online or purchase a hard copy.
- Patience: Working on automotive seals and mechanisms requires patience and attention to detail. Don't rush the process.
- Professional Help: If you're uncomfortable performing any of these repairs yourself, consult a qualified mechanic specializing in sunroof repair.
- Rust Prevention: If you discover any rust around the sunroof frame during the repair process, address it immediately. Clean the rust, apply a rust inhibitor, and prime and paint the affected area to prevent further corrosion.
- Regular Maintenance: Periodically clean and inspect your sunroof seal and drain tubes to prevent future problems.
By following these steps, you can effectively diagnose and address sunroof leaks and wind noise in your 1995 Nissan 240SX, ensuring a dry and comfortable driving experience.