2004 Nissan Titan Driver Seat Replacement
So, you're looking to replace the driver's seat in your 2004 Nissan Titan? Whether it's worn out, damaged, or you're just looking for an upgrade, this guide will walk you through the process. This job is definitely achievable for the intermediate DIYer, but it does require a bit of patience and a good understanding of basic automotive tools and safety.
Safety First! Disconnecting the Battery
Before you even think about touching anything electrical, you need to disconnect the negative terminal of your battery. This is absolutely crucial. Why? Because your seat has sensors related to the airbag system, and messing with those while the system is powered can lead to accidental airbag deployment. Trust me, you don't want that.
How to disconnect the battery:
- Locate the battery, typically under the hood.
- Using a wrench (usually a 10mm), loosen the nut on the negative (-) battery terminal. It's usually marked with a "-" sign.
- Carefully detach the negative cable from the terminal and tuck it away so it can't accidentally make contact.
Allow at least 15 minutes after disconnecting the battery before proceeding to work on the seat. This gives the airbag system's capacitors time to discharge completely, further minimizing the risk of accidental deployment. This waiting period is critical for your safety. Don't skip it!
Tools You'll Need
Having the right tools makes all the difference. Here's a list of what you'll likely need:
- Socket set: Including various sizes, with extensions and swivels. You'll need metric sockets, specifically around 10mm, 12mm, 14mm and possibly 17mm.
- Wrenches: Similar sizes to the socket set.
- Screwdrivers: Both Phillips head and flathead.
- Torx bit set: You might encounter Torx screws, especially for seatbelt attachments or sensor connectors. Look for a T30 or T40 Torx bit.
- Trim removal tools: These plastic tools help you pry off trim pieces without damaging them.
- Pliers: For disconnecting electrical connectors.
- Multimeter (optional): Useful for testing electrical connections if you encounter problems.
- Work gloves: Protect your hands.
- Pen and paper or camera: To document the location of connectors and wires before disconnecting them. Trust me, you'll thank yourself later.
- Shop towels: For wiping up any spills or grease.
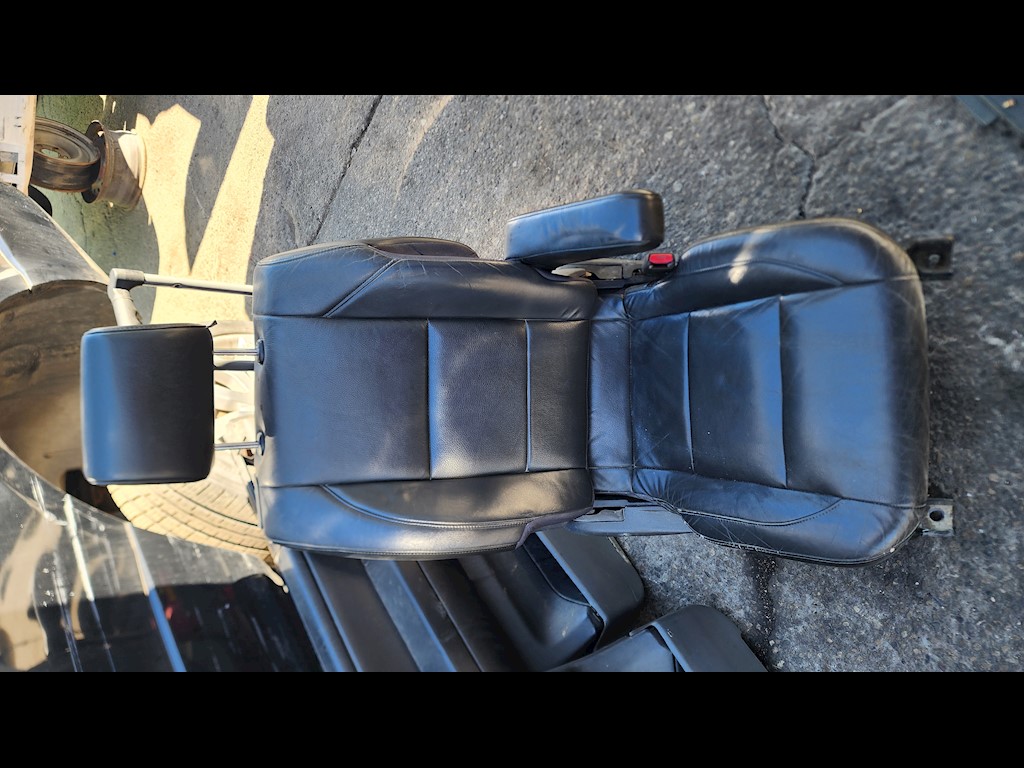
Removing the Old Seat
Now for the fun part! (Okay, maybe not *fun*, but you're making progress!)
Step 1: Accessing the Seat Bolts
The seat is usually held in place by four bolts, one at each corner. Sometimes they are covered by plastic trim pieces. Use your trim removal tools or a flathead screwdriver to carefully pry these covers off. Be gentle; they can be brittle.
Step 2: Removing the Seat Bolts
Using the appropriate socket and wrench, remove the four seat bolts. They can sometimes be quite tight, so you might need a breaker bar for extra leverage. Keep track of the bolts – you'll need them for installing the new seat. If the bolts are rusty, a little penetrating oil (like WD-40) can help loosen them.
Step 3: Disconnecting Electrical Connectors
This is where your pen and paper or camera come in handy! Before you lift the seat out, you need to disconnect all the electrical connectors attached to it. These connectors are for things like the seatbelt sensor, airbag sensor, and power adjustments (if your seat has them).
Important: Never pull on the wires themselves. Look for the release tabs on the connectors and press them to detach the connectors. If a connector seems stuck, double-check for a release tab you might have missed. Forcefully pulling on the wires can damage them and cause problems later.
Make a note of where each connector goes. You can even label them with masking tape and a pen. Take pictures! This will make reconnecting them much easier. If you're unsure about a connection, refer to a wiring diagram for your specific year and model Titan. You can usually find these online or in a repair manual.
Step 4: Removing the Seat from the Vehicle
Once all the bolts and connectors are disconnected, you can carefully lift the seat out of the vehicle. Be mindful of the door sill and other interior parts to avoid scratching or damaging them. It's often helpful to tilt the seat back slightly as you maneuver it out. If possible, get a second person to help; seats can be surprisingly heavy and awkward.
Installing the New Seat
Installation is essentially the reverse of removal. But there are a few things to keep in mind.
Step 1: Placing the New Seat
Carefully position the new seat in the vehicle, aligning it with the bolt holes in the floor pan. Again, be careful not to scratch the interior.
Step 2: Reconnecting Electrical Connectors
Refer to your notes and reconnect all the electrical connectors. Make sure they click into place securely. If a connector doesn't seem to fit, double-check that you're using the correct connector for that location. Do not force anything.
Step 3: Installing the Seat Bolts
Install the seat bolts, making sure they are properly seated in the bolt holes. Tighten them by hand initially, then use a torque wrench to tighten them to the manufacturer's specifications. The torque spec for seat bolts is usually around 25-35 ft-lbs, but always refer to your vehicle's service manual for the correct value. Over-tightening can damage the threads, while under-tightening can cause the seat to come loose. Torque specifications are critical for safety in the event of an accident.
Step 4: Reattaching Trim Pieces
Reattach any trim pieces that you removed to access the seat bolts. Make sure they are securely in place.
Final Steps and Testing
Before you celebrate, there are a few final steps to take:
- Reconnect the battery: Reattach the negative battery cable to the negative terminal and tighten the nut.
- Test the seat functions: Start the vehicle and test all the seat functions, including the seatbelt sensor, airbag sensor, and power adjustments (if applicable). If the airbag warning light is illuminated on the dashboard, there may be an issue with one of the connections. Consult a qualified mechanic or use an OBD-II scanner to diagnose the problem.
- Check for proper seat movement: Ensure the seat moves smoothly and locks securely in all positions.
- Double-check everything: Take a final look to make sure all connectors are securely attached and all bolts are properly tightened.
Troubleshooting
Here are a few common problems you might encounter and how to address them:
- Airbag warning light: This is usually caused by a disconnected or improperly connected airbag sensor. Double-check all the connections. If the light persists, you may need to have the system scanned and reset by a professional.
- Seat doesn't move properly: This could be due to a disconnected electrical connector, a blown fuse, or a problem with the seat motor. Check the connectors first, then check the fuses. If the motor is faulty, it may need to be replaced.
- Seatbelt warning light: This is likely due to a disconnected or faulty seatbelt sensor. Check the connections and make sure the sensor is functioning properly.
Replacing your 2004 Nissan Titan driver's seat is a manageable task with the right tools and a bit of patience. Remember to prioritize safety by disconnecting the battery and following the steps carefully. If you encounter any problems that you're not comfortable addressing, don't hesitate to consult a qualified mechanic. Good luck!