2005 Nissan Altima Radiator Replacement
Alright, let's tackle a radiator replacement on your 2005 Nissan Altima. This is a job that falls squarely in the "intermediate" difficulty range. It's not rocket science, but it *does* require some mechanical aptitude, patience, and the right tools. I'm going to walk you through each step, explaining the why behind the what, so you can confidently get your Altima back on the road. We're aiming for a clean, leak-free installation here.
Safety First: Preparation and Precautions
Before you even *think* about touching a wrench, safety is paramount. Remember, we're dealing with potentially hot fluids and electricity. Here's your checklist:
- Let the Engine Cool Completely: Seriously. Don't even think about opening the radiator cap if the engine has been running recently. Burnt coolant is no joke. Give it at least 2-3 hours, or preferably overnight.
- Disconnect the Negative Battery Terminal: This is crucial to avoid any accidental electrical shorts or shocks while working. Use a wrench to loosen the nut on the negative terminal (usually marked with a "-" symbol) and carefully detach the cable. Tuck it away so it can't accidentally reconnect.
- Gather Your Tools and Supplies: Having everything at hand *before* you start will save you a lot of time and frustration. Here's a list of what you'll need:
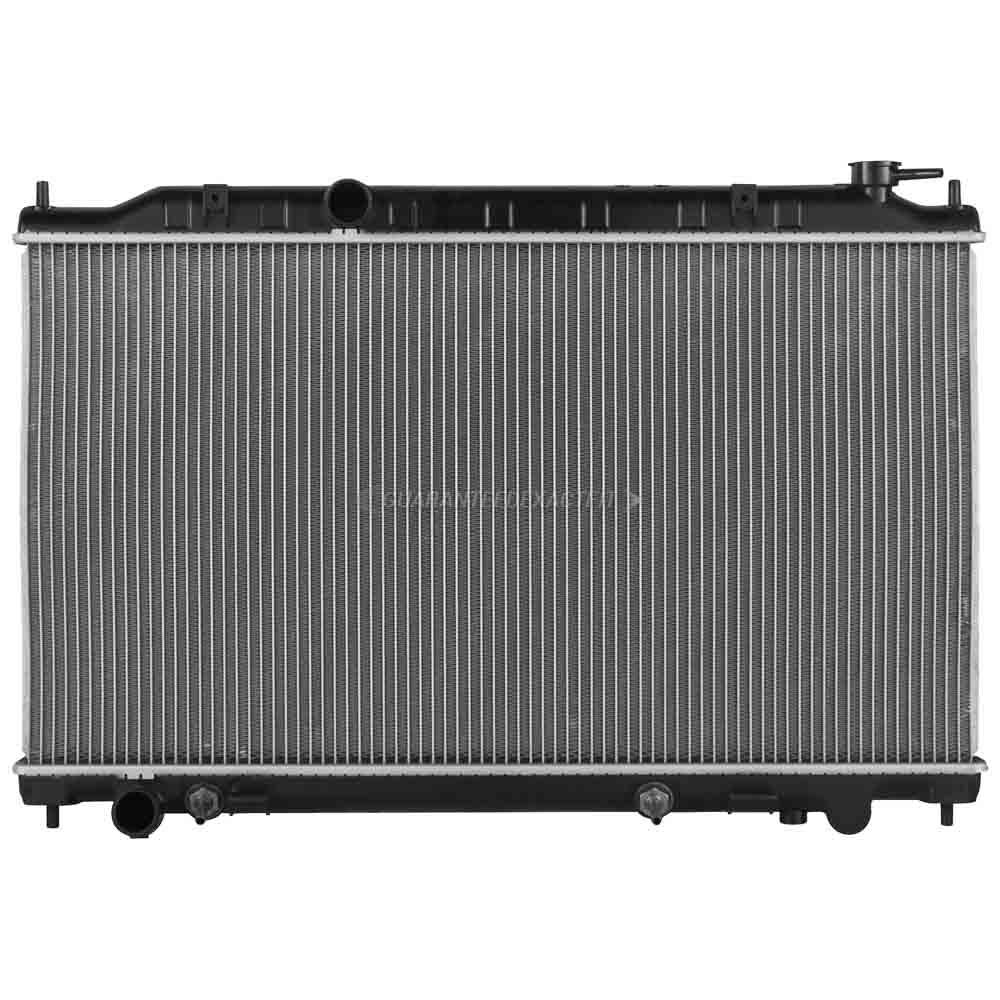
- New Radiator (obviously!) - Make sure it's the correct one for your engine (2.5L or 3.5L).
- New Radiator Hoses (Upper and Lower) - While you're at it, replacing these is cheap insurance against future leaks.
- New Radiator Cap - Again, preventative maintenance.
- Coolant (Nissan Blue or equivalent) - Use the correct type specified for your Altima. Don't mix coolants!
- Distilled Water - For mixing with the coolant.
- Hose Clamp Pliers or Screwdrivers - For removing the old hose clamps.
- Wrenches and Sockets - A basic set, including metric sizes.
- Drain Pan - A large pan to catch the coolant.
- Funnel - For refilling the coolant.
- Gloves and Eye Protection - Protect yourself!
- Shop Rags or Paper Towels - For cleaning up spills.
- Penetrating Oil (like WD-40) - To loosen stubborn bolts and hose connections.
Step-by-Step Radiator Removal
Now for the fun part! Let's get that old radiator out.
1. Drain the Coolant
This is the messiest part, so be prepared. Locate the radiator drain cock (usually a small plastic valve at the bottom corner of the radiator). Place your drain pan underneath it. Carefully open the drain cock. You might need pliers if it's stiff. If the drain cock is corroded and won't open, you can carefully disconnect the lower radiator hose instead. Be warned: this will result in a much larger and potentially messier coolant spill. Make sure you have the drain pan positioned correctly. Also, remove the radiator cap *carefully* to allow air into the system, speeding up the draining process. Don't remove the cap completely if the engine is even remotely warm – you risk a coolant geyser.
2. Disconnect the Radiator Hoses
Once the coolant has mostly drained, you can disconnect the upper and lower radiator hoses. Use your hose clamp pliers or screwdrivers to loosen the hose clamps. Work the hoses off the radiator nipples. If they're stuck, try twisting them gently while pulling, or use a hose pick to break the seal. A shot of penetrating oil can also help. Expect a little more coolant to spill out, so keep your drain pan handy.
3. Disconnect the Transmission Cooler Lines (Automatic Transmissions Only)
Important: If your Altima has an automatic transmission, the radiator also functions as a transmission cooler. You'll need to disconnect the transmission cooler lines from the radiator. These are usually small metal lines that attach to the radiator with quick-connect fittings. There are special tools designed for disconnecting these fittings, but often you can use a small screwdriver or pick to carefully release the clips. Have some rags ready, as a small amount of transmission fluid will leak out. Plug the lines with vacuum caps or similar to prevent further leakage and contamination.
4. Disconnect Electrical Connectors
Locate and disconnect any electrical connectors attached to the radiator or cooling fan assembly. This might include connectors for the cooling fan motor, temperature sensors, or other components. Be careful not to damage the connectors. Often, they have a small locking tab that needs to be depressed before you can pull them apart.
5. Remove the Cooling Fan Assembly
In most cases, the cooling fan assembly is attached to the radiator. There will be bolts or clips holding it in place. Remove these fasteners and carefully lift the fan assembly out of the engine bay. Pay attention to how it's oriented, as you'll need to reinstall it the same way.
6. Remove the Radiator Mounting Brackets/Bolts
The radiator is held in place by mounting brackets or bolts. Locate these fasteners (usually at the top and bottom of the radiator) and remove them. Be careful not to drop the radiator once it's free.
7. Lift Out the Old Radiator
With everything disconnected and the mounting hardware removed, you can now carefully lift the old radiator out of the engine bay. Tilt it slightly to avoid spilling any remaining coolant. Dispose of the old radiator responsibly. Many auto parts stores will recycle them.
Radiator Installation: Putting it All Back Together
Now that the old radiator is out, it's time to install the new one. The installation process is essentially the reverse of the removal process.
1. Inspect the New Radiator
Before installing the new radiator, inspect it carefully for any damage that may have occurred during shipping. Check the fins for bends or dents, and make sure all the fittings are tight.
2. Install the Radiator Mounting Brackets/Bolts
Carefully lower the new radiator into the engine bay and align it with the mounting points. Install the mounting brackets or bolts and tighten them securely. Don't overtighten, as you could damage the radiator.
3. Install the Cooling Fan Assembly
Reinstall the cooling fan assembly, making sure it's oriented correctly. Secure it with the bolts or clips you removed earlier.
4. Connect Electrical Connectors
Reconnect all the electrical connectors you disconnected earlier. Make sure the connectors are fully seated and the locking tabs are engaged.
5. Connect the Transmission Cooler Lines (Automatic Transmissions Only)
If your Altima has an automatic transmission, reconnect the transmission cooler lines to the radiator. Make sure the quick-connect fittings are properly seated and locked in place. Use new retaining clips if the old ones are damaged or missing.
6. Connect the Radiator Hoses
Install the new upper and lower radiator hoses. Slide the hoses onto the radiator nipples and secure them with new hose clamps. Make sure the clamps are positioned correctly and tightened securely. I always recommend using new hoses when replacing a radiator. Old hoses can weaken and crack over time.
7. Refill the Coolant
Now it's time to refill the cooling system. Use a 50/50 mixture of Nissan Blue coolant and distilled water (or the equivalent coolant specified for your Altima). Pour the coolant mixture into the radiator until it's full. Then, start the engine and let it idle for a few minutes. As the engine warms up, the coolant level will drop as air bubbles are purged from the system. Continue adding coolant until the radiator is full. Also, add coolant to the coolant reservoir (overflow tank) to the "full" line. Important: Keep a close eye on the temperature gauge. If the engine starts to overheat, shut it off immediately and let it cool down before adding more coolant. Air pockets can cause overheating.
8. Bleed the Cooling System
Many vehicles have a bleeder valve on the thermostat housing or near the radiator. Open this valve while the engine is running to allow air to escape from the cooling system. Close the valve once coolant starts flowing out. If your Altima doesn't have a bleeder valve, you can try squeezing the upper and lower radiator hoses to help purge air from the system.
9. Check for Leaks
Once the cooling system is full and bled, carefully check for leaks around the radiator hoses, transmission cooler lines (if applicable), and the radiator drain cock. If you find any leaks, tighten the connections or replace the affected components.
10. Reconnect the Negative Battery Terminal
Reconnect the negative battery terminal and tighten the nut securely.
Final Checks and Test Drive
Before taking your Altima for a test drive, double-check all your connections and make sure everything is secure. Start the engine and let it run for a while, monitoring the temperature gauge closely. Take it for a short test drive and then check the coolant level again. Top it off as needed. Check for leaks again after the test drive. A properly installed radiator should keep your Altima running cool and reliably for years to come. If you experience any overheating issues or coolant leaks, consult a qualified mechanic.
And that's it! You've successfully replaced the radiator on your 2005 Nissan Altima. Enjoy the satisfaction of a job well done and the peace of mind knowing your cooling system is in good shape.