2006 Nissan Altima Fuel Level Sensor
Alright, let's dive into the fuel level sensor on the 2006 Nissan Altima. It's a component that often gets overlooked until you're staring at an empty fuel gauge despite *knowing* you've got gas in the tank. This article will walk you through how the system works, common problems, diagnostics, and some basic troubleshooting steps. Consider this your deep-dive into keeping your Altima's fuel gauge honest.
Fuel Level Sensor Basics: How It Works
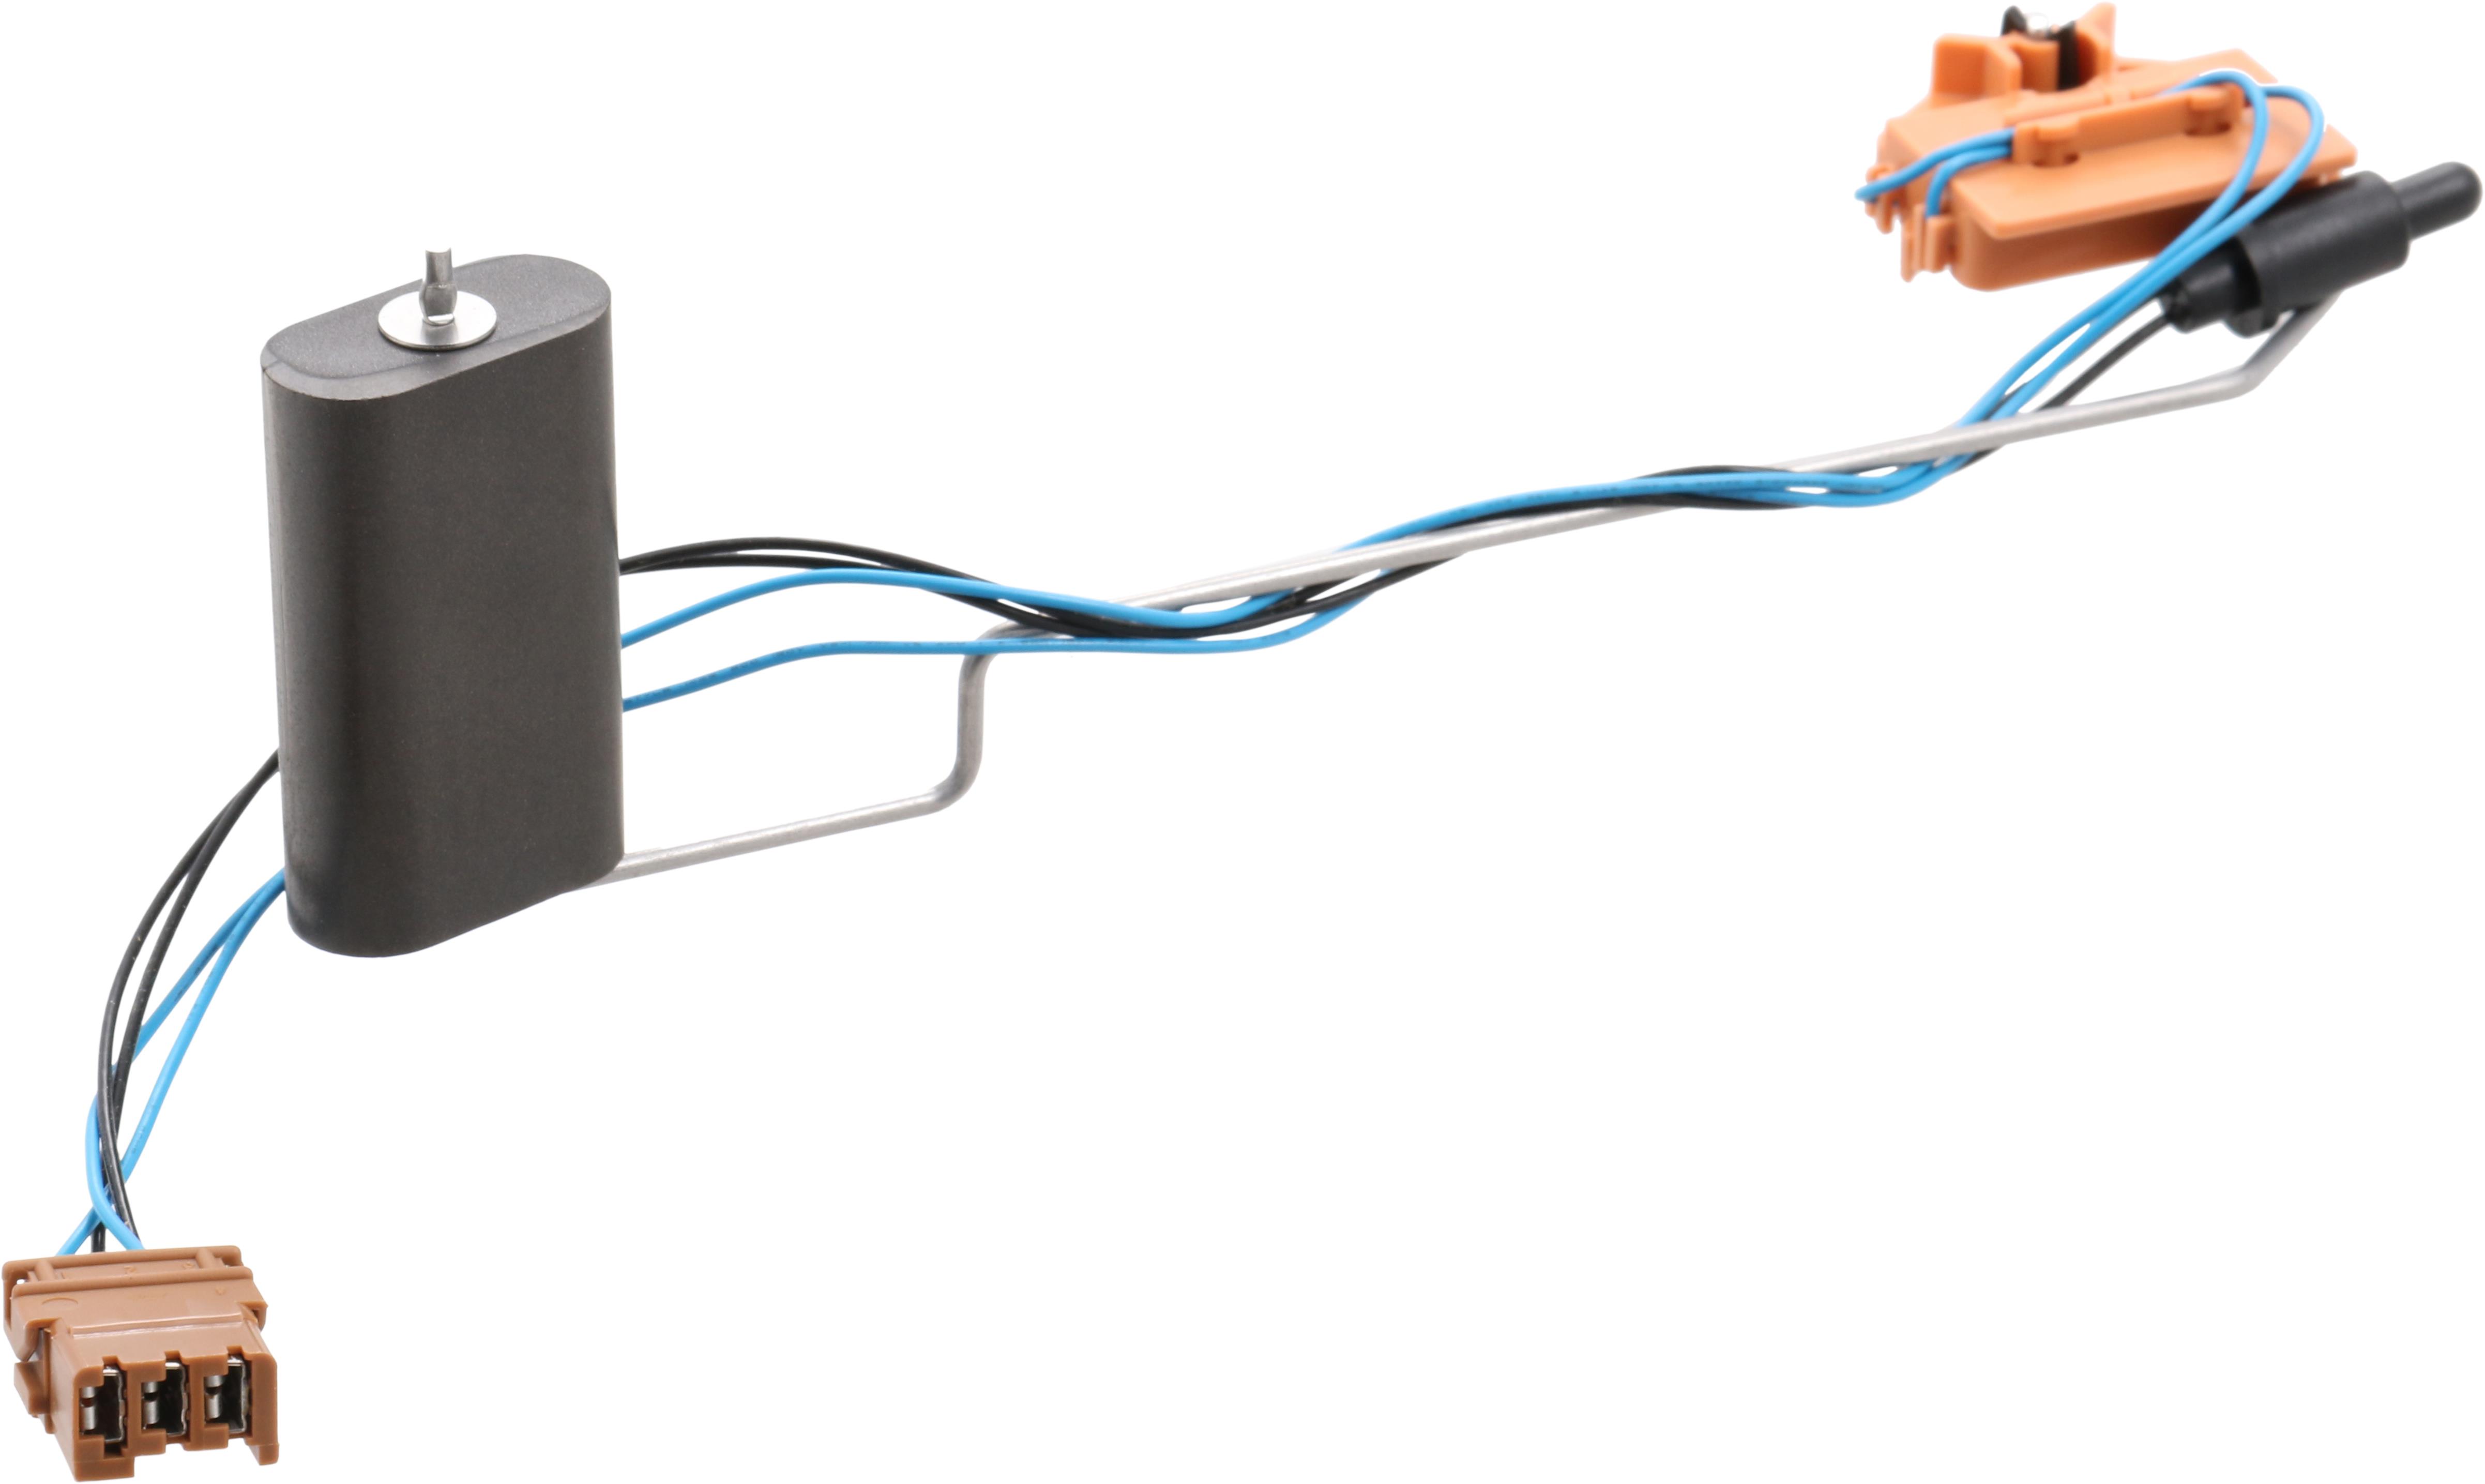
The fuel level sensor, or fuel sending unit as it's sometimes called, is actually a relatively simple device. Its primary job is to communicate the fuel level in the tank to the instrument cluster, which then displays it on the fuel gauge. Here's the breakdown of the components and how they interact:
Components:
- Float: Usually made of a lightweight, buoyant material like plastic or foam. The float sits on the surface of the fuel in the tank, rising and falling with the fuel level.
- Arm: This is a physical link connecting the float to the variable resistor. As the float moves up and down, the arm pivots, altering the position of the wiper on the resistor.
- Variable Resistor (Potentiometer): This is the heart of the sensor. A resistor is an electronic component that opposes the flow of electrical current. A variable resistor, also known as a potentiometer or "pot," allows the resistance to be changed. In this case, the arm moves across the resistor element, changing the resistance value.
- Wiring: The sensor needs to be wired into the vehicle's electrical system. Usually, there are two or three wires: power, ground, and the signal wire that transmits the resistance reading to the instrument cluster.
The Process:
- As the fuel level rises, the float rises.
- The rising float moves the arm.
- The arm moves the wiper on the variable resistor, changing the resistance.
- The change in resistance alters the voltage signal sent to the instrument cluster.
- The instrument cluster interprets the voltage signal and displays the corresponding fuel level on the gauge.
Think of it like a dimmer switch for a light bulb, but instead of brightness, the resistance corresponds to the fuel level. The instrument cluster sees the voltage changes and translates that to "full," "half full," "empty," and everything in between.
Common Problems with the 2006 Altima Fuel Level Sensor
Fuel level sensors are submerged in gasoline for years, enduring constant temperature changes and exposure to fuel additives. Over time, this harsh environment can lead to a number of common problems:
- Corrosion: Corrosion can build up on the resistor element, causing inaccurate readings or a complete failure of the sensor. This is especially common in areas with high humidity or where low-quality fuel is used. Sulfur in gasoline can accelerate corrosion.
- Wear and Tear: The arm and float can wear out or become damaged over time. The pivot point of the arm can become stiff, leading to erratic readings. The float itself can crack or become saturated with fuel, causing it to sink and give a falsely low reading.
- Wiring Issues: Loose or corroded wiring connections are a frequent culprit. The wiring harness leading to the fuel pump and sending unit is exposed to the elements under the car and can be damaged by road debris, salt, and water.
- Float Issues: As mentioned, the float can crack or absorb fuel. Ethanol in modern gasoline can also degrade some types of floats over time. A sinking float will cause the gauge to read lower than the actual fuel level.
- Contamination: Sediment and debris can accumulate in the fuel tank and interfere with the float's movement or damage the resistor.
Diagnostics and Troubleshooting
Before condemning the fuel level sensor, it's essential to perform some basic diagnostics. Here's a step-by-step approach:
1. Visual Inspection:
Start with the obvious. Check the fuel gauge itself. Is it behaving erratically? Does it swing wildly or remain stuck at a particular reading? If so, the problem *could* be in the instrument cluster itself, but that's less likely than a sensor issue. Next, check the wiring harness leading to the fuel pump and sending unit. Look for signs of damage, corrosion, or loose connections. Use a multimeter to check for voltage and ground at the connector when the ignition is on. Always disconnect the negative battery terminal before working on any electrical components.
2. Accessing the Fuel Level Sensor:
On most 2006 Altimas, the fuel level sensor is integrated with the fuel pump assembly and located *inside* the fuel tank. This means you'll need to access the fuel tank to get to it. There are typically two ways to do this:
- Through an access panel: Some vehicles have an access panel under the rear seat that allows you to reach the fuel pump assembly without dropping the fuel tank. Check your Altima's service manual or online resources to see if your model has this feature.
- Dropping the fuel tank: If there's no access panel, you'll need to safely drain and remove the fuel tank. This is a more involved process and requires proper safety precautions, including working in a well-ventilated area and avoiding open flames. You'll need a floor jack, jack stands, and possibly a fuel tank strap wrench. Follow the instructions in your service manual carefully.
Safety First! Before working on the fuel system, disconnect the negative battery cable to prevent sparks. Relieve the fuel pressure. Fuel is flammable and can be harmful if inhaled or ingested. Work in a well-ventilated area and wear safety glasses and gloves.
3. Testing the Sensor:
Once you have access to the fuel pump/sending unit assembly, you can test the sensor directly. Here's how:
- Disconnect the electrical connector from the fuel pump/sending unit assembly.
- Use a multimeter to measure the resistance between the signal wire and the ground wire on the sending unit. You'll need to refer to a wiring diagram for your specific Altima model to identify the correct wires. These diagrams are readily available online through subscription services or sometimes in the service manual.
- Manually move the float arm up and down and observe the resistance readings on the multimeter. The resistance should change smoothly and linearly as you move the arm. If the resistance jumps erratically, remains constant, or shows infinite resistance (an open circuit), the sensor is likely faulty.
- Compare your readings to the specifications in your service manual. The service manual will provide a resistance range for the sensor at different fuel levels (e.g., full, half, empty).
A good fuel level sensor will show a smooth, gradual change in resistance as the float arm is moved. A bad sensor will often have "dead spots" where the resistance doesn't change or will jump erratically. It may also show an open circuit (infinite resistance) or a short circuit (very low resistance).
4. Checking the Float:
While you have the sending unit out, inspect the float itself. Look for cracks, punctures, or signs of fuel saturation. If the float is damaged, it will need to be replaced.
Repair and Replacement
If your diagnostics indicate a faulty fuel level sensor, you have a few options:
- Replace the entire fuel pump/sending unit assembly: This is the most common and reliable solution. It ensures that all components are new and working correctly. This is often recommended as the fuel pump itself might be nearing the end of its service life anyway.
- Replace just the fuel level sensor: In some cases, you can purchase a replacement fuel level sensor separately. However, this can be more difficult, as the sensor may be integrated into the fuel pump assembly in a way that makes it difficult to remove and replace. Also, consider that if the sending unit failed, the pump may not be far behind.
- Attempt a repair: If the problem is corrosion on the resistor, you *might* be able to carefully clean it with a small brush and some electrical contact cleaner. However, this is often a temporary fix, and the corrosion will likely return. This is generally not recommended unless you're in a bind and need a temporary solution.
When replacing the fuel pump/sending unit, be sure to use a quality replacement part from a reputable manufacturer. Also, replace the fuel filter at the same time, as it's likely due for replacement anyway. After installing the new unit, double-check all wiring connections and make sure the fuel tank is properly sealed.
Post-Installation Checks
After replacing the fuel level sensor, perform these checks to ensure everything is working correctly:
- Fill the fuel tank completely. Verify that the fuel gauge reads full.
- Drive the vehicle and monitor the fuel gauge. Make sure the gauge reads accurately as the fuel level decreases.
- Check for fuel leaks around the fuel tank and fuel pump assembly.
If the fuel gauge still reads inaccurately after replacing the sensor, the problem could be in the instrument cluster itself, or there could be a wiring issue. Consult a qualified mechanic for further diagnosis.
Dealing with the fuel system can be tricky, so be sure to take your time, follow safety precautions, and consult your service manual for specific instructions for your 2006 Nissan Altima. Good luck!