2007 Nissan Altima Valve Cover Gasket
Alright, let's talk about tackling a valve cover gasket replacement on a 2007 Nissan Altima. This is a job that falls squarely into the intermediate DIY category. It's not overly complex, but it requires a bit of patience, attention to detail, and a good understanding of engine components. This guide will walk you through the process, highlighting key steps and potential pitfalls. We'll focus on the 2.5L QR25DE engine, as it's the most common in that year. While principles remain similar for the 3.5L VQ35DE, some specifics will differ.
Understanding the Valve Cover and Gasket
The valve cover, as the name implies, covers the valve train. This area houses the camshaft(s), rocker arms (or direct acting tappets), valves, and springs – all essential components for controlling airflow into and out of the cylinders. The valve cover's primary function is to seal this area, preventing oil from splashing out during engine operation. The valve cover gasket sits between the valve cover and the cylinder head, creating a tight seal.
Over time, the valve cover gasket can degrade due to heat cycles, age, and exposure to engine oil. It can harden, crack, and eventually lose its ability to seal effectively. This leads to oil leaks, which can manifest in several ways:
- Visible oil leaks: You might see oil dripping down the side of the engine block, especially around the valve cover area.
- Burning oil smell: Oil leaking onto hot exhaust components can create a distinct burning smell.
- Low oil level: Persistent leaks can lead to a significant drop in oil level, potentially causing engine damage.
- Smoky exhaust: In severe cases, oil can leak into the cylinders, resulting in blueish smoke from the exhaust.
Ignoring a valve cover gasket leak can lead to more serious problems, so it's best to address it promptly.
Tools and Materials Required
Before you start, gather the necessary tools and materials:
- New valve cover gasket: Purchase a high-quality gasket from a reputable supplier. Fel-Pro, Victor Reinz, and OEM Nissan gaskets are generally good choices.
- New spark plug tube seals (if applicable): Many valve cover gasket kits include these. They seal around the spark plug tubes to prevent oil from entering the spark plug wells.
- Socket set: Metric sockets are essential (typically 10mm, 12mm, and 14mm). Deep sockets can be helpful.
- Wrench set: Metric wrenches corresponding to the socket sizes.
- Torque wrench: Absolutely crucial for properly tightening the valve cover bolts. Overtightening can damage the valve cover or strip the threads in the cylinder head.
- Screwdrivers: Both flathead and Phillips head screwdrivers will be needed.
- Pliers: For removing hose clamps and other small fasteners.
- Razor blade or scraper: For cleaning the old gasket material from the cylinder head and valve cover.
- Gasket scraper: Can be purchased, but a plastic scraper is preferable to avoid damaging the aluminum.
- Brake cleaner or degreaser: For cleaning the sealing surfaces.
- Rags or shop towels: For wiping up spills and cleaning parts.
- Oil-resistant sealant (RTV silicone): Use a high-quality RTV silicone sealant specifically designed for automotive applications.
- Penetrating oil: For loosening stubborn bolts.
- Optional: Spark plug socket, spark plugs (if replacing them), magnetic pick-up tool, inspection mirror.
Step-by-Step Procedure
Follow these steps to replace the valve cover gasket on your 2007 Nissan Altima:
1. Preparation
Safety First: Disconnect the negative battery cable to prevent any electrical shorts during the process. Allow the engine to cool completely before starting. Working on a hot engine can cause burns.
Clear the Area: Remove any components that are obstructing access to the valve cover. This may include the intake manifold cover, air intake hose, wiring harnesses, and any other hoses or brackets attached to the valve cover.
2. Disconnecting Components
Wiring Harnesses: Carefully disconnect all wiring harnesses connected to the valve cover or any components that need to be removed. Use a small screwdriver or pick to release any locking tabs. Label the connectors to ensure you reconnect them correctly later. This is crucial to avoid error codes and potential engine problems.
Hoses: Disconnect any vacuum hoses or coolant hoses connected to the valve cover or surrounding components. Use pliers to loosen hose clamps and gently twist the hoses to break them free. Be prepared for some coolant spillage if disconnecting coolant hoses.
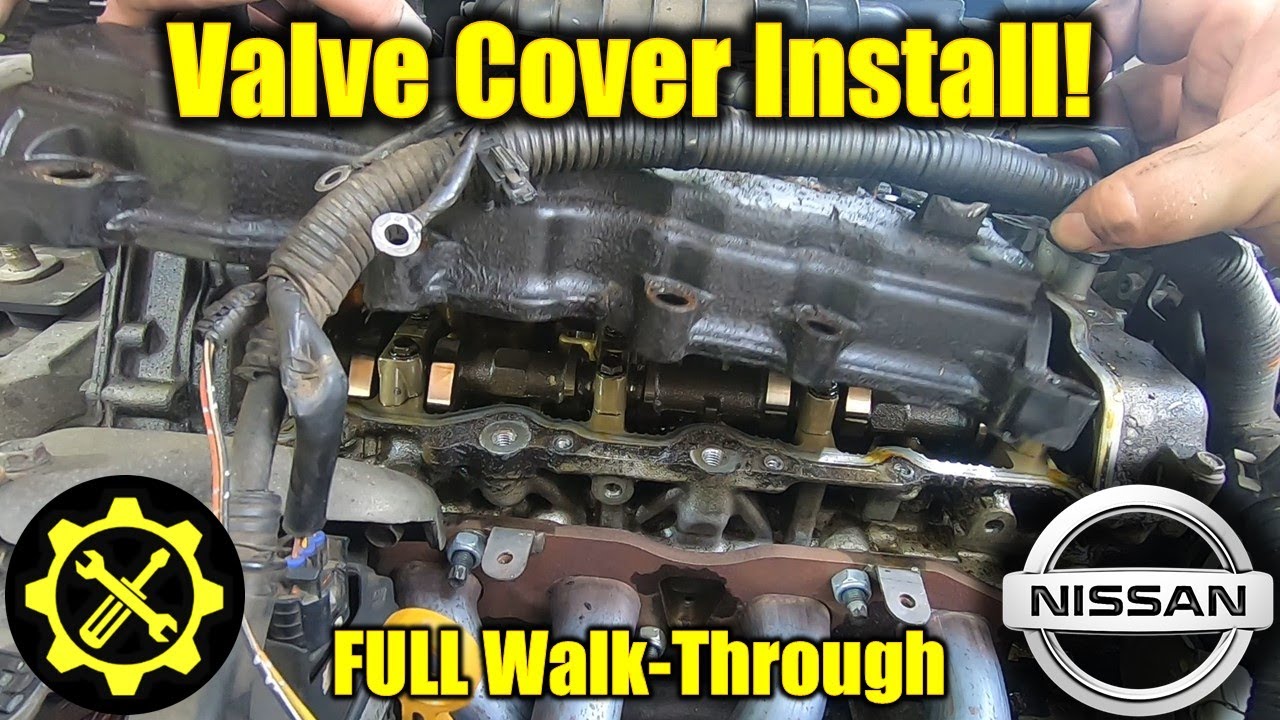
3. Removing the Valve Cover
Loosen the Bolts: Locate the valve cover bolts. They are typically arranged around the perimeter of the valve cover. Loosen them gradually in a star pattern to prevent warping the valve cover. Do not completely remove the bolts yet.
Remove the Bolts: Once all the bolts are loose, remove them completely. Keep track of the bolt locations, as some may be different lengths. A simple cardboard template with holes labeled for each bolt can be very helpful.
Separate the Valve Cover: Gently pry the valve cover loose from the cylinder head. The old gasket may be stuck, so you might need to use a flathead screwdriver or plastic pry tool to help separate it. Be careful not to damage the cylinder head or valve cover.
Inspection: Once removed, inspect the valve cover for any cracks or damage. Check the sealing surface for any warpage. If the valve cover is damaged, it should be replaced.
4. Cleaning and Preparation
Remove the Old Gasket: Carefully remove the old valve cover gasket from the valve cover and cylinder head. Use a razor blade or scraper to remove any remaining gasket material. Be extremely careful not to scratch or damage the sealing surfaces.
Clean the Surfaces: Thoroughly clean the sealing surfaces on both the valve cover and cylinder head with brake cleaner or degreaser. Make sure the surfaces are clean and dry before installing the new gasket. This is critical for a proper seal.
Spark Plug Tube Seals: If your valve cover gasket kit includes spark plug tube seals, now is the time to replace them. These seals press into the valve cover and seal around the spark plug tubes. Use a socket or seal driver to press the new seals into place.
5. Installing the New Gasket
Apply Sealant: Apply a thin bead of RTV silicone sealant to the corners where the cylinder head meets the timing cover and rear main seal housing. These areas are prone to leaks. Also, apply a small amount of sealant to any sharp corners or imperfections on the sealing surface. Less is more with sealant; excessive sealant can squeeze out and block oil passages.
Install the Gasket: Carefully install the new valve cover gasket onto the valve cover. Ensure it is properly seated in the groove. Some gaskets have locating tabs or features to help with alignment.
6. Reinstalling the Valve Cover
Position the Valve Cover: Carefully position the valve cover onto the cylinder head, aligning the bolt holes. Make sure the gasket is properly aligned and not pinched or folded.
Install the Bolts: Install the valve cover bolts. Tighten them gradually in a star pattern to the manufacturer's specified torque. This is the most critical step. The torque specification for the 2.5L QR25DE engine is typically around 80-100 inch-pounds (6.6-8.3 foot-pounds). Consult your vehicle's repair manual for the exact torque specification.
7. Reconnecting Components
Reconnect Wiring Harnesses: Reconnect all wiring harnesses that you disconnected earlier. Make sure the connectors are securely locked in place.
Reconnect Hoses: Reconnect all vacuum hoses and coolant hoses. Tighten the hose clamps securely.
Reinstall Components: Reinstall any components that you removed to access the valve cover, such as the intake manifold cover, air intake hose, and brackets.
8. Final Steps
Reconnect Battery: Reconnect the negative battery cable.
Start the Engine: Start the engine and let it idle for a few minutes. Check for any leaks around the valve cover.
Monitor Oil Level: Check the oil level and add oil if necessary.
Important Considerations
- Torque Specifications: Always use a torque wrench and adhere to the manufacturer's torque specifications. Overtightening can damage the valve cover or strip the threads in the cylinder head.
- Sealing Surfaces: Ensure that the sealing surfaces are clean and free of any debris. This is crucial for a proper seal.
- Gasket Quality: Use a high-quality valve cover gasket from a reputable supplier. A cheap gasket may not seal properly and could leak again in the near future.
- RTV Silicone: Use the correct type of RTV silicone sealant. Automotive-grade sealant is designed to withstand the high temperatures and pressures inside the engine.
- Patience: Take your time and be careful. Rushing the job can lead to mistakes and leaks.
Troubleshooting
- Oil Leaks After Installation: Double-check the torque on the valve cover bolts. If the leak persists, you may need to remove the valve cover and inspect the gasket for damage or misalignment. Reapply sealant if necessary.
- Check Engine Light: If the check engine light comes on after replacing the valve cover gasket, it may be due to a disconnected sensor or vacuum leak. Check all wiring harnesses and hoses to make sure they are properly connected.
By following these steps and paying attention to detail, you can successfully replace the valve cover gasket on your 2007 Nissan Altima and prevent oil leaks. Remember to consult your vehicle's repair manual for specific instructions and torque specifications.