2008 Nissan Altima 3.5 Catalytic Converter
Let's dive into the catalytic converter on your 2008 Nissan Altima 3.5. This component is crucial for emissions control, and understanding its function, common failure points, and replacement options will keep your car running cleanly and legally. This article is geared toward experienced DIYers, so we'll assume a certain level of mechanical familiarity, but we'll define key terms as we go.
Catalytic Converter Basics
The catalytic converter is a key part of your Altima's exhaust system, located downstream from the exhaust manifold and usually before the muffler. Its primary job is to reduce harmful emissions produced by the engine into less harmful ones. Think of it as a chemical reactor that cleans up the exhaust gases before they're released into the atmosphere.
Specifically, it targets three main pollutants:
- Hydrocarbons (HC): Unburned fuel that contributes to smog.
- Carbon Monoxide (CO): A poisonous gas.
- Nitrogen Oxides (NOx): Contributors to smog and acid rain.
Inside the converter, a ceramic honeycomb structure coated with precious metals like platinum, palladium, and rhodium acts as a catalyst. A catalyst is a substance that speeds up a chemical reaction without being consumed itself. As exhaust gases pass over this catalyst, chemical reactions occur that convert HC, CO, and NOx into water (H2O), carbon dioxide (CO2), and nitrogen (N2), respectively.
Two-Way vs. Three-Way Converters
Your 2008 Altima 3.5 uses a three-way catalytic converter. Older systems utilized two-way converters, which only oxidized HC and CO. The three-way converter adds the capability to reduce NOx, making it significantly more effective at reducing emissions. The three-way converter requires precise air-fuel ratios in the exhaust stream to function correctly. This is why oxygen sensors (O2 sensors) are critical for converter operation.
Specifics for the 2008 Altima 3.5
The 2008 Altima 3.5, equipped with the VQ35DE engine, uses a more complex exhaust system than the 2.5L model. Typically, it features two catalytic converters located relatively close to the exhaust manifolds (pre-cats or primary cats) and one main catalytic converter further downstream. This design aims to heat up the catalysts quickly to reduce emissions during cold starts.
Understanding the layout of your specific Altima's exhaust system is crucial before attempting any repairs or replacements. Refer to a repair manual or online diagrams for accurate component locations. Keep in mind that California emission vehicles may have slightly different configurations.
The pre-cats are particularly prone to failure on the VQ35DE due to their proximity to the engine and the rapid heating and cooling cycles they endure. This makes them a common source of P0420 and P0430 error codes, which we'll discuss later.
Common Catalytic Converter Problems and Symptoms
A failing catalytic converter can manifest in several ways:
- Check Engine Light: This is the most common symptom. Codes like P0420 (Catalyst System Efficiency Below Threshold Bank 1) and P0430 (Catalyst System Efficiency Below Threshold Bank 2) are frequently associated with converter issues. Sometimes, other codes related to O2 sensors (e.g., P0130-P0167) can also point to a problem with the converter or the system controlling it.
- Reduced Engine Performance: A clogged or damaged converter can restrict exhaust flow, hindering engine performance. You might notice sluggish acceleration, a loss of power, or difficulty maintaining speed, especially uphill.
- Poor Fuel Economy: Reduced engine efficiency due to exhaust restriction can lead to lower gas mileage.
- Rattling Noises: Internal damage to the ceramic honeycomb can cause rattling sounds, especially when the engine is cold or under load.
- Overheating: A severely clogged converter can cause excessive heat buildup in the exhaust system, potentially damaging other components or even creating a fire hazard.
- Smell of Rotten Eggs: This distinctive odor can indicate that the converter is not properly processing sulfur compounds in the exhaust.
- Failed Emissions Test: This is the ultimate sign of converter failure. If your car fails an emissions test, the catalytic converter is a prime suspect.
Diagnosis and Testing
Before replacing the catalytic converter, it's crucial to diagnose the problem correctly. A faulty O2 sensor or other engine issues can mimic converter failure symptoms. Here's a basic diagnostic process:
- Scan for Diagnostic Trouble Codes (DTCs): Use an OBD-II scanner to retrieve any stored error codes. Write down all codes and research their meaning.
- Inspect the Converter Visually: Look for physical damage, such as dents, cracks, or rust. Check for loose heat shields.
- Check O2 Sensors: Use a multimeter or scan tool to monitor the O2 sensor readings. The upstream O2 sensor should fluctuate rapidly, while the downstream O2 sensor should have a more stable reading. If both sensors show similar fluctuations, it could indicate a failing converter. Make sure the engine is at operating temperature during testing.
- Perform a Backpressure Test: This test measures the exhaust backpressure before and after the converter. Excessive backpressure indicates a clogged converter. A backpressure gauge screws into the O2 sensor bung (the threaded hole where the O2 sensor is mounted). Acceptable backpressure is generally below 2 PSI at idle.
- Consider a "Tap Test": With the engine cool, gently tap the catalytic converter with a rubber mallet. A rattling sound suggests internal damage. Be careful not to damage the converter during this test.
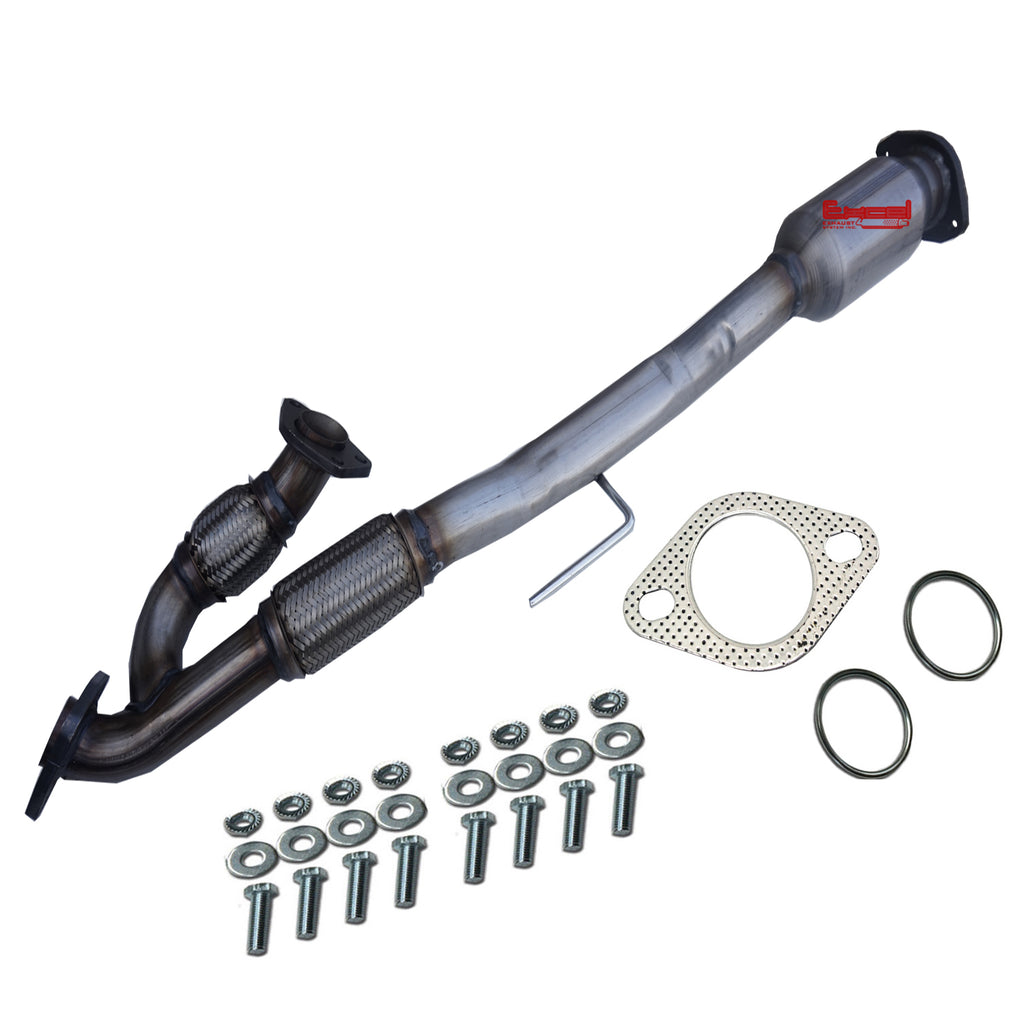
Replacement Options
When it comes to replacing the catalytic converter, you have a few options:
- OEM (Original Equipment Manufacturer) Converter: This is the most expensive option but offers the best performance and fitment. OEM converters are designed to meet the exact specifications of your vehicle.
- Aftermarket Converter: Aftermarket converters are generally less expensive than OEM converters. However, quality can vary significantly. Look for converters that meet EPA or CARB (California Air Resources Board) standards, depending on your location. Pay close attention to reviews and warranty information.
- High-Flow Converter: These converters are designed to improve exhaust flow and increase horsepower. However, they may not meet emissions standards in all areas. If you're considering a high-flow converter, research your local regulations carefully.
Important Considerations:
- CARB Compliance: If you live in California or a state that follows California emissions standards, you must use a CARB-compliant catalytic converter. Using a non-CARB-compliant converter can result in fines and failure to pass emissions inspections.
- Welding: Some aftermarket converters require welding. If you're not comfortable welding, you'll need to take your car to a professional exhaust shop.
- Gaskets and Hardware: Always replace gaskets and hardware when replacing a catalytic converter. This will ensure a proper seal and prevent exhaust leaks.
Replacement Procedure (General Guide)
Disclaimer: This is a general guide only. Always consult a repair manual specific to your 2008 Nissan Altima 3.5 for detailed instructions and torque specifications.
- Safety First: Disconnect the negative battery cable. Wear safety glasses and gloves. Work in a well-ventilated area. Allow the exhaust system to cool completely before working on it.
- Raise the Vehicle: Securely raise the vehicle using jack stands. Never work under a vehicle supported only by a jack.
- Remove O2 Sensors: Disconnect the O2 sensor electrical connectors and remove the O2 sensors from the converter. Use an O2 sensor socket if necessary.
- Disconnect Exhaust System: Depending on the location of the converter, you may need to disconnect other sections of the exhaust system. Loosen or remove the bolts or clamps connecting the converter to the exhaust manifold and/or the intermediate pipe. Penetrating oil can be helpful for stubborn fasteners.
- Remove the Old Converter: Carefully remove the old catalytic converter. Be prepared for it to be heavy and potentially rusted.
- Install the New Converter: Install the new catalytic converter, using new gaskets and hardware. Ensure the converter is properly aligned.
- Install O2 Sensors: Install the O2 sensors into the new converter. Apply anti-seize compound to the threads of the O2 sensors to prevent them from seizing in the future.
- Reconnect Exhaust System: Reconnect any other sections of the exhaust system that were disconnected. Tighten all bolts and clamps to the specified torque.
- Lower the Vehicle: Carefully lower the vehicle.
- Reconnect Battery: Reconnect the negative battery cable.
- Test Drive: Start the engine and let it idle for a few minutes. Check for exhaust leaks. Take the car for a test drive to ensure everything is working properly.
- Clear DTCs: Use an OBD-II scanner to clear any stored diagnostic trouble codes.
Preventative Maintenance
While catalytic converters have a lifespan, proper maintenance can help extend it:
- Regular Engine Tune-Ups: Keep your engine properly tuned to ensure efficient combustion. This includes replacing spark plugs, air filters, and fuel filters as recommended by the manufacturer.
- Address Engine Problems Promptly: Fix any engine problems, such as misfires or oil leaks, as soon as possible. These issues can damage the catalytic converter.
- Use Quality Fuel: Use high-quality fuel that meets the manufacturer's recommendations. Avoid using fuel additives that are not specifically approved for use in your vehicle.
- Avoid Short Trips: Short trips don't allow the catalytic converter to reach its optimal operating temperature, which can lead to carbon buildup and reduced efficiency.
By understanding the function, common issues, and replacement options for your 2008 Nissan Altima 3.5's catalytic converter, you can keep your car running smoothly and legally while minimizing its environmental impact. Remember to consult your vehicle's repair manual and follow safety precautions when performing any repairs.