2008 Nissan Quest Lower Control Arm
Alright, let's talk about the lower control arm on your 2008 Nissan Quest. This isn't just some piece of metal – it's a critical component of your suspension system, impacting everything from ride comfort to handling and tire wear. We'll dive deep into its function, common issues, replacement procedures, and things to watch out for. This guide assumes you have a decent grasp of basic automotive repair and safety procedures. If you're not comfortable working on suspension components, please consult a professional.
Understanding the Lower Control Arm
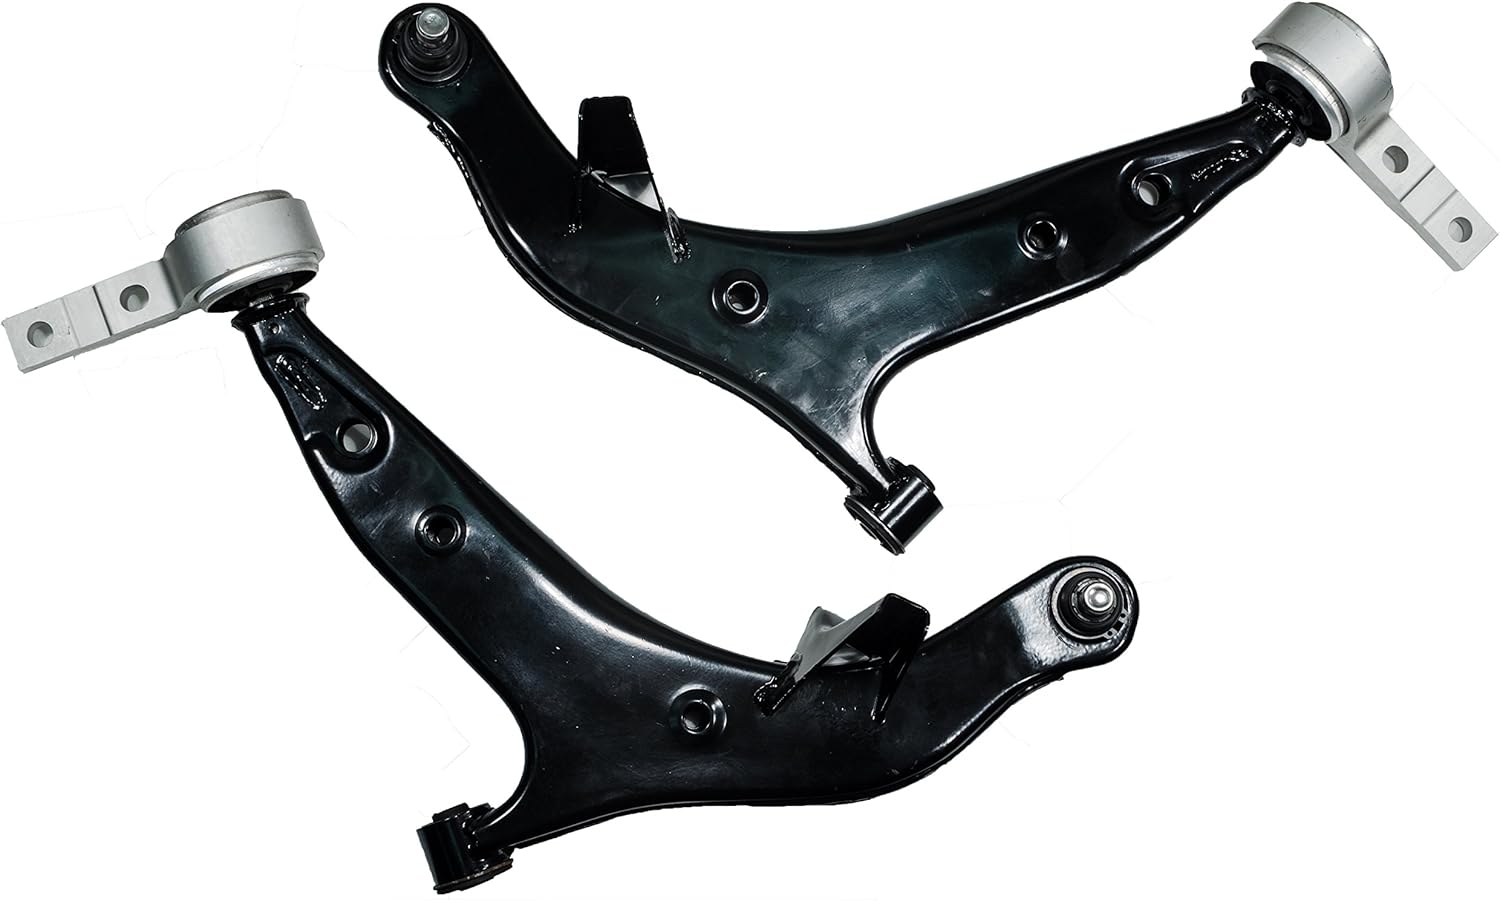
The lower control arm (LCA), sometimes called a wishbone, is a pivotal link between your Quest's chassis (the main structural frame of the vehicle) and the wheel hub/knuckle (the assembly that houses the wheel bearing and allows the wheel to rotate). It’s a key part of a double wishbone suspension design, although a MacPherson strut suspension in front will still have a lower control arm.
Its primary functions include:
- Connecting the Wheel Assembly: The LCA provides a mounting point for the wheel hub/knuckle, allowing the wheels to move up and down in response to road imperfections.
- Controlling Wheel Movement: It dictates the arc of the wheel's travel, helping maintain proper suspension geometry throughout the range of motion. Incorrect geometry leads to poor handling and accelerated tire wear.
- Supporting Vehicle Weight: The LCA helps bear the vehicle's weight, transferring it from the chassis to the wheel.
- Providing Mounting Points: It often serves as a mounting point for other suspension components like the shock absorber or strut, stabilizer bar (sway bar) links, and sometimes even the steering knuckle.
On the 2008 Quest, the LCA typically attaches to the chassis at two points via bushings. These bushings are usually made of rubber or polyurethane and allow for some flexibility and vibration damping. The other end of the LCA connects to the wheel hub/knuckle via a ball joint, which allows for free rotation and articulation.
Common Problems with the 2008 Quest Lower Control Arm
LCAs are robust, but they're subjected to constant stress and wear. Here are some common issues you might encounter with your Quest's lower control arms:
Worn or Damaged Bushings
This is the most frequent problem. The bushings isolate the chassis from road vibrations and allow the LCA to pivot. Over time, these bushings can crack, dry rot, or become excessively worn. Symptoms include:
- Clunking or Squeaking Noises: Especially noticeable when going over bumps or turning.
- Vague Steering: The vehicle may feel less responsive or wander.
- Excessive Vibration: Vibrations may be transmitted more readily into the cabin.
- Uneven Tire Wear: Worn bushings can affect wheel alignment, leading to uneven wear patterns.
Ball Joint Failure
The ball joint allows the wheel hub to pivot and steer. Like bushings, ball joints wear out over time. Symptoms of a failing ball joint include:
- Popping or Clicking Noises: Similar to bushing problems, but often more pronounced and directly related to steering input.
- Loose Steering: Excessive play in the steering wheel.
- Vibration: Vibration can be felt in the steering wheel, especially at higher speeds.
- Visual Inspection: You might be able to see visible play in the ball joint if you jack up the car and try to move the wheel. Important: A severely worn ball joint can separate, causing a catastrophic loss of control.
Bent or Damaged Control Arm
This is less common but can occur due to impacts with potholes, curbs, or accidents. A bent control arm will almost certainly cause alignment issues and can affect handling. Visual inspection will usually reveal the damage.
Rust and Corrosion
In areas with harsh winters or heavy road salt use, rust can weaken the control arm and its mounting points. Severe rust can compromise the structural integrity of the LCA.
Diagnosing Lower Control Arm Problems
Before replacing the LCA, it's crucial to diagnose the problem correctly. Here's a step-by-step approach:
- Visual Inspection: Jack up the vehicle safely and support it with jack stands. Visually inspect the LCA, bushings, and ball joint for cracks, damage, or excessive play. Look for rust and corrosion.
- Pry Bar Test: Use a pry bar to gently apply pressure to the bushings and ball joint. Look for excessive movement or play. Be careful not to damage other components.
- Wheel Play Test: With the vehicle still jacked up, grab the wheel at the 3 o'clock and 9 o'clock positions and try to wiggle it back and forth. Then, grab it at the 12 o'clock and 6 o'clock positions and do the same. Excessive play indicates a problem with the ball joint or wheel bearing.
- Road Test: If safe to do so, take the vehicle for a short test drive and listen for unusual noises or changes in handling.
Replacing the Lower Control Arm on a 2008 Nissan Quest
Safety First: Always use jack stands when working under a vehicle. Disconnect the negative battery terminal to prevent accidental electrical shocks. Wear safety glasses and gloves.
Here's a general outline of the replacement procedure. Note: This is a complex procedure, and specific steps may vary depending on the exact configuration of your vehicle. Consult a repair manual specific to your 2008 Nissan Quest for detailed instructions and torque specifications.
- Preparation: Gather your tools: socket set, wrenches, torque wrench, ball joint separator (pickle fork or ball joint press), penetrating oil, and possibly a breaker bar.
- Loosen Lug Nuts: Loosen the lug nuts on the wheel of the side you are working on.
- Jack Up and Secure: Jack up the vehicle and securely support it with jack stands. Remove the wheel.
- Disconnect ABS Sensor (if applicable): Carefully disconnect the ABS sensor wire from the LCA and any retaining clips.
- Disconnect Stabilizer Bar Link (if applicable): If the stabilizer bar link is attached to the LCA, disconnect it. Use penetrating oil to loosen the fasteners.
- Separate Ball Joint: This is often the trickiest part. Use a ball joint separator (pickle fork or press) to separate the ball joint from the steering knuckle. Caution: Pickle forks can damage the ball joint boot, so use a press if you plan to reuse the LCA.
- Remove LCA Mounting Bolts: Locate the bolts that secure the LCA to the chassis. Use penetrating oil and a breaker bar if necessary. Note the position and orientation of the bolts for reinstallation.
- Remove the Lower Control Arm: Carefully remove the LCA from the vehicle.
- Install the New Lower Control Arm: Install the new LCA in the reverse order of removal. Make sure the bushings are properly seated.
- Torque Specifications: Torque all bolts and fasteners to the manufacturer's specifications. This is critical for safety and proper suspension function. Consult your repair manual for the correct torque values.
- Reconnect Everything: Reconnect the stabilizer bar link, ABS sensor, and any other components you disconnected.
- Reinstall Wheel: Reinstall the wheel and torque the lug nuts to the correct specification.
- Lower Vehicle: Lower the vehicle to the ground.
- Alignment: Crucially Important: Take the vehicle to a qualified alignment shop immediately after replacing the LCA. Replacing the LCA will almost certainly affect the wheel alignment, and driving without a proper alignment will lead to uneven tire wear and poor handling.
Important Considerations
- Quality of Parts: Invest in a high-quality replacement LCA from a reputable brand. Cheap aftermarket parts may not meet OEM specifications and can fail prematurely.
- Bushing Material: Consider upgrading to polyurethane bushings for improved handling and durability. However, polyurethane bushings can be stiffer and transmit more road noise.
- Rust Prevention: Before installing the new LCA, consider applying a rust preventative coating to protect it from corrosion.
- Alignment is Essential: We can't stress this enough: get a wheel alignment after replacing the LCA.
- Check Other Components: While you're working on the suspension, inspect other components like the shock absorbers, struts, and tie rod ends for wear and tear. Replace them if necessary.
Replacing the lower control arm on your 2008 Nissan Quest can be a challenging but rewarding DIY project. By understanding the function of the LCA, diagnosing problems correctly, and following the proper procedures, you can save money and ensure your vehicle's safety and performance. However, remember to prioritize safety and consult a professional if you're unsure about any aspect of the repair.