2009 Nissan Rogue Valve Cover Gasket
The humble valve cover gasket, often overlooked until it announces its presence with a telltale oil leak, plays a critical role in maintaining the health and performance of your 2009 Nissan Rogue's engine. This seemingly simple component is responsible for sealing the top of the engine, preventing oil from escaping and contaminants from entering. While a leaky valve cover gasket might not seem like a catastrophic issue initially, neglecting it can lead to more serious problems down the road. This article delves into the intricacies of the 2009 Nissan Rogue valve cover gasket, exploring its function, failure modes, replacement procedure, and the underlying engineering principles that govern its design.
Understanding the Valve Cover's Role
Before dissecting the gasket itself, it's essential to understand the valve cover's function. The valve cover, typically made of aluminum or plastic, sits atop the cylinder head, enclosing the valvetrain. This includes the camshaft(s), rocker arms (or direct-acting tappets), valves, and valve springs. The valvetrain is a complex and dynamic system that requires constant lubrication to minimize friction and wear. Engine oil is pumped to these components, lubricating them as they operate. The valve cover acts as a barrier, preventing this vital oil from splashing out and ensuring a clean and pressurized environment for optimal valvetrain performance.
Furthermore, the valve cover helps to keep contaminants like dirt, dust, and debris out of the engine. These contaminants can accelerate wear on the valvetrain components, leading to reduced engine life and performance. By providing a tight seal, the valve cover helps to maintain the integrity of the engine oil and protect the internal components.
The Valve Cover Gasket: A Sealing Specialist
The valve cover gasket is the crucial interface between the valve cover and the cylinder head. It is designed to create a leak-proof seal under the demanding conditions of engine operation, which includes fluctuating temperatures, oil pressure, and vibrations. The gasket typically comprises a resilient material, such as rubber, silicone, or a combination of both, often reinforced with a metal core. The choice of material is critical, as it must withstand the corrosive effects of engine oil, resist hardening and cracking due to heat cycling, and maintain its elasticity over time.
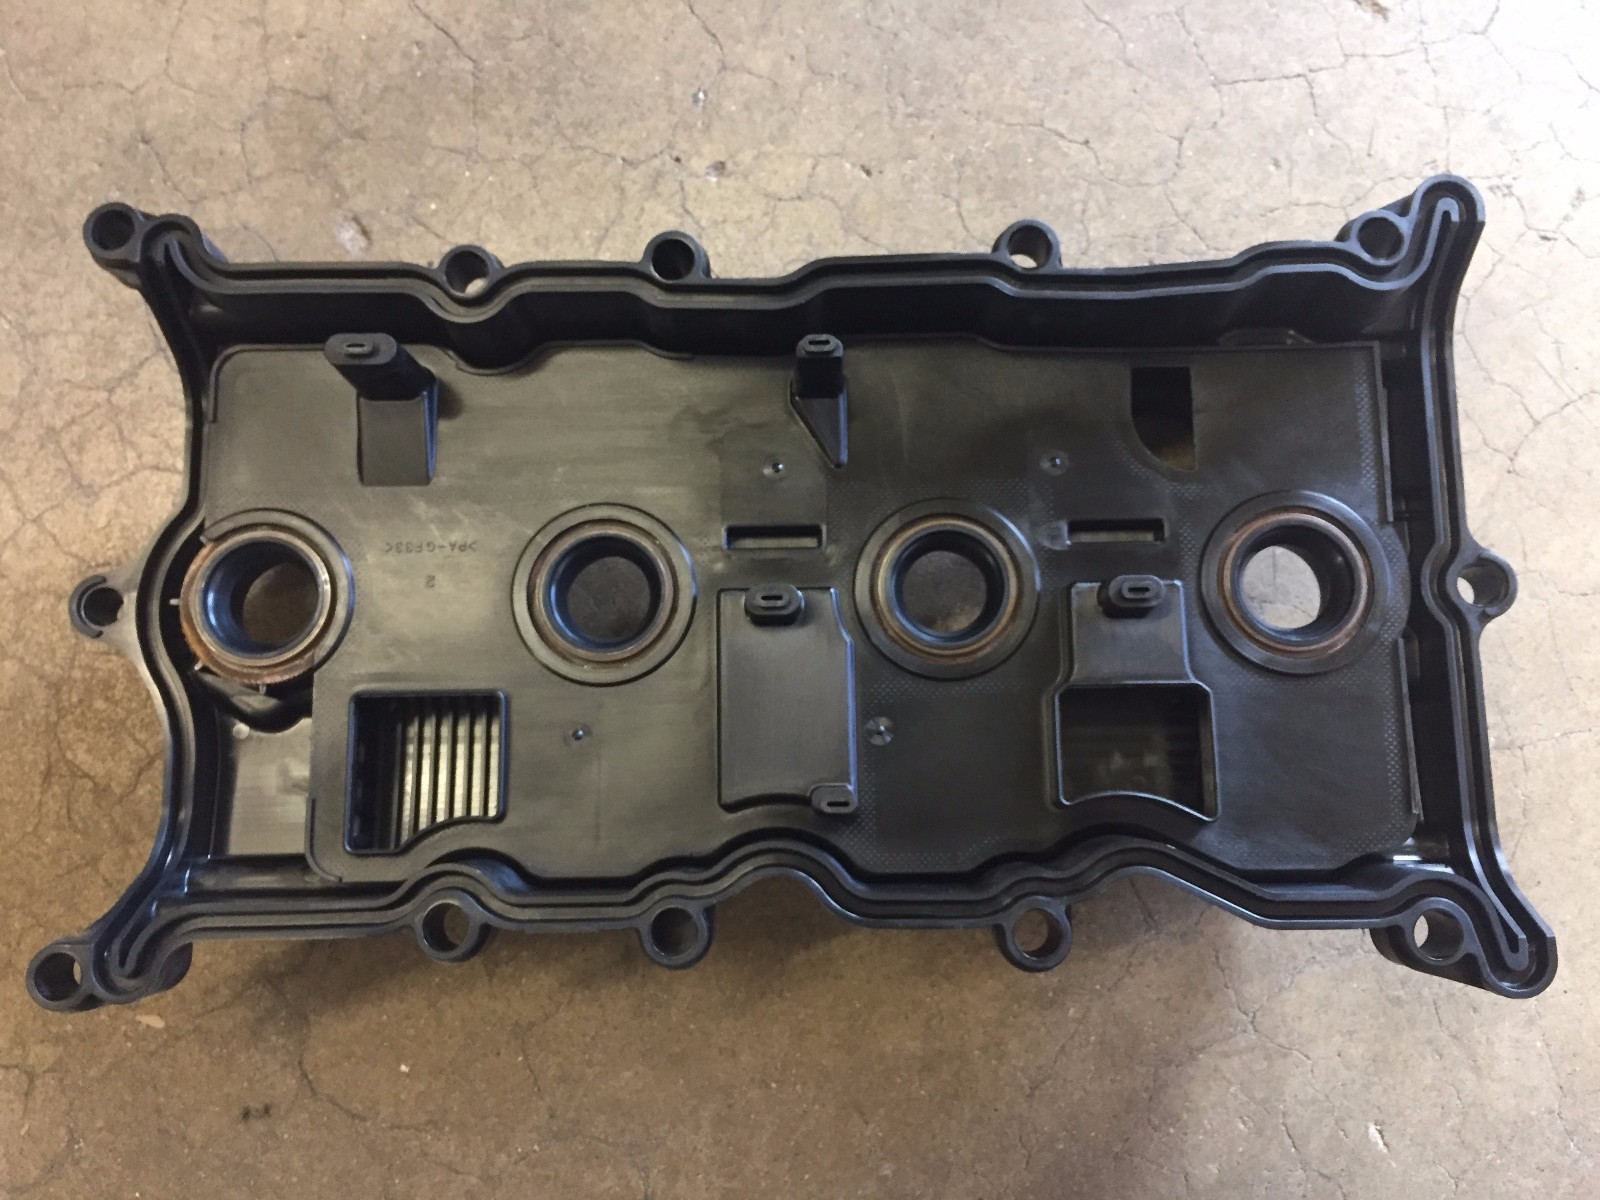
For the 2009 Nissan Rogue, the valve cover gasket is usually a molded rubber or silicone gasket. The design often incorporates raised ribs or beads that compress against the valve cover and cylinder head surfaces when the cover is bolted down. This compression creates a positive seal, filling any minor imperfections in the mating surfaces and preventing oil from escaping. The precision of this design is essential for proper sealing. Too much compression can damage the gasket, while insufficient compression will result in leaks.
Common Failure Modes
Valve cover gaskets, like any other automotive component, are subject to wear and tear over time. Several factors contribute to their failure:
- Heat Cycling: The constant heating and cooling of the engine causes the gasket material to expand and contract. Over time, this can lead to hardening, cracking, and loss of elasticity, compromising its ability to seal effectively.
- Oil Exposure: Prolonged exposure to engine oil can degrade the gasket material, causing it to swell, soften, or even dissolve. This is particularly true if the gasket is made from a material that is not compatible with the type of engine oil used.
- Improper Installation: Incorrect installation is a common cause of premature valve cover gasket failure. Overtightening the valve cover bolts can crush the gasket, while undertightening can result in leaks. Using the correct torque specifications and following the manufacturer's instructions are crucial for a successful installation.
- Surface Imperfections: Dents, scratches, or corrosion on the valve cover or cylinder head sealing surfaces can prevent the gasket from seating properly, leading to leaks.
- Age: Over time, the gasket material naturally deteriorates due to oxidation and other environmental factors.
A leaky valve cover gasket manifests itself in several ways. The most obvious sign is oil leaking onto the engine, often dripping onto the exhaust manifold, causing a burning oil smell. Other symptoms include low engine oil levels, oil pooling around the valve cover, and, in severe cases, misfires due to oil contaminating the spark plugs.
Replacement Procedure: A Step-by-Step Guide
Replacing the valve cover gasket on a 2009 Nissan Rogue is a relatively straightforward process that most DIY mechanics can tackle with the right tools and a bit of patience. Here’s a general guide:
- Preparation: Gather the necessary tools and materials, including a new valve cover gasket, a torque wrench, sockets, wrenches, a scraper, and a shop towel. Ensure the engine is cool before starting the procedure.
- Disconnect Components: Disconnect the negative battery cable to prevent electrical shocks. Remove any components that are obstructing access to the valve cover, such as air intake hoses, wiring harnesses, and vacuum lines. Carefully label and disconnect any electrical connectors attached to the valve cover or nearby components.
- Remove the Valve Cover: Loosen and remove the valve cover bolts. Start from the outside bolts and work your way inwards in a crisscross pattern to distribute the stress evenly. Once all the bolts are removed, gently pry the valve cover off the cylinder head. You may need to use a rubber mallet or a plastic scraper to help loosen it.
- Clean the Sealing Surfaces: Thoroughly clean the valve cover and cylinder head sealing surfaces using a scraper and a solvent. Remove any old gasket material, oil residue, or contaminants. Ensure the surfaces are clean, dry, and free of any imperfections. Check the valve cover for warping, cracks, or other damage.
- Install the New Gasket: Install the new valve cover gasket onto the valve cover. Ensure the gasket is properly seated in the groove and that it is aligned correctly. Some gaskets may require a small amount of sealant to be applied to specific areas, such as corners or seams. Refer to the manufacturer's instructions for specific recommendations.
- Reinstall the Valve Cover: Carefully reinstall the valve cover onto the cylinder head. Align the bolt holes and hand-tighten the bolts.
- Torque the Bolts: Use a torque wrench to tighten the valve cover bolts to the manufacturer's specified torque. Again, tighten the bolts in a crisscross pattern, starting from the center and working your way outwards. Avoid overtightening the bolts, as this can damage the gasket or the valve cover. This is critical!
- Reconnect Components: Reconnect all the components that were removed in step 2, including air intake hoses, wiring harnesses, and vacuum lines. Ensure all electrical connectors are properly connected.
- Reconnect the Battery: Reconnect the negative battery cable.
- Start the Engine: Start the engine and check for any leaks around the valve cover. If any leaks are detected, retighten the bolts slightly, but do not overtighten them.
Important Note: Always consult the vehicle's service manual for specific instructions and torque specifications for your particular model year and engine. Using the correct torque specifications is crucial for a proper seal and to prevent damage to the valve cover or cylinder head.
Engineering Considerations
The design and selection of the valve cover gasket involve several engineering considerations:
- Material Properties: The gasket material must possess a combination of properties, including high tensile strength, elongation, compression set resistance, and chemical resistance. It must also be able to withstand a wide range of temperatures and pressures without degrading.
- Gasket Geometry: The geometry of the gasket, including its thickness, width, and shape, is critical for achieving a proper seal. The gasket must be designed to conform to the mating surfaces and provide sufficient compression to fill any imperfections.
- Clamping Force: The clamping force exerted by the valve cover bolts plays a crucial role in maintaining the seal. The bolts must be tightened to the correct torque to provide sufficient compression without crushing the gasket. The design must consider the thermal expansion of all parts.
- Surface Finish: The surface finish of the valve cover and cylinder head sealing surfaces affects the gasket's ability to seal effectively. Rough or uneven surfaces can create gaps that allow oil to leak.
- Environmental Factors: The gasket must be able to withstand the harsh environmental conditions inside the engine compartment, including exposure to oil, fuel, coolant, and extreme temperatures.
Modern valve cover gasket designs often incorporate advanced features, such as integrated limiters to prevent overtightening, multiple sealing beads for enhanced sealing performance, and special coatings to improve chemical resistance. These features are designed to extend the gasket's lifespan and improve its overall reliability.
Conclusion
The valve cover gasket, though a relatively small and inexpensive component, plays a vital role in maintaining the health and performance of your 2009 Nissan Rogue's engine. By understanding its function, failure modes, and replacement procedure, you can ensure that your engine remains properly sealed and protected from leaks. Regular maintenance, including checking for leaks and replacing the gasket when necessary, can prevent more serious engine problems and prolong the life of your vehicle. The key takeaway is that a properly functioning valve cover gasket contributes significantly to the overall reliability and efficiency of your engine.