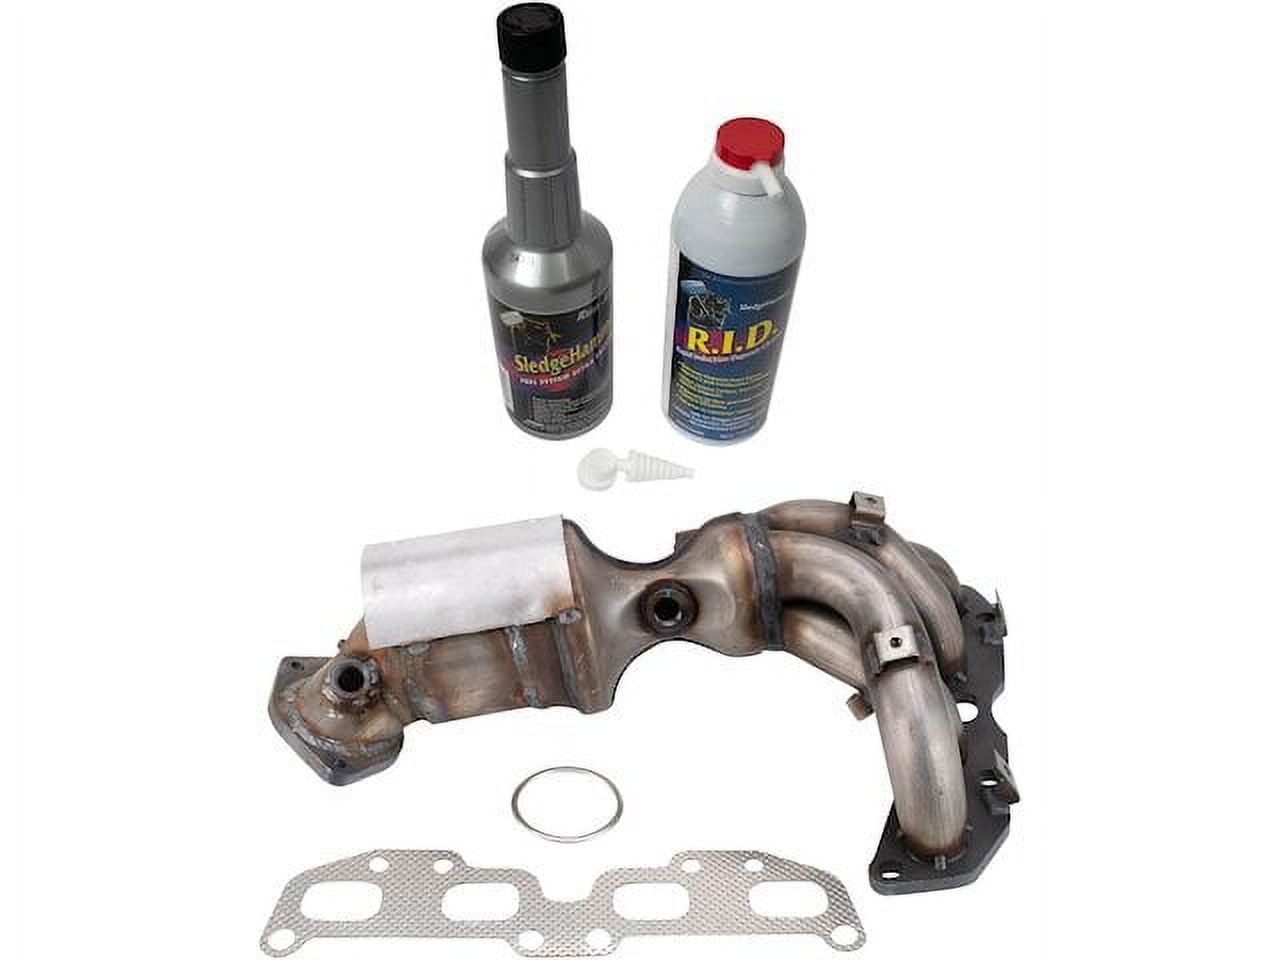
2010 Nissan Altima 2.5 Exhaust Manifold
Alright, let's dive into the exhaust manifold on your 2010 Nissan Altima with the 2.5L engine (QR25DE). This guide is designed for those of you who are comfortable tackling intermediate automotive repairs, have some experience under your belt, and understand the basics of how an engine operates. We'll cover everything from identifying potential problems, understanding its function, removal, inspection, and reinstallation. Remember, safety first – always disconnect the negative battery terminal before starting any work and use proper safety equipment like gloves and eye protection.
Understanding the Exhaust Manifold's Role
The exhaust manifold is a critical component in your Altima's exhaust system. Its primary job is to collect the exhaust gases expelled from each cylinder of the engine after the combustion process and channel them into the exhaust system, ultimately leading to the catalytic converter and muffler. Think of it as the funnel that directs the unwanted byproducts of combustion away from the engine. Without a properly functioning manifold, your engine's performance and emissions can suffer significantly.
The QR25DE, like many four-cylinder engines, typically uses a cast iron or, less commonly, a stainless steel exhaust manifold. While cast iron is durable and relatively inexpensive, it's also heavier and more prone to cracking over time due to the extreme temperature fluctuations it endures. Stainless steel manifolds are lighter and more resistant to corrosion but can be more expensive. Regardless of the material, the manifold is bolted directly to the cylinder head and sealed with a gasket.
Common Issues and Symptoms
Several things can go wrong with your Altima's exhaust manifold. Here are some common problems and the symptoms they produce:
- Cracked Manifold: This is the most frequent issue. Cracks typically form due to thermal stress – repeated heating and cooling cycles. A cracked manifold allows exhaust gases to escape, resulting in a noticeable exhaust leak, reduced fuel efficiency, and potentially a check engine light (CEL). You might also hear a ticking or hissing sound, especially when the engine is cold.
- Warped Manifold: Over time, the intense heat can cause the manifold to warp, leading to leaks even with a good gasket. Warping can occur if the engine overheats significantly.
- Broken or Loose Bolts: The bolts that secure the manifold to the cylinder head can corrode, loosen, or even break. This creates exhaust leaks similar to a cracked manifold. Pay close attention to the condition of the bolts during removal.
- Damaged Gasket: The exhaust manifold gasket is designed to seal the space between the manifold and the cylinder head. It is a crush type gasket, made of metal composite. Over time, this gasket can deteriorate, leading to exhaust leaks.
Symptoms to watch out for include:
- Exhaust Leak Noise: A distinct ticking, hissing, or puffing sound, often loudest when the engine is cold. The sound may lessen as the manifold heats up and expands, partially sealing the leak.
- Reduced Fuel Economy: Leaking exhaust gases can disrupt the oxygen sensor readings, leading the engine control unit (ECU) to miscalculate the air-fuel mixture, reducing fuel efficiency.
- Check Engine Light (CEL): A leak in the exhaust manifold can trigger the CEL. Common diagnostic trouble codes (DTCs) associated with exhaust leaks include P0420 (Catalyst System Efficiency Below Threshold), P0171 (System Too Lean, Bank 1), and various oxygen sensor-related codes.
- Poor Engine Performance: Reduced power and acceleration, especially at low RPMs, can be a sign of an exhaust leak.
- Smell of Exhaust in the Cabin: This is a serious safety concern. Exhaust gases contain carbon monoxide (CO), which is odorless and deadly. If you smell exhaust inside the car, address the problem immediately.
Tools and Materials Needed
Before you start, gather the necessary tools and materials:
- Socket set (metric)
- Wrench set (metric)
- Torque wrench
- Penetrating oil (e.g., PB Blaster)
- New exhaust manifold gasket
- New exhaust manifold bolts (highly recommended)
- Jack and jack stands
- Wheel chocks
- Safety glasses
- Gloves
- Oxygen sensor socket (if removing the oxygen sensor)
- Anti-seize compound
- Optional: New exhaust manifold (if replacing)
Removal Procedure
Here's a step-by-step guide to removing the exhaust manifold on your 2010 Altima 2.5. Remember to work safely and take your time.
- Preparation: Disconnect the negative battery terminal. Allow the engine to cool down completely. This is crucial to avoid burns.
- Raise the Vehicle: Securely jack up the front of the car and support it with jack stands. Use wheel chocks to prevent the rear wheels from rolling.
- Oxygen Sensor(s): Locate the oxygen sensor(s) attached to the exhaust manifold. Disconnect the electrical connector(s). Use an oxygen sensor socket to carefully remove the sensor(s). Important: Applying penetrating oil to the threads of the oxygen sensor a day or so before will help tremendously.
- Heat Shield Removal: The exhaust manifold is usually covered by a heat shield. Remove the bolts or screws securing the heat shield and carefully remove it. Note their location for reinstallation.
- Disconnect Downpipe: The exhaust manifold connects to the downpipe (the section of exhaust pipe leading to the catalytic converter). Loosen the bolts or nuts connecting the manifold to the downpipe. Penetrating oil is your friend here! If the fasteners are severely rusted, you may need to use a torch (with extreme caution!) or a bolt extractor. Once the fasteners are loose, carefully separate the downpipe from the manifold. You may need to use a rubber mallet to gently tap the downpipe free. Make sure to support the downpipe so it doesn't hang and damage the exhaust system.
- Remove Manifold Bolts: Now you can access the bolts securing the exhaust manifold to the cylinder head. Apply penetrating oil to these bolts and let it soak in for a while. Using a socket and wrench, carefully loosen and remove the bolts. Work in a crisscross pattern to evenly distribute the stress and prevent warping. Be extremely cautious, as these bolts are prone to breaking. If a bolt breaks, you'll need to use a bolt extractor or drill it out, which can be a challenging task.
- Remove the Manifold: Once all the bolts are removed, carefully wiggle the exhaust manifold free from the cylinder head. It may be stuck due to corrosion or the old gasket. Use gentle persuasion, avoiding excessive force that could damage the cylinder head.
Inspection and Cleaning
After removing the manifold, thoroughly inspect it for cracks, warping, and other damage. Use a straight edge to check for warping on the manifold's mating surface. If you find significant damage, it's best to replace the manifold. A small crack can *sometimes* be welded by a professional, but replacement is usually the more reliable option. Clean the mating surface on the cylinder head with a scraper or gasket remover to remove any residual gasket material. Be careful not to scratch or damage the surface.
Inspect the old exhaust manifold bolts for corrosion or damage. It's generally a good idea to replace them with new bolts, especially if they show signs of wear. Clean the threads of the bolt holes in the cylinder head using a thread chaser to remove any rust or debris. This will ensure proper torque when you reinstall the manifold.
Reinstallation
Reinstallation is essentially the reverse of the removal process. Here are some key points to keep in mind:
- Install New Gasket: Place a new exhaust manifold gasket onto the cylinder head, aligning it with the bolt holes. Make sure the gasket is the correct orientation.
- Install Manifold: Carefully position the exhaust manifold onto the cylinder head, aligning the bolt holes.
- Install Manifold Bolts: Install the exhaust manifold bolts, tightening them by hand until they are snug.
- Torque to Specification: Using a torque wrench, tighten the manifold bolts to the manufacturer's specified torque in a crisscross pattern. Consult a repair manual or online resource for the correct torque specification for your 2010 Altima 2.5. This is absolutely crucial to prevent leaks and ensure proper sealing. Under-torquing or over-torquing can both lead to problems.
- Reconnect Downpipe: Reconnect the downpipe to the exhaust manifold, using new gaskets or fasteners if necessary. Tighten the bolts or nuts securely.
- Install Heat Shield: Reinstall the heat shield, securing it with the bolts or screws you removed earlier.
- Oxygen Sensor(s): Reinstall the oxygen sensor(s), applying a small amount of anti-seize compound to the threads to prevent them from seizing in the future. Connect the electrical connector(s).
- Final Check: Double-check all connections and fasteners to ensure they are secure.
- Lower the Vehicle: Carefully lower the car back to the ground.
- Reconnect Battery: Reconnect the negative battery terminal.
- Test Drive: Start the engine and listen for any exhaust leaks. If you hear any leaks, recheck the manifold bolts and downpipe connection. Take the car for a test drive and monitor for any unusual noises or performance issues.
Important Considerations
Broken Bolts: As mentioned earlier, broken exhaust manifold bolts are a common problem. If you break a bolt, you'll need to use a bolt extractor or drill it out. This can be a challenging task, especially if the bolt is deeply embedded in the cylinder head. If you're not comfortable with this type of repair, it's best to take the car to a professional mechanic.
Professional Help: If you're unsure about any aspect of this repair, don't hesitate to seek professional help. A qualified mechanic can diagnose and repair any issues with your exhaust manifold, ensuring that the job is done correctly and safely.
Replacing an exhaust manifold can be a challenging but rewarding DIY project. By following these steps and taking your time, you can save money and gain valuable experience working on your car. Remember to prioritize safety and seek professional help when needed. Good luck!