2010 Nissan Altima Bose Sound System
Alright, let's dive into the 2010 Nissan Altima's Bose sound system. It's a decent factory setup, but like any audio system, it has its nuances. This guide is for the intermediate car enthusiast, someone who's comfortable popping panels and knows the difference between an RCA and a speaker wire. We'll cover the system's architecture, speaker specs, amplifier details, and some common upgrade paths. We'll avoid getting bogged down in overly complex theory, focusing instead on practical knowledge you can use.
System Overview: A Factory-Integrated Approach
The 2010 Altima's Bose system is what's called a factory-integrated system. This means it's designed to work seamlessly with the car's existing electronics, including the head unit, wiring harness, and even the car's computer. While this offers convenience, it also presents some challenges when you're looking to upgrade. You're not just swapping out a component; you're potentially disrupting a finely tuned system.
The key components are:
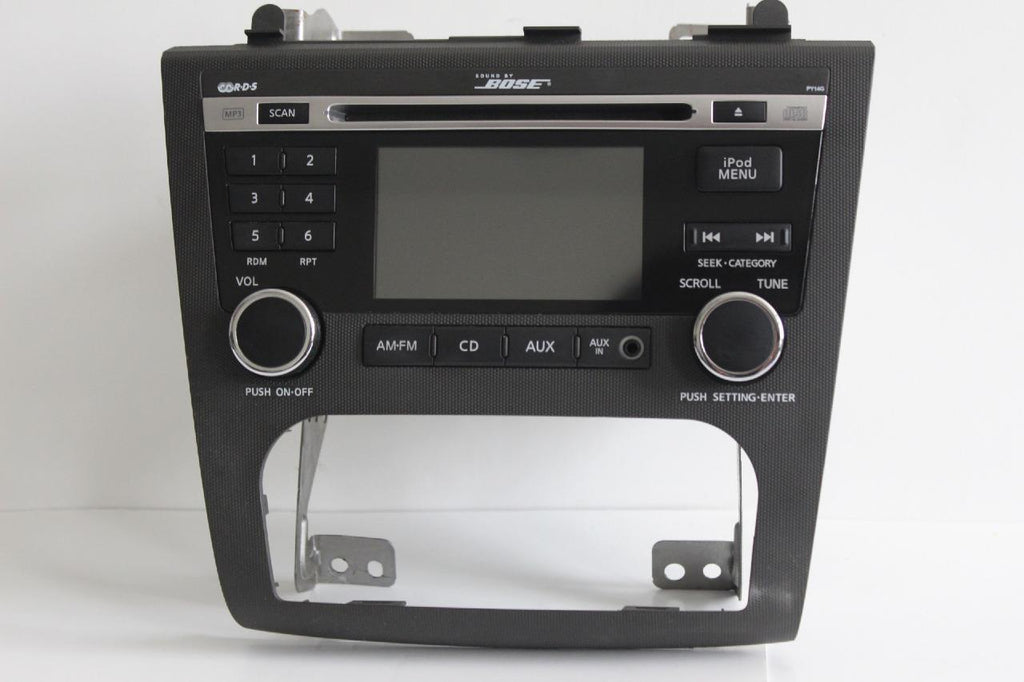
- Head Unit: The factory head unit serves as the central control point. It handles audio source selection (radio, CD, AUX), volume control, and basic EQ. Keep in mind that this unit often incorporates proprietary communication protocols with the amplifier, which can complicate aftermarket head unit installations.
- Amplifier: The heart of the Bose system. It's a multi-channel amplifier located, usually, under the driver's seat or sometimes within the center console. The exact location varies slightly depending on the Altima trim level. This amp provides the power to drive all the speakers in the car.
- Speakers: A set of speakers strategically placed throughout the cabin, typically including front door speakers, rear deck speakers, and sometimes a dedicated subwoofer. The quality of these speakers, while branded Bose, is generally considered adequate for a factory system, but often the first area for improvement.
- Wiring Harness: A complex network of wires that connects all the components. Understanding this harness is crucial for any upgrade project.
Speaker Breakdown: Sizes, Impedance, and Challenges
Let's break down the speaker setup:
- Front Door Speakers: Typically, these are 6.5-inch or 6x9-inch component speakers. The component designation means the tweeter and woofer are separate, allowing for better sound staging. The impedance is typically 2 ohms. This is a critical point. Aftermarket speakers are almost always 4 ohms. Replacing a 2-ohm speaker with a 4-ohm speaker will significantly reduce the output of that channel.
- Rear Deck Speakers: Usually 6x9-inch full-range speakers. These provide the rear fill. Again, these are often 2-ohm speakers.
- Subwoofer (if equipped): Located in the rear deck or side panel, depending on the trim level. The size and impedance vary, but it's typically an 8-inch or 10-inch subwoofer with a dual voice coil (DVC) configuration. DVC allows for more wiring flexibility.
Important Considerations When Replacing Speakers:
Impedance Matching: As mentioned before, the factory Bose system often uses 2-ohm speakers. Using 4-ohm aftermarket speakers will result in a significant drop in volume and can potentially damage the amplifier over time due to overheating. There are a few solutions:
- Using 2-Ohm Aftermarket Speakers: While less common, these do exist. They'll provide the closest performance match.
- Adding an Amplifier: This is often the best solution. An aftermarket amplifier will provide the correct power and impedance matching for your new speakers.
- Careful Wiring: In some cases, you can wire two 4-ohm speakers in parallel to achieve a 2-ohm load. However, this requires a solid understanding of wiring diagrams and speaker impedance calculations.
Amplifier Details: Channels, Power, and Integration
The factory Bose amplifier is the brains behind the operation. It takes the low-level signal from the head unit and amplifies it to drive the speakers. Here's what you need to know:
- Number of Channels: The amp typically has 5 or more channels, depending on whether the system includes a dedicated subwoofer. These channels are usually configured as follows: Front Left, Front Right, Rear Left, Rear Right, and Subwoofer (if present).
- Power Output: The total power output of the amplifier is usually in the range of 100-200 watts RMS (Root Mean Square). RMS is a measure of continuous power, which is more important than peak power. The distribution of power across the channels isn't always equal. The subwoofer channel will generally have more power than the other channels.
- Integration with Head Unit: This is where things get tricky. The amplifier often communicates with the head unit using a proprietary data protocol. This means you can't just disconnect the factory amp and plug in an aftermarket one. You'll need to use a line output converter (LOC) or an adapter designed specifically for the Altima.
Working with the Factory Amplifier:
Many owners choose to keep the factory head unit for aesthetic or functional reasons (like integrated climate controls). In this case, you'll need to integrate your aftermarket components with the existing Bose amplifier or bypass it entirely.
- Line Output Converters (LOCs): These devices take the high-level output from the factory amplifier (speaker wires) and convert it to a low-level signal that can be used by an aftermarket amplifier. Choose a high-quality LOC to minimize noise and distortion.
- Adapter Harnesses: Some manufacturers offer adapter harnesses that allow you to tap into the factory wiring harness without cutting any wires. This makes the installation reversible and reduces the risk of damaging the factory wiring.
Common Upgrade Paths: From Simple to Sophisticated
Here are a few common upgrade paths, ranked from simplest to most complex:
Option 1: Speaker Replacement (Basic)
This is the simplest upgrade, but also the one that will yield the least noticeable improvement if you aren't careful. Replace the factory speakers with aftermarket speakers of the same size. This can improve clarity and detail, but remember the impedance matching issue! Using 4 ohm speaker might be quiter!
Pros: Relatively easy and inexpensive.
Cons: Limited improvement, impedance matching issues, may require speaker adapters.
Option 2: Adding a Subwoofer
This adds much-needed bass to the system. You can either replace the factory subwoofer (if equipped) or add a separate subwoofer and amplifier. Using a LOC connected to the rear speakers. To power the subwoofer you will need an aftermarket amplifier.
Pros: Significantly improves bass response.
Cons: Requires running power wires, signal wires, and remote turn-on wire.
Option 3: Amplifier and Speaker Replacement
This is a more comprehensive upgrade that replaces both the factory amplifier and speakers. This will provide the most significant improvement in sound quality. You'll need to bypass the factory amplifier and run new speaker wires.
Pros: Drastic improvement in sound quality, allows for better speaker selection.
Cons: More complex installation, requires more expertise, more expensive.
Option 4: Head Unit, Amplifier, and Speaker Replacement
This is the ultimate upgrade, replacing all the key components. This gives you complete control over the sound system and allows you to customize it to your exact preferences. This usually involves replacing the factory head unit with an aftermarket unit that has better features and sound quality. It usually requires some custom mounting and wiring.
Pros: Complete control over the system, maximum sound quality potential.
Cons: Most complex and expensive installation, may require professional installation.
Tools and Materials You'll Need
Regardless of which upgrade path you choose, you'll need some basic tools and materials:
- Panel Removal Tools: Essential for removing interior panels without damaging them.
- Wire Strippers and Crimpers: For making clean and secure wire connections.
- Multimeter: For testing voltage and impedance.
- Wiring Harness Adapters: To avoid cutting factory wires.
- Line Output Converter (LOC): If you're keeping the factory head unit and adding an amplifier.
- Speaker Wire: High-quality speaker wire is essential for good sound quality.
- Sound Deadening Material: To reduce vibrations and improve sound quality.
- Patience: This is key! Take your time and do it right.
Final Thoughts
Upgrading the 2010 Nissan Altima's Bose sound system can be a rewarding project. By understanding the system's architecture and potential pitfalls, you can significantly improve the sound quality and listening experience. Remember to plan your project carefully, choose the right components, and take your time. And if you're not comfortable with any aspect of the installation, don't hesitate to seek professional help.