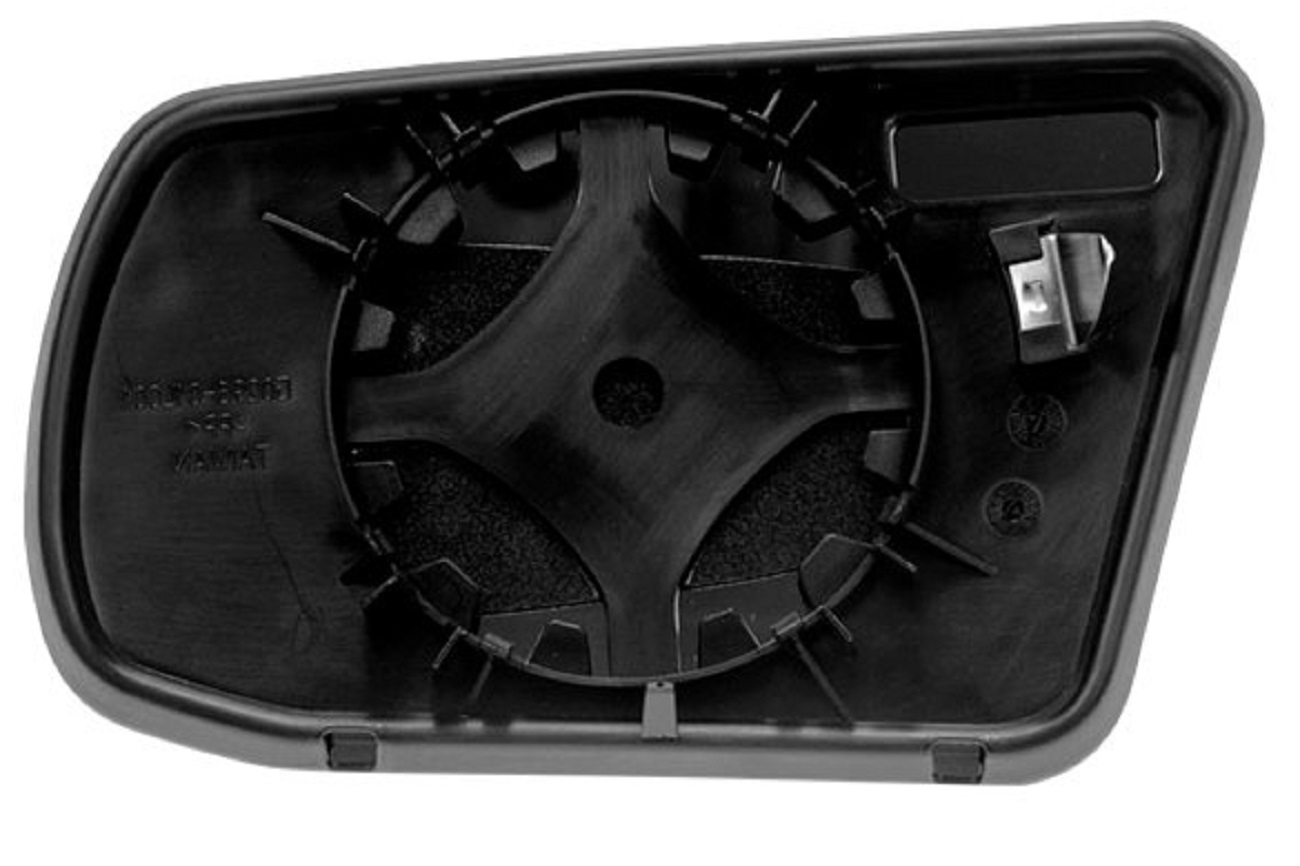
2010 Nissan Altima Passenger Side Mirror
Replacing a damaged side mirror on your vehicle can seem daunting, but it's often a straightforward process that can save you money compared to professional auto body shop repairs. This guide provides a comprehensive overview of replacing the passenger side mirror on a 2010 Nissan Altima, offering step-by-step instructions and helpful tips to ensure a successful DIY replacement.
Why Replace Your 2010 Nissan Altima Passenger Side Mirror?
A functional side mirror is crucial for safe driving. It provides visibility of vehicles and objects in your blind spot, minimizing the risk of accidents when changing lanes, merging, or parking. Driving with a damaged or missing passenger side mirror not only compromises safety but is also often illegal. Here's why you should consider replacing it promptly:
- Safety: The primary reason, a functional mirror is essential for avoiding accidents.
- Legality: Driving with a broken or missing mirror can result in a citation in many jurisdictions.
- Appearance: A damaged mirror detracts from your vehicle's overall appearance.
- Resale Value: Repairing damages, including a broken mirror, helps maintain your car's resale value.
Gathering Your Tools and Materials
Before you begin, ensure you have all the necessary tools and materials readily available. This will streamline the replacement process and prevent frustration. Here's a list:
- New 2010 Nissan Altima Passenger Side Mirror: Ensure you purchase the correct mirror for your vehicle model and year. Check for features like heated mirrors, turn signals, and power adjustability to match your original mirror.
- Socket Set: A socket set with various sizes is crucial for removing and installing bolts and nuts.
- Screwdrivers: Both Phillips head and flathead screwdrivers are often needed.
- Panel Removal Tool (Optional): A panel removal tool can help you remove interior door panels without damaging them. A flathead screwdriver can work, but use caution.
- Pliers: Pliers can be helpful for disconnecting electrical connectors.
- Work Gloves: Protect your hands from sharp edges and grime.
- Safety Glasses: Protect your eyes from debris.
- Shop Rags: For cleaning surfaces and wiping up spills.
- Flashlight or Work Light: Provides better visibility, especially when working inside the door panel.
Step-by-Step Guide: Replacing the Mirror
Follow these steps carefully to replace the passenger side mirror on your 2010 Nissan Altima.
Step 1: Preparing the Vehicle
Park your Altima on a level surface and turn off the ignition. Engage the parking brake for added safety. It’s recommended to disconnect the negative terminal of your car battery. This step is not strictly necessary, but it mitigates the risk of accidental electrical shorts during the process.
Step 2: Removing the Interior Door Panel
This step provides access to the mirror's mounting bolts and electrical connectors.
- Locate and Remove Screws: Typically, there are screws located behind the door handle, inside the armrest, and along the bottom edge of the door panel. Use the appropriate screwdriver to remove these screws and store them in a safe place.
- Remove the Power Window/Lock Switch Panel: Gently pry up the power window/lock switch panel using a panel removal tool or a flathead screwdriver. Disconnect the electrical connectors from the switch panel.
- Detach the Door Panel: Using the panel removal tool or your fingers, carefully pry the door panel away from the door frame. Work your way around the perimeter of the panel, releasing the retaining clips.
- Lift and Remove the Door Panel: Once all the clips are released, lift the door panel upwards to detach it from the upper door frame. Disconnect any remaining electrical connectors, such as the speaker wire.
- Set the Door Panel Aside: Place the door panel on a clean, protected surface to avoid scratches or damage.
Step 3: Accessing the Mirror Assembly
With the door panel removed, you can now access the mirror assembly from inside the door.
- Remove the Vapor Barrier: Carefully peel back the plastic vapor barrier (if present) to access the mirror's mounting area. Be careful not to tear the vapor barrier. You may need to re-seal it later using adhesive tape.
- Locate the Mirror Mounting Bolts/Nuts: You will see 3 or more bolts or nuts securing the mirror to the door. These are usually accessible within the door frame.
Step 4: Disconnecting the Electrical Connector
Before removing the mirror, disconnect the electrical connector that powers the mirror's features (power adjustment, heated mirror, turn signal).
- Locate the Electrical Connector: Trace the wires from the mirror to the electrical connector.
- Disconnect the Connector: Press the release tab on the connector and gently pull the two halves apart.
Step 5: Removing the Old Mirror
- Remove the Mounting Bolts/Nuts: Use the appropriate socket or wrench to remove the bolts or nuts securing the mirror. Support the mirror with your hand while removing the last bolt to prevent it from falling and potentially causing damage.
- Remove the Mirror: Carefully remove the old mirror from the door.
Step 6: Installing the New Mirror
- Position the New Mirror: Align the new mirror with the mounting holes on the door.
- Install the Mounting Bolts/Nuts: Secure the mirror with the bolts or nuts, tightening them snugly but not overtightening.
- Connect the Electrical Connector: Plug the electrical connector into the new mirror. Ensure it clicks into place.
Step 7: Reinstalling the Door Panel
- Replace the Vapor Barrier: Carefully reattach the vapor barrier to its original position. Use adhesive tape to seal any tears or gaps.
- Reconnect Electrical Connectors: Reconnect any electrical connectors that you disconnected from the door panel (e.g., speaker wire).
- Position the Door Panel: Align the door panel with the door frame.
- Reattach the Door Panel: Press the door panel firmly against the door frame, ensuring that all the retaining clips snap into place.
- Reinstall Screws: Reinstall the screws that you removed earlier, including those behind the door handle, inside the armrest, and along the bottom edge of the door panel.
- Reinstall the Power Window/Lock Switch Panel: Reconnect the electrical connectors to the switch panel and snap the panel back into place.
Step 8: Testing the New Mirror
Before concluding, test the new mirror to ensure it functions correctly.
- Start the Engine: Start the engine and test the power adjustment features of the mirror.
- Check Heated Mirror (If Applicable): Turn on the heated mirror and check if it's warming up.
- Verify Turn Signal (If Applicable): Activate the turn signals and verify that the turn signal on the mirror is working.
Troubleshooting Tips
If you encounter any issues during the replacement process, here are some troubleshooting tips:
- Mirror Not Adjusting: Double-check the electrical connector to ensure it's properly connected. Also, check the fuses related to the power mirrors.
- Door Panel Not Attaching Properly: Ensure that all the retaining clips are aligned with the holes in the door frame. If any clips are broken, replace them.
- Difficulty Removing Screws: Use penetrating oil to loosen stubborn screws. Be careful not to strip the screw heads.
Choosing the Right Replacement Mirror
Selecting the correct replacement mirror is crucial for a successful installation. Consider the following factors:
- Vehicle Year, Make, and Model: Ensure the mirror is specifically designed for a 2010 Nissan Altima.
- Features: Match the features of your original mirror, such as power adjustment, heated mirror, and turn signal.
- Manual vs. Power: If your original mirror was manually adjusted, you can replace it with another manual mirror or upgrade to a power mirror (if wiring is available).
- Heated Mirror: If your original mirror was heated, ensure the replacement mirror has the same feature.
- Turn Signal: If your original mirror had a turn signal, ensure the replacement mirror has the same feature.
- Brand: Choose a reputable brand known for quality and durability.
Safety Precautions
Always prioritize safety when working on your vehicle. Here are some important safety precautions:
- Wear Safety Glasses: Protect your eyes from debris.
- Wear Work Gloves: Protect your hands from sharp edges and grime.
- Disconnect the Battery (Optional): Disconnecting the negative terminal of the car battery reduces the risk of electrical shock.
- Work in a Well-Lit Area: Ensure you have adequate lighting to see what you are doing.
- Use the Right Tools: Using the correct tools will prevent damage to your vehicle and reduce the risk of injury.
Conclusion
Replacing the passenger side mirror on your 2010 Nissan Altima is a manageable DIY project. By following these step-by-step instructions, gathering the necessary tools, and prioritizing safety, you can save money and restore your vehicle's functionality and appearance. Remember to choose the correct replacement mirror and test it thoroughly after installation. If you are unsure about any step, consult a qualified mechanic. Replacing auto parts yourself can be rewarding and empower you to save money on basic car maintenance tasks. Always double check your work and take your time.