2010 Nissan Altima Rear Bumper Replacement
Replacing the rear bumper on your 2010 Nissan Altima might seem like a daunting task, but with the right tools, a bit of patience, and this guide, you can save yourself a significant amount of money by tackling it yourself. This article provides a comprehensive, step-by-step process for safely and effectively replacing the rear bumper on your 2010 Nissan Altima.
Understanding the Need for Rear Bumper Replacement
Rear bumpers are designed to absorb impact during low-speed collisions, protecting the car's frame and occupants. While they are robust, they can sustain damage from accidents, parking mishaps, or even just general wear and tear. Common reasons for needing a 2010 Nissan Altima rear bumper replacement include:
- Visible Cracks and Dents: Obvious physical damage can detract from the vehicle's appearance and potentially compromise the bumper's protective capabilities.
- Paint Damage: Scratches, chips, or peeling paint can lead to rust and further deterioration of the bumper material.
- Loose or Detached Bumper: If the bumper is no longer securely attached to the vehicle's frame, it poses a safety hazard.
- Structural Damage: Even if the damage isn't immediately apparent, internal cracks or bends can weaken the bumper's ability to absorb impact.
Ignoring a damaged rear bumper can lead to further problems, including reduced resale value and potential safety risks. Timely replacement is crucial for maintaining your vehicle's appearance and safety.
Tools and Materials Required
Before you begin the 2010 Nissan Altima rear bumper replacement, gather all the necessary tools and materials. Having everything readily available will streamline the process and prevent frustrating interruptions.
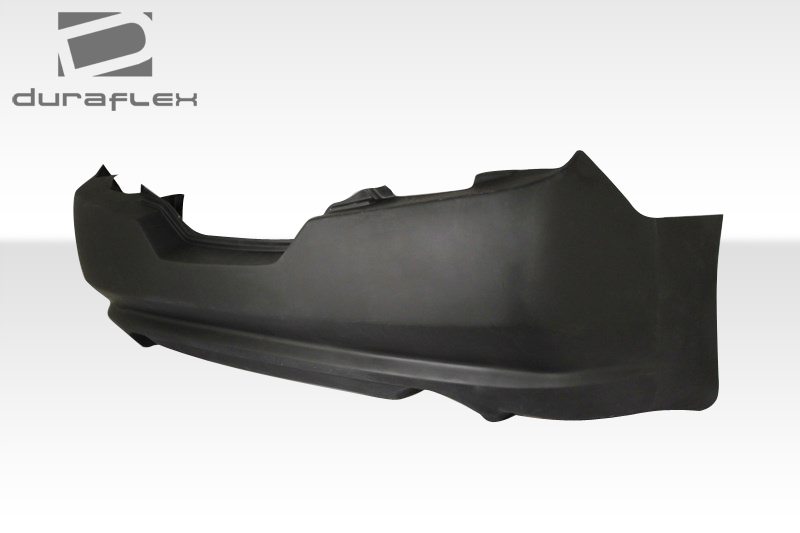
- New 2010 Nissan Altima Rear Bumper: Ensure you purchase a bumper specifically designed for your vehicle model and year. Consider the finish (primed, painted, or unpainted) and whether you'll need to transfer any existing components.
- Socket Set: A comprehensive socket set with various sizes is essential for removing and installing bolts and nuts.
- Wrench Set: Similar to the socket set, a wrench set will provide additional options for loosening and tightening fasteners.
- Screwdrivers: Both Phillips head and flathead screwdrivers will be needed for removing screws and potentially prying off trim pieces.
- Trim Removal Tools: These plastic tools are designed to safely remove interior and exterior trim without causing damage.
- Jack and Jack Stands: These are crucial for safely lifting and supporting the vehicle to access the underside of the bumper. Never work under a vehicle supported only by a jack.
- Gloves: Protect your hands from dirt, grease, and sharp edges.
- Safety Glasses: Protect your eyes from debris.
- Penetrating Oil: Helps loosen rusted or stubborn bolts and nuts.
- Shop Rags: For cleaning up spills and wiping down surfaces.
- Torque Wrench: To ensure fasteners are tightened to the manufacturer's specified torque. (Consult your repair manual)
- (Optional) Paint and Primer: If you purchased a primed or unpainted bumper, you'll need to paint it to match your vehicle's color.
Step-by-Step Guide to Replacing the 2010 Nissan Altima Rear Bumper
Follow these steps carefully to safely and effectively replace the rear bumper on your 2010 Nissan Altima.
Step 1: Preparation and Safety
- Park your vehicle on a level surface and engage the parking brake.
- Disconnect the negative terminal of the battery to prevent any electrical shorts during the process.
- Gather all your tools and materials and lay them out in an organized manner.
- Put on your gloves and safety glasses.
Step 2: Accessing the Bumper Fasteners
The location and type of fasteners securing the rear bumper can vary slightly depending on the specific Altima trim level. However, the general process is the same.
- Locate the Fasteners: Typically, you'll find fasteners in the following locations:
- Inside the wheel wells (screws or bolts).
- Underneath the bumper (bolts or clips).
- Behind the taillights (accessed by removing the taillights).
- Inside the trunk (accessed by removing interior trim panels).
- Remove the Taillights (If Necessary): Some Altima models require removing the taillights to access hidden bumper fasteners. Consult your vehicle's repair manual for specific instructions on removing the taillights. Generally, this involves removing a few screws and gently prying the taillight assembly away from the body.
- Remove Interior Trim (If Necessary): Some Altima models have fasteners accessed from inside the trunk. You may need to remove trim panels to get to them. Use trim removal tools to avoid damaging the plastic clips.
Step 3: Removing the Old Bumper
- Loosen Fasteners: Using the appropriate sockets, wrenches, and screwdrivers, carefully loosen all the fasteners securing the rear bumper. Apply penetrating oil to any rusted or stubborn fasteners.
- Support the Bumper: As you remove the last few fasteners, support the bumper to prevent it from falling and potentially causing damage. You might need an assistant to help with this step.
- Detach the Bumper: Once all the fasteners are removed, carefully detach the bumper from the vehicle. You may need to gently wiggle or pry it loose.
- Disconnect Any Electrical Connectors: Some bumpers may have electrical connectors for parking sensors or license plate lights. Disconnect these connectors before completely removing the bumper.
Step 4: Preparing for the New Bumper
- Clean the Mounting Area: Thoroughly clean the mounting area on the vehicle's frame to remove any dirt, debris, or rust.
- Transfer Components (If Necessary): If your new bumper doesn't include components like parking sensors, license plate lights, or trim pieces, carefully remove them from the old bumper and transfer them to the new bumper.
- Test Fit the New Bumper: Before permanently attaching the new bumper, test fit it to ensure proper alignment and fitment.
Step 5: Installing the New Bumper
- Connect Electrical Connectors (If Applicable): Reconnect any electrical connectors for parking sensors, license plate lights, or other components.
- Align the Bumper: Carefully align the new bumper with the mounting points on the vehicle's frame.
- Attach the Bumper: Reinstall all the fasteners that you removed earlier, starting with the top ones and working your way down.
- Tighten Fasteners: Tighten all the fasteners to the manufacturer's specified torque using a torque wrench. Over-tightening can damage the bumper or the mounting points.
- Reinstall Taillights and Trim (If Removed): Reinstall the taillights and any interior trim panels that you removed earlier.
Step 6: Final Checks and Cleanup
- Inspect the Installation: Carefully inspect the installed bumper to ensure it is securely attached and properly aligned.
- Test Electrical Components: Test all electrical components, such as parking sensors and license plate lights, to ensure they are functioning properly.
- Reconnect Battery: Reconnect the negative terminal of the battery.
- Clean Up: Clean up your work area and dispose of any old parts or materials properly.
Tips for a Successful 2010 Nissan Altima Rear Bumper Replacement
- Consult a Repair Manual: A repair manual specific to your 2010 Nissan Altima will provide detailed instructions, diagrams, and torque specifications.
- Take Photos: Before removing any parts, take photos of the assembly to help you remember how everything goes back together.
- Organize Fasteners: Keep track of the fasteners you remove by labeling them or placing them in separate containers.
- Don't Force Anything: If a fastener is stuck, apply penetrating oil and wait a few minutes before trying again. Forcing it can damage the fastener or the surrounding components.
- Get Help: If you're not comfortable with any of the steps, don't hesitate to ask a friend or family member for help.
- Consider Professional Installation: If you're unsure about your ability to complete the replacement successfully, consider having it done by a professional mechanic.
Cost Considerations
The cost of a 2010 Nissan Altima rear bumper replacement can vary depending on several factors, including:
- The cost of the bumper itself: This can range from around $100 for an aftermarket part to several hundred dollars for an OEM (Original Equipment Manufacturer) bumper.
- Whether the bumper is painted or unpainted: Painting the bumper yourself can save money, but requires the right equipment and skills. Having a professional paint it will add to the cost.
- Labor costs (if you choose professional installation): Labor costs can vary depending on the mechanic's hourly rate and the complexity of the job.
By replacing the rear bumper yourself, you can save significantly on labor costs. However, it's important to factor in the cost of tools and materials, as well as your own time and effort. Always prioritize safety and follow the instructions carefully. If you are unsure about any part of the process, seek professional assistance.
Finding the Right Replacement Bumper
When searching for a replacement 2010 Nissan Altima rear bumper, consider these options:
- OEM (Original Equipment Manufacturer): These bumpers are made by Nissan and are guaranteed to fit perfectly. They are typically the most expensive option.
- Aftermarket: Aftermarket bumpers are made by third-party manufacturers and can be a more affordable option. Ensure that the aftermarket bumper is made of quality materials and is specifically designed for your 2010 Nissan Altima.
- Used: Used bumpers can be a very cost-effective option, but they may have scratches, dents, or other cosmetic damage. Inspect the bumper carefully before purchasing it.
No matter where you purchase your replacement bumper, always verify that it is the correct part for your specific vehicle model and year. Using your VIN (Vehicle Identification Number) when searching for parts will help ensure accuracy.