2010 Nissan Rogue Brake Pads And Rotors
Alright, let's talk about tackling a brake job on a 2010 Nissan Rogue. This guide assumes you have a decent level of experience wrenching on cars, understand basic safety procedures, and have access to the necessary tools. Brakes are critical safety components, so if you're at all uncomfortable, seriously consider having a professional handle the job.
Understanding the 2010 Rogue Brake System
The 2010 Rogue uses a fairly standard hydraulic disc brake system. The front brakes are ventilated disc brakes, which means the rotor has internal fins to dissipate heat more effectively. The rear brakes are also disc brakes, but they are solid rotors, meaning they lack the internal ventilation. All four wheels have single-piston calipers.
When you press the brake pedal, the master cylinder forces brake fluid through the lines to the calipers. The caliper piston then presses the brake pads against the rotors, creating friction that slows the vehicle. The amount of force applied is modulated by the antilock braking system (ABS), which prevents the wheels from locking up during hard braking. It's also important to understand that the 2010 Rogue uses an electronic parking brake (EPB), which uses a motor to apply the rear brakes. Because of this, special care and tools are required to properly retract the rear caliper pistons to change the rear brake pads.
Tools and Materials You'll Need
Gathering the right tools beforehand will make the job much smoother. Here’s a comprehensive list:
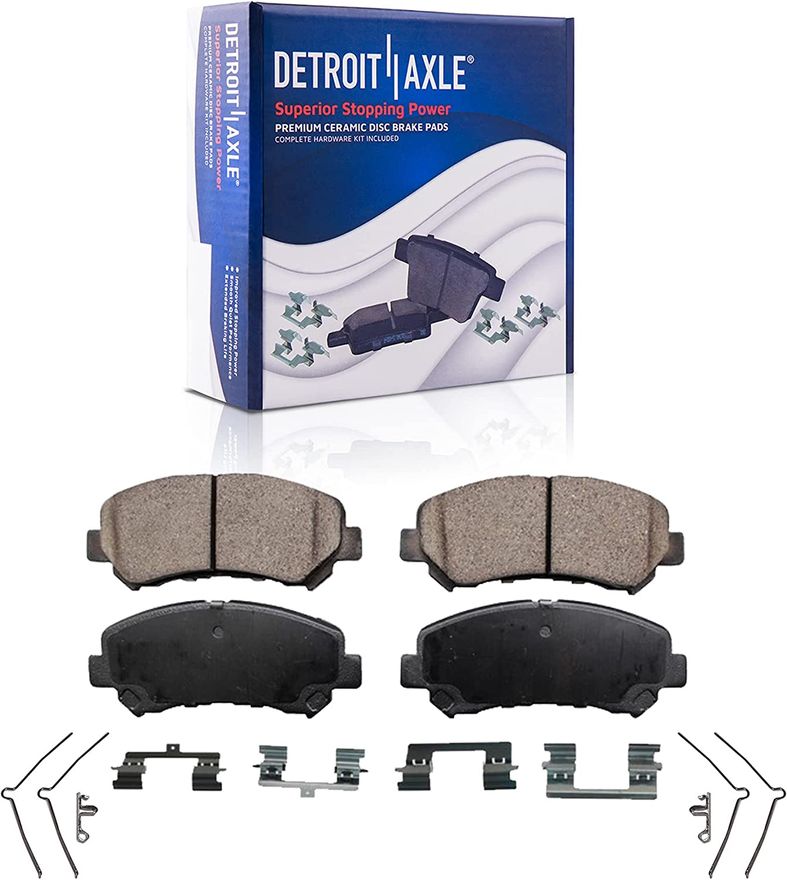
- New Brake Pads: Purchase pads that are specifically designed for your 2010 Nissan Rogue. Consider your driving style. For example, ceramic pads offer less dust and noise, while semi-metallic pads offer better stopping power, especially in high-performance situations.
- New Brake Rotors: Inspect your existing rotors carefully. If they are scored, warped, or below the minimum thickness specification stamped on the rotor itself, replace them. It's generally good practice to replace rotors whenever you replace pads, especially if the rotors have substantial wear.
- Brake Cleaner: Essential for cleaning the rotors and calipers.
- Brake Caliper Tool (Rear): This is crucial for retracting the rear caliper pistons due to the EPB. A standard C-clamp won't work, as the piston needs to be rotated while being pushed in. The tool will have the correct pin adapter and will also include a left and right hand adapter.
- Wrench Set: Metric sizes, likely including 14mm, 17mm, and 19mm. Specific sizes will depend on the caliper mounting bolts and brake line fittings.
- Socket Set: Metric sizes, complementing the wrench set.
- Torque Wrench: Essential for tightening bolts to the manufacturer's specified torque.
- Screwdrivers: A flathead and a Phillips head screwdriver might be necessary.
- Hammer: For gently persuading stubborn rotors off the hub.
- Brake Fluid: DOT 3 or DOT 4, as specified in your owner's manual. You'll need it to top off the reservoir.
- Turkey Baster or Syringe: To remove old brake fluid from the master cylinder reservoir.
- Jack and Jack Stands: Never work under a vehicle supported only by a jack!
- Wheel Chocks: For safety.
- Gloves: To protect your hands.
- Eye Protection: To protect your eyes.
- Penetrating Oil: To loosen any stubborn bolts.
- Shop Rags: For cleaning.
- Copper Anti-Seize Lubricant: Apply a thin coat to the back of the brake pads to reduce noise.
- Brake Pad Spreader: To push the caliper piston back into the caliper before installing the new brake pads.
Step-by-Step Brake Pad and Rotor Replacement
Follow these steps carefully, and always refer to your vehicle's service manual for specific torque specifications and procedures.
1. Preparation
Start by parking the vehicle on a level surface, engaging the parking brake (ensure it is properly functioning prior to beginning work, if it is not working, special care needs to be taken to ensure vehicle is secured), and chocking the rear wheels. Loosen the lug nuts on the wheel you’ll be working on, but don't remove them completely.
2. Lifting the Vehicle
Use a jack to lift the vehicle and securely support it with jack stands placed under the frame. Never work under a vehicle supported only by a jack.
3. Removing the Wheel
Completely remove the lug nuts and take off the wheel.
4. Accessing the Caliper
Locate the caliper mounting bolts on the back of the caliper. These are usually 14mm or 17mm bolts. Use penetrating oil if necessary, and then carefully remove these bolts. Support the caliper so it doesn't hang by the brake hose. Use a bungee cord or wire to hang it from the suspension spring.
5. Removing the Old Brake Pads
With the caliper removed, the old brake pads should slide out. Note their orientation before removing them, as the new pads need to be installed in the same way. Inspect the shims and hardware clips for wear or damage. Replace them if needed.
6. Retracting the Caliper Piston (Front)
For the front calipers, use a brake pad spreader to slowly and evenly push the piston back into the caliper. This creates space for the new, thicker brake pads. Be careful not to damage the piston or the caliper bore. Before you retract the piston, it’s wise to open the bleeder valve on the caliper and push the old fluid out. This prevents contaminated fluid from being pushed back into the ABS system. Just be sure to close the bleeder valve before releasing the brake pad spreader.
7. Retracting the Caliper Piston (Rear - Important!)
This is where the brake caliper tool comes in. Due to the electronic parking brake, the rear caliper pistons must be rotated while being pressed back into the caliper. Use the brake caliper tool with the correct pin adapter that fits the pattern on the face of the caliper piston. The tool will allow you to apply pressure and rotate the piston simultaneously. Make sure you are rotating the correct direction. Typically you will need to apply pressure and rotate the piston clockwise on the driver side, and counterclockwise on the passenger side. Refer to your service manual for the correct direction and procedure. As you retract the piston, it’s wise to open the bleeder valve on the caliper and push the old fluid out, as described for the front calipers.
8. Removing the Old Rotor
Remove the caliper mounting bracket bolts located on the back of the hub assembly. These are typically larger bolts, often 17mm or 19mm. Once these are removed, the caliper mounting bracket should slide off. The rotor may be held in place by small screws or rust. Remove any screws. If the rotor is stuck, try tapping it gently with a hammer around the center hub. Avoid hitting the rotor surface itself. You can also apply penetrating oil to the hub. A few sharp taps should break it free. If the rotor is extremely stubborn, a specialized rotor puller tool might be necessary.
9. Cleaning and Inspection
Clean the hub surface thoroughly with a wire brush to remove any rust or debris. Inspect the wheel studs for damage. This is also a good time to inspect the brake lines for any cracks or leaks. Replace them if necessary. Check the condition of your brake hoses. Cracks or bulges mean they need to be replaced.
10. Installing the New Rotor
Carefully slide the new rotor onto the hub. If it's held in place by screws, install them. It's often a good idea to apply a thin coat of copper anti-seize to the hub surface where the rotor contacts it. This will help prevent it from seizing in the future. Be careful not to get any anti-seize on the friction surface of the rotor.
11. Installing the Caliper Mounting Bracket
Reinstall the caliper mounting bracket and tighten the bolts to the torque specification in your service manual. This is a critical step! Make sure these bolts are properly tightened.
12. Installing the New Brake Pads
Install the new brake pads into the caliper mounting bracket, ensuring they are seated correctly. Apply a thin layer of copper anti-seize to the back of the brake pads to reduce brake squeal. Make sure the friction material of the pads face the rotor.
13. Reinstalling the Caliper
Carefully slide the caliper over the brake pads and rotor. Reinstall the caliper mounting bolts and tighten them to the torque specification in your service manual. Again, make sure these are properly tightened.
14. Repeating the Process
Repeat steps 4-13 on the other side of the axle. Then, repeat the entire process on the rear axle.
15. Bleeding the Brakes (If Necessary)
If you opened the bleeder valves to retract the pistons, you'll need to bleed the brakes to remove any air from the system. The proper bleeding sequence for the 2010 Rogue is typically: passenger rear, driver front, driver rear, and passenger front. You’ll need a helper for this. With the bleeder screw closed, have a helper pump the brake pedal 3-5 times and hold pressure. Open the bleeder screw, and let fluid drain. Close the bleeder screw before the brake pedal reaches the floor. Repeat until no air bubbles come out of the bleeder screw. Be sure to check the master cylinder fluid level frequently during this process.
16. Topping Off Brake Fluid
Check the brake fluid level in the master cylinder reservoir and top it off with the correct type of brake fluid (DOT 3 or DOT 4). Do not overfill.
17. Reinstalling the Wheels
Reinstall the wheels and tighten the lug nuts by hand. Lower the vehicle and then torque the lug nuts to the manufacturer's specified torque in a star pattern.
18. Bedding In the Brakes
Bedding in the brakes is critical for proper performance and longevity. After installation, avoid hard braking for the first few hundred miles. Perform several moderate stops from 40 mph to 10 mph to transfer brake pad material to the rotors. This process helps improve brake performance and reduces brake fade.
Important Considerations and Warnings
- Safety First: Always prioritize safety. Use jack stands, wear eye protection, and be careful when working with brake fluid.
- Torque Specifications: Always torque bolts to the manufacturer's specified torque. Undertightening can lead to component failure, while overtightening can damage threads.
- Brake Fluid: Brake fluid is corrosive. Avoid getting it on painted surfaces. If you spill any, wash it off immediately with water.
- ABS System: If you suspect any issues with the ABS system, have it diagnosed by a qualified technician.
- Parking Brake: Be sure to verify proper parking brake operation after completing the brake job.
- Rust: Remove rust from all mating surfaces.
- Professional Help: If you are uncomfortable performing any of these steps, seek professional help. Brakes are a critical safety system, and it's not worth taking risks.
By following these steps and taking your time, you can successfully replace the brake pads and rotors on your 2010 Nissan Rogue. Remember to consult your vehicle's service manual for specific instructions and torque specifications.