2011 Nissan Murano Ac Relay Location
Understanding the climate control system in your 2011 Nissan Murano can feel like diving into a complex network of sensors, actuators, and control modules. At the heart of this system, ensuring you stay cool on those sweltering summer days, lies the Air Conditioning (AC) relay. This unassuming component plays a crucial role in enabling the AC compressor, the workhorse of the system, to engage and circulate refrigerant.
Locating the AC Relay: A Step-by-Step Guide
Finding the AC relay in your 2011 Murano isn't terribly difficult, but it does require some familiarity with the vehicle's electrical system layout. The relay isn't always labeled in the most straightforward manner, so a little detective work might be necessary. Here's a comprehensive guide to pinpointing its location:
1. Consult the Owner's Manual
This should always be your first stop. The owner's manual contains a fuse and relay diagram. While the diagram might not explicitly state "AC Relay", it will often show the location and function of various relays within the vehicle's electrical system. Look for terms such as "Compressor Relay," "A/C Compressor Clutch Relay," or simply "A/C Relay." Keep in mind that diagrams might be slightly generalized and not perfectly match the physical layout of the relay box.
2. Identify the Relay Boxes
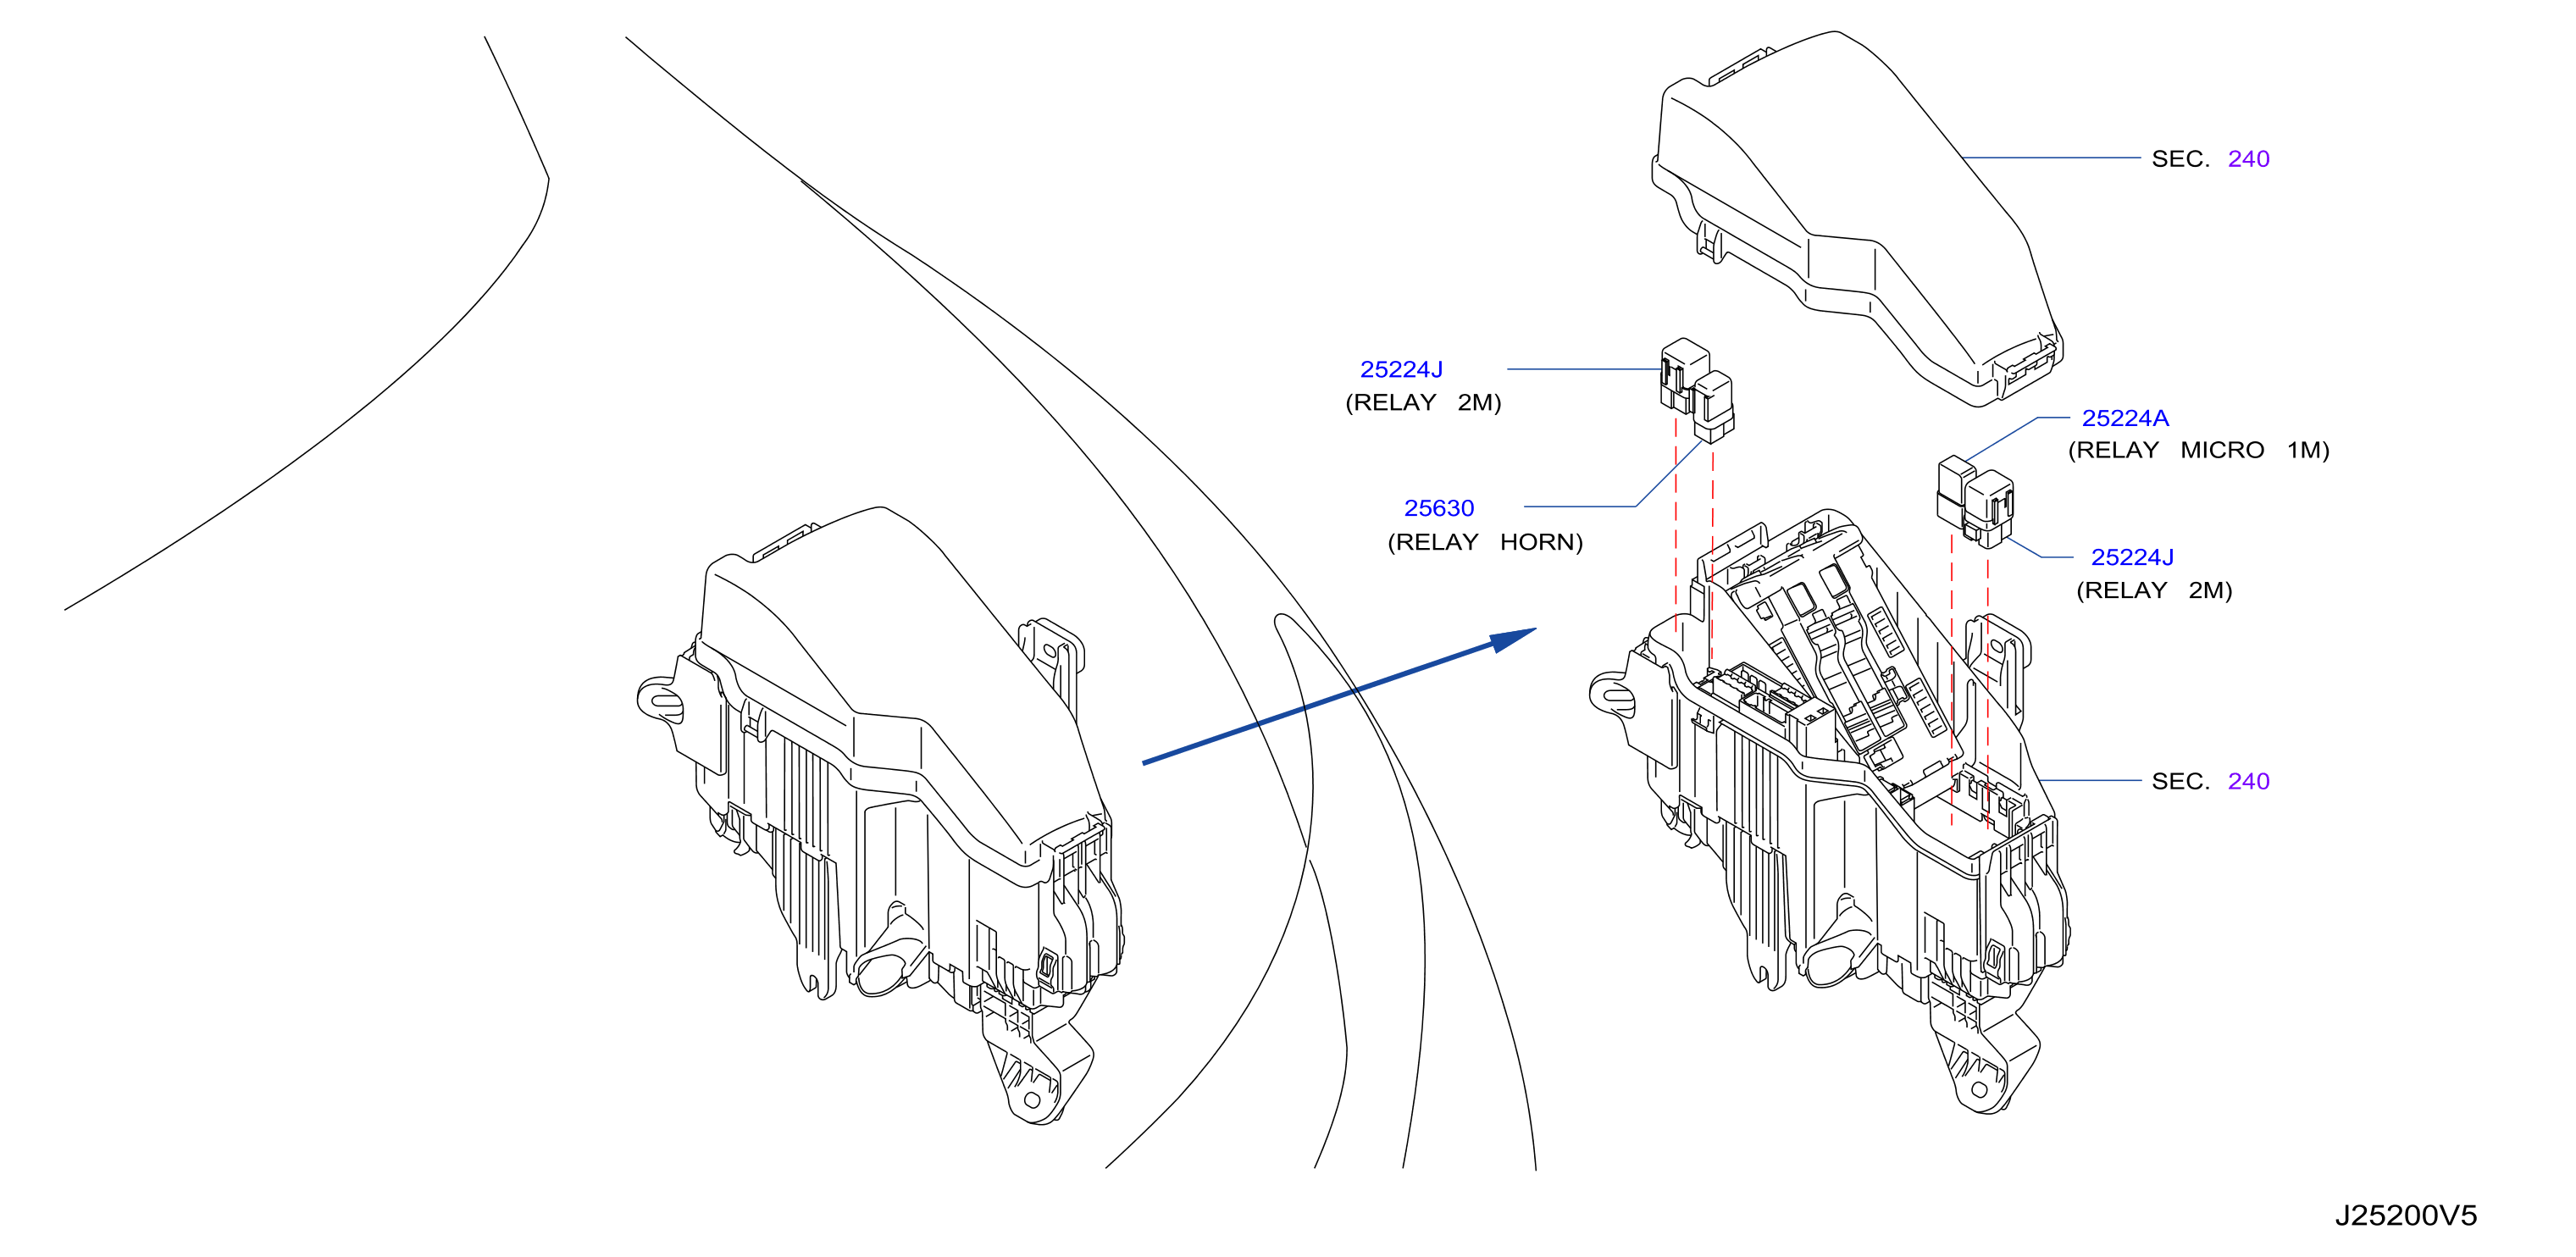
The 2011 Nissan Murano typically has two primary relay boxes: one located in the engine compartment and another inside the cabin. The AC relay is most commonly found in the engine compartment relay box. This box is usually positioned near the battery or along the inner fender, often on the driver's side. The cabin relay box, frequently located under the dashboard or near the steering column, may contain other relays related to climate control, but it's less likely to house the AC compressor relay itself.
3. Open and Inspect the Engine Compartment Relay Box
Once you've located the engine compartment relay box, carefully open it. Most boxes have a latch or clip system to secure the cover. Before removing the cover, take a moment to examine its underside. Many manufacturers, including Nissan, often affix a diagram to the inside of the cover. This diagram displays the location and function of each relay and fuse within the box. Carefully compare the diagram with the physical layout of the relays to identify the one designated for the AC compressor. Look for markings like "A/C," "Compressor," or a symbol that represents an AC unit.
4. Identifying the Correct Relay When Labeling is Unclear
Sometimes, the diagram on the relay box cover might be vague, worn, or missing altogether. In such cases, you'll need to employ a process of elimination and inference. Consider the following:
- Relay Size and Type: Most relays in a vehicle are of a standard size and shape, often referred to as "mini" or "micro" relays. However, relays performing more critical functions, like controlling the AC compressor, might be slightly larger or have a different pin configuration. Look for a relay that appears to be more robust than the others.
- Color Coding: While not always consistent, some manufacturers use color coding to differentiate relays. Check if any relay is a unique color compared to the others. However, do not rely solely on color.
- Circuit Testing (Advanced): If you have some experience with electrical testing, you can use a multimeter to check the circuits related to the AC compressor. This involves identifying the wires leading to the compressor clutch and tracing them back to the relay. This method requires extreme caution and should only be performed by someone comfortable working with automotive electrical systems. Disconnecting the battery before testing is highly recommended.
- Relay Swapping (Proceed with Caution): As a last resort, you can try swapping the suspected AC relay with another relay of the same type and size that controls a less critical system, such as the horn or the fog lights. If the AC system starts working and the system you swapped with now doesn't, you've likely found the correct relay. However, always double-check the relay specifications before swapping them, as using an incompatible relay can damage the electrical system.
5. Confirming Your Findings
Once you believe you've located the AC relay, there are a few ways to confirm your findings before replacing it.
- Audible Click: With the engine running and the AC turned on, have someone listen near the suspected relay. When the AC is engaged, you should hear a distinct "click" from the relay as it switches. If you don't hear a click, it could indicate a faulty relay or a problem elsewhere in the AC system.
- Relay Terminal Testing: Use a multimeter to test the voltage at the relay terminals when the AC is both on and off. This can confirm whether the relay is receiving power and switching the circuit as expected. Refer to a wiring diagram for the 2011 Nissan Murano to identify the correct terminals.
Understanding the AC Relay's Function
The AC relay acts as an electrically controlled switch. The climate control system, based on input from various sensors (cabin temperature, ambient temperature, etc.), sends a signal to the relay. This signal energizes an electromagnet within the relay, which pulls a contact closed, completing the circuit to the AC compressor clutch. This engages the compressor, allowing it to circulate refrigerant and cool the cabin air.
A faulty AC relay is a common cause of AC system failure. When the relay fails, it can either fail in the open position (preventing the compressor from engaging) or in the closed position (causing the compressor to run constantly, even when the AC is off). It's important to diagnose the root cause of the problem before simply replacing the relay. A blown fuse, a faulty pressure switch, or a problem with the climate control module could also prevent the AC compressor from engaging.
Tools Required
The following tools will be useful for locating and testing the AC relay:
- Owner's Manual
- Flashlight
- Pliers or a small screwdriver (for removing the relay box cover)
- Multimeter (for testing voltage and continuity – optional but recommended)
- Wiring Diagram for 2011 Nissan Murano (optional, but helpful for circuit testing)
Safety Precautions
Working with automotive electrical systems requires caution. Observe the following safety precautions:
- Disconnect the negative battery cable before working on any electrical components to prevent accidental shorts.
- Avoid working on the electrical system in wet conditions.
- Use a multimeter to test for voltage before touching any wires or terminals.
- If you are not comfortable working with electrical systems, consult a qualified mechanic.
Conclusion
Locating the AC relay in your 2011 Nissan Murano is a manageable task with the right information and a little patience. By following the steps outlined in this guide and taking the necessary safety precautions, you can confidently identify the relay and troubleshoot potential issues with your AC system. Remember, a thorough understanding of your vehicle's electrical system is crucial for effective maintenance and repair. Happy wrenching!
Disclaimer: This guide is for informational purposes only and should not be considered a substitute for professional mechanical advice. Consult a qualified mechanic for any complex repairs or if you are unsure about any aspect of the procedure. The information provided is believed to be accurate, but errors may occur. We are not responsible for any damage or injury resulting from the use of this information.