2011 Nissan Murano Mass Air Flow Sensor
Hey there, Nissan Murano owner! Experiencing some rough idling, poor acceleration, or a check engine light illuminated on your 2011 Murano? There's a good chance your Mass Air Flow (MAF) sensor is the culprit. Don't worry, it's a fairly common issue and often fixable, even by a reasonably handy DIYer. This article will walk you through understanding the problem, diagnosing it, and exploring your repair options.
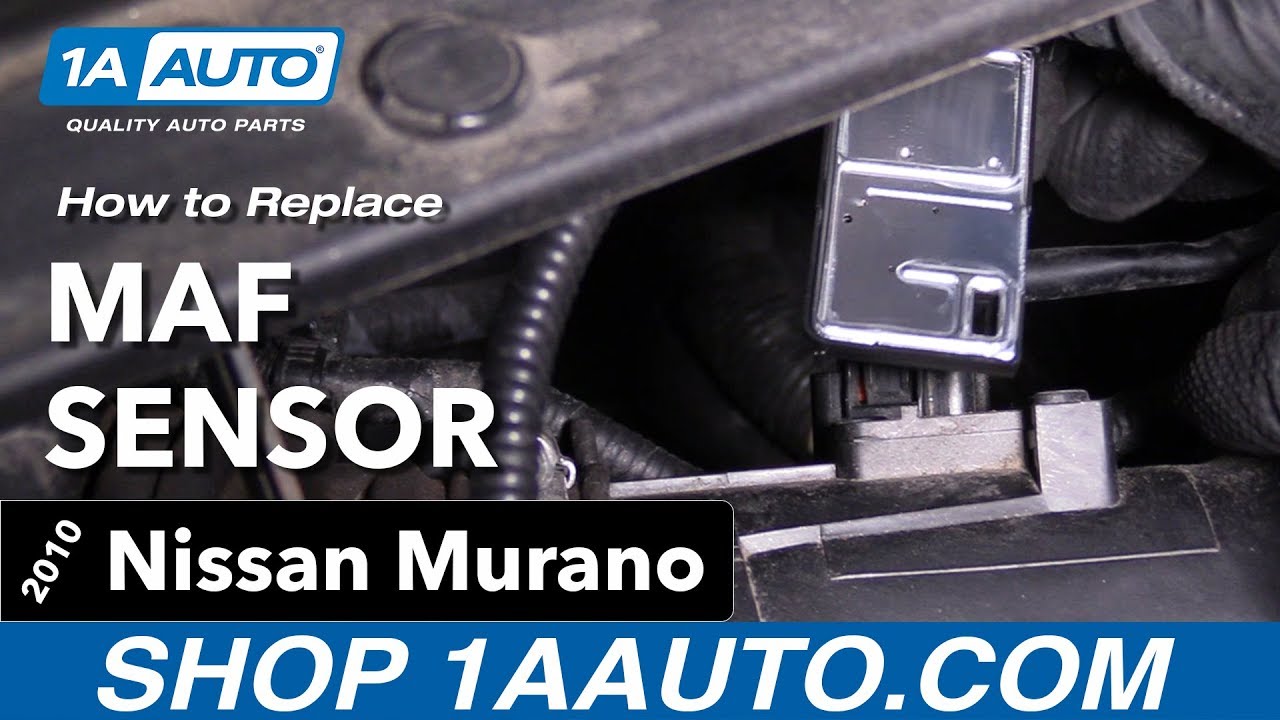
Understanding the Mass Air Flow (MAF) Sensor
The MAF sensor is a critical component in your Murano's engine management system. Its job is to measure the amount of air entering the engine. This information is then relayed to the engine control unit (ECU), also known as the engine computer. The ECU uses this data, along with information from other sensors, to calculate the correct amount of fuel to inject into the cylinders for optimal combustion. Think of it as the chef in your engine's kitchen, ensuring the right recipe for power and efficiency.
A faulty MAF sensor can throw this delicate balance off, leading to a variety of performance problems. When the sensor provides inaccurate readings, the ECU might inject too much or too little fuel, resulting in:
- Poor Fuel Economy: Incorrect fuel mixture wastes fuel.
- Rough Idling: The engine struggles to maintain a smooth idle speed.
- Hesitation During Acceleration: The engine might stumble or hesitate when you try to accelerate.
- Stalling: In severe cases, the engine might stall, especially at low speeds.
- Check Engine Light: The most obvious sign – the MIL (Malfunction Indicator Lamp) illuminates, often accompanied by specific diagnostic trouble codes (DTCs).
Diagnosing a Faulty MAF Sensor on Your 2011 Murano
Before you jump to replacing the MAF sensor, it's wise to confirm that it's indeed the problem. Here's a step-by-step diagnostic approach:
1. Read the Diagnostic Trouble Codes (DTCs)
The first step is to retrieve the DTCs stored in your Murano's ECU. You'll need an OBD-II scanner for this. You can purchase one relatively inexpensively online or at most auto parts stores. Many auto parts stores will even perform a scan for you *free of charge*. Plug the scanner into the OBD-II port (usually located under the dashboard near the steering column) and follow the scanner's instructions.
Common DTCs associated with a faulty MAF sensor include:
- P0100: Mass Air Flow Circuit Malfunction
- P0101: Mass Air Flow Circuit Range/Performance
- P0102: Mass Air Flow Circuit Low Input
- P0103: Mass Air Flow Circuit High Input
- P0171: System Too Lean (Bank 1) – This code can be triggered by a faulty MAF sensor reporting less air than is actually entering the engine.
- P0174: System Too Lean (Bank 2) – Similar to P0171, but on Bank 2 of the engine (if applicable).
Important Note: While these codes point towards a MAF sensor issue, they don't definitively confirm it. Other problems, such as vacuum leaks or a faulty oxygen sensor, can sometimes trigger similar codes.
2. Visual Inspection
Carefully inspect the MAF sensor itself. Look for any obvious signs of damage, such as cracks, broken wires, or excessive dirt and debris on the sensor element. Also, inspect the wiring harness and connector for any signs of corrosion or damage.
3. Cleaning the MAF Sensor (A Potential Quick Fix)
Sometimes, a MAF sensor simply gets dirty, especially if you use an aftermarket oiled air filter. Dirt and oil can coat the sensor element, affecting its accuracy. Cleaning the MAF sensor *might* resolve the issue. You'll need a can of MAF sensor cleaner – do not use carburetor cleaner or other solvents, as these can damage the delicate sensor element.
Here's how to clean the MAF sensor:
- Disconnect the negative battery cable.
- Locate the MAF sensor in the intake air duct. It's usually located near the air filter box.
- Disconnect the electrical connector from the MAF sensor.
- Remove the MAF sensor from the air duct. It's usually held in place by two screws.
- Spray the MAF sensor cleaner liberally onto the sensor element. Do not touch the sensor element with your fingers or anything else.
- Allow the sensor to air dry completely (at least 15-20 minutes).
- Reinstall the MAF sensor, reconnect the electrical connector, and reconnect the negative battery cable.
- Clear the DTCs using your OBD-II scanner.
- Start the engine and see if the problem is resolved.
If cleaning the MAF sensor doesn't fix the problem, it's likely that the sensor is faulty and needs to be replaced.
4. Testing with a Multimeter (Advanced)
For the more technically inclined, you can use a multimeter to test the MAF sensor's voltage output. You'll need a wiring diagram for your 2011 Murano to identify the correct pins. This test involves measuring the voltage output of the sensor while the engine is running and comparing it to the manufacturer's specifications. This is a more advanced diagnostic procedure and may require some automotive electrical knowledge.
Replacing the MAF Sensor on Your 2011 Murano
If cleaning doesn't work and you've ruled out other potential causes, replacing the MAF sensor is the next logical step. Here's what you'll need:
- New MAF sensor (make sure it's the correct part for your 2011 Murano)
- Screwdriver (usually a Phillips head)
- Wrench or socket (if required to remove the sensor)
- OBD-II scanner (to clear DTCs)
Estimated Cost: A new MAF sensor for a 2011 Nissan Murano typically ranges from $50 to $200, depending on the brand and where you purchase it.
Procedure:
- Disconnect the negative battery cable.
- Locate the MAF sensor in the intake air duct.
- Disconnect the electrical connector from the MAF sensor.
- Remove the MAF sensor from the air duct.
- Install the new MAF sensor, ensuring it's properly seated and secured.
- Reconnect the electrical connector to the MAF sensor.
- Reconnect the negative battery cable.
- Clear the DTCs using your OBD-II scanner.
- Start the engine and check for proper operation.
Important Note: When installing the new MAF sensor, be careful not to overtighten the screws. Overtightening can damage the sensor housing.
Professional Repair vs. DIY
Replacing a MAF sensor is generally a straightforward repair that many DIYers can handle. However, if you're not comfortable working on your car or if you're unsure about any of the steps, it's always best to take it to a qualified mechanic. A professional mechanic will have the necessary tools and expertise to diagnose the problem accurately and perform the repair correctly.
Estimated Professional Repair Cost: If you choose to have a mechanic replace the MAF sensor, you can expect to pay between $150 and $400, including parts and labor. The exact cost will vary depending on the labor rate of the shop and the price of the MAF sensor.
Preventative Maintenance
While MAF sensor failures can occur, there are a few things you can do to help prevent them:
- Use a high-quality air filter: A good air filter will prevent dirt and debris from entering the engine and contaminating the MAF sensor.
- Avoid over-oiling air filters: If you use an aftermarket oiled air filter, be careful not to over-oil it. Excessive oil can get sucked into the engine and coat the MAF sensor.
- Regularly inspect your air intake system: Check for any leaks or damage to the air intake duct. Leaks can allow unfiltered air to enter the engine, which can contaminate the MAF sensor.
By following these tips, you can help keep your 2011 Nissan Murano running smoothly and avoid costly MAF sensor repairs.
Hopefully, this guide has given you a better understanding of the MAF sensor and how to diagnose and repair a faulty one on your 2011 Nissan Murano. Good luck!