2011 Nissan Quest Alternator Replacement
The 2011 Nissan Quest, a minivan designed for family functionality, relies on a robust charging system to power its various electrical components. At the heart of this system lies the alternator, responsible for converting mechanical energy from the engine into electrical energy. When an alternator fails, the vehicle's electrical system falters, leading to a dead battery, dimming lights, and potentially, a complete shutdown. Replacing the alternator on a 2011 Nissan Quest is a manageable task for the mechanically inclined, but it requires understanding the system and following proper procedures.
Understanding the Charging System
Before diving into the replacement process, it's crucial to grasp the basics of the Quest's charging system. The system comprises several key components:
- Battery: Provides initial power to start the engine and acts as a reservoir for electrical energy.
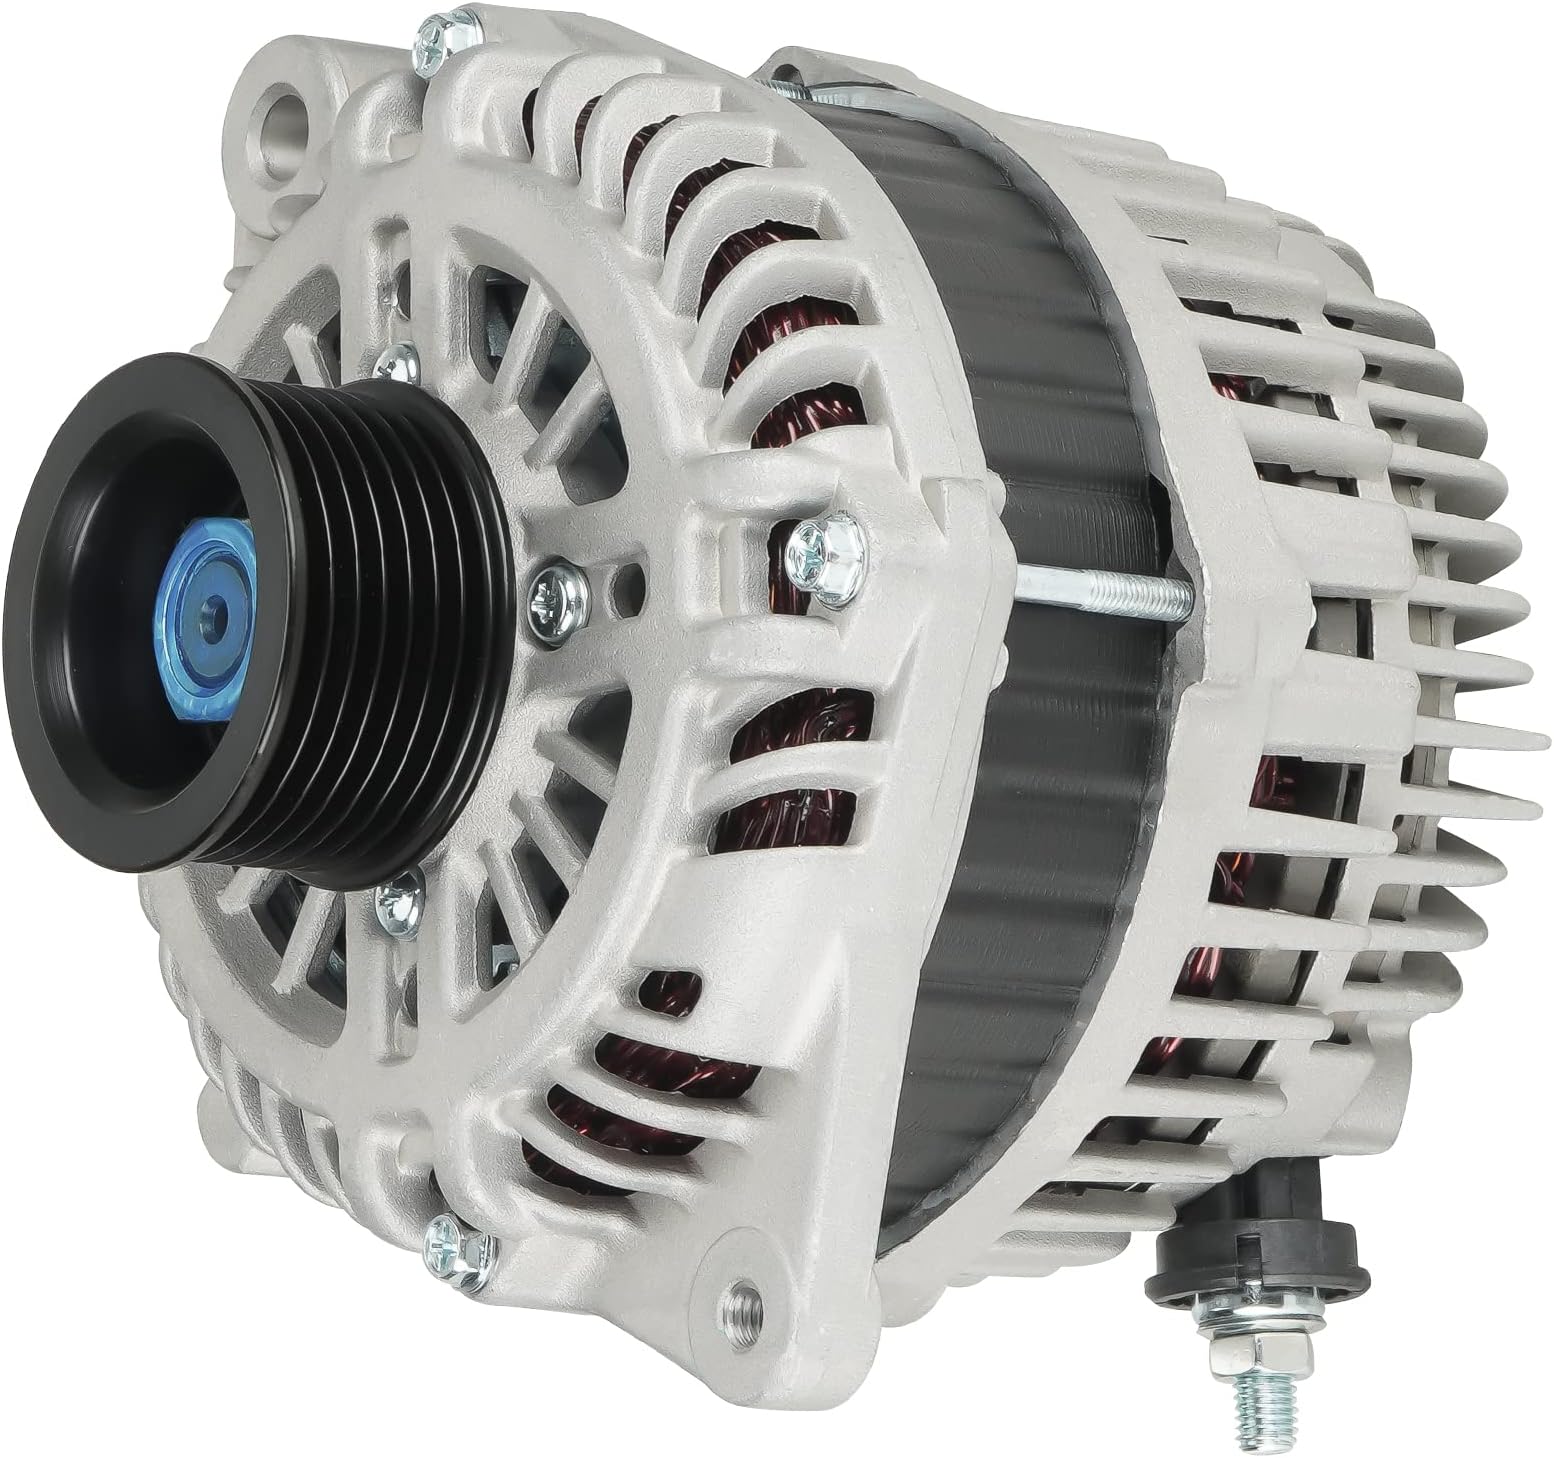
- Alternator: Generates electrical power to recharge the battery and supply power to the electrical system while the engine is running.
- Voltage Regulator: Controls the alternator's output voltage to prevent overcharging the battery and damaging electrical components. It's often integrated into the alternator itself.
- Wiring Harness: Connects the various components, transmitting electrical current.
- Fuses and Relays: Protect the system from overloads and control the flow of electricity.
- Serpentine Belt: Transfers mechanical energy from the engine crankshaft to the alternator pulley.
The alternator works on the principle of electromagnetic induction. A rotating magnetic field, created by the rotor (field coil) inside the alternator, induces a voltage in the stator windings. This voltage is then rectified (converted from AC to DC) by diodes before being supplied to the battery and electrical system. The voltage regulator monitors the battery voltage and adjusts the current supplied to the rotor to maintain a constant output voltage, typically around 13.5-14.5 volts.
Diagnosing a Failing Alternator
Proper diagnosis is paramount before replacing any component. Common symptoms of a failing alternator include:
- Dimming Headlights: Insufficient power to maintain proper brightness.
- Warning Lights: The battery warning light on the dashboard illuminates.
- Slow Engine Cranking: The battery may not be fully charged due to the alternator's inability to recharge it.
- Stalling: The engine may stall due to insufficient power to operate ignition and fuel systems.
- Strange Noises: A failing alternator may produce whining, grinding, or rattling sounds.
- Electrical System Problems: Malfunctioning power windows, radio, or other electrical accessories.
- Battery repeatedly dies: This is a strong indicator that the alternator is not properly charging the battery.
To confirm a failing alternator, perform the following tests:
- Visual Inspection: Check the alternator for physical damage, loose wiring connections, and a worn serpentine belt.
- Voltage Test: With the engine running, use a multimeter to measure the voltage at the battery terminals. A healthy alternator should produce a voltage between 13.5 and 14.5 volts. A voltage below 13 volts or above 15 volts indicates a problem.
- Load Test: With the engine running, turn on several electrical accessories (headlights, air conditioning, radio). The voltage should remain within the specified range (13.5-14.5 volts). A significant drop in voltage under load indicates a weak alternator.
- Diode Ripple Test: Using an oscilloscope or a multimeter with a diode ripple test function, check for excessive AC ripple voltage. High ripple voltage indicates failing diodes within the alternator.
Alternator Replacement Procedure
Safety First! Before starting any work on your vehicle, disconnect the negative battery cable. This prevents accidental shorts and potential electrical damage.
Tools and Materials Needed:
- New Alternator (matching the OEM specification)
- Socket Set (metric)
- Wrench Set (metric)
- Screwdrivers (Phillips and flathead)
- Serpentine Belt Tool or Wrench
- Multimeter
- Gloves
- Safety Glasses
- Torque Wrench
- Penetrating Oil (optional, for stubborn bolts)
Step-by-Step Guide:
- Disconnect the Battery: Locate the negative battery terminal (usually marked with a "-" symbol). Use a wrench to loosen the nut securing the cable and carefully remove the cable from the terminal. Secure the cable away from the terminal to prevent accidental contact.
- Locate the Alternator: On the 2011 Nissan Quest, the alternator is typically located at the front of the engine. Refer to your vehicle's service manual for the exact location.
- Remove the Serpentine Belt: Identify the serpentine belt tensioner. This is a spring-loaded pulley that maintains tension on the belt. Use a serpentine belt tool or a wrench to rotate the tensioner pulley and relieve the tension on the belt. While holding the tensioner, carefully slip the belt off the alternator pulley. Slowly release the tensioner. Make a note of the belt routing before removing it completely. Taking a picture with your phone is a good idea.
- Disconnect Electrical Connectors: Disconnect the electrical connectors from the alternator. There are usually two connectors: a large connector for the main power output and a smaller connector for the voltage regulator. Take pictures of each connector before removal in case you have any problems remembering the connections. Be careful not to damage the connectors.
- Remove the Alternator Wiring: Disconnect the main power wire from the alternator. This wire is usually secured with a nut. Remove the nut and carefully detach the wire.
- Remove the Alternator Mounting Bolts: Locate the bolts that secure the alternator to the engine. Use a socket and wrench to remove these bolts. These bolts can sometimes be tight, so penetrating oil may be helpful. Keep track of the bolts as you remove them.
- Remove the Alternator: Carefully remove the alternator from the engine compartment. You may need to maneuver it around other components.
- Install the New Alternator: Position the new alternator in the engine compartment and align it with the mounting holes. Secure it using the mounting bolts. Tighten the bolts to the torque specifications listed in your vehicle's service manual. Proper torque is crucial to prevent damage.
- Reconnect the Wiring: Reconnect the main power wire and the electrical connectors to the alternator. Ensure that the connections are secure. Refer to your pictures if necessary.
- Reinstall the Serpentine Belt: Route the serpentine belt around the alternator pulley and other pulleys according to the routing diagram you noted earlier. Use the serpentine belt tool or wrench to rotate the tensioner pulley and relieve the tension on the belt. Slip the belt onto the alternator pulley and slowly release the tensioner. Ensure the belt is properly seated on all the pulleys.
- Reconnect the Battery: Reconnect the negative battery cable to the negative battery terminal. Tighten the nut to secure the cable.
- Start the Engine: Start the engine and check for proper operation. Monitor the battery voltage with a multimeter to ensure that the alternator is charging the battery correctly.
- Test the Charging System: Perform a load test to ensure that the alternator can handle the electrical demands of the vehicle. Turn on the headlights, air conditioning, and other electrical accessories, and verify that the voltage remains within the specified range.
Post-Installation Checks
After replacing the alternator, it's essential to perform several checks to ensure everything is working correctly:
- Battery Voltage: With the engine running, the battery voltage should be between 13.5 and 14.5 volts.
- Charging System Warning Light: The battery warning light on the dashboard should be off.
- Electrical Accessories: Test all electrical accessories (headlights, air conditioning, radio, power windows) to ensure they are functioning properly.
- Belt Tension: Check the serpentine belt tension to ensure it is properly adjusted.
- Noise: Listen for any unusual noises coming from the alternator or serpentine belt.
Troubleshooting Tips
If you encounter problems after replacing the alternator, consider the following:
- Battery Not Charging: Check the wiring connections to the alternator and battery. Verify the serpentine belt is properly tensioned. Test the new alternator to ensure it is functioning correctly.
- Battery Warning Light Remains On: This could indicate a problem with the wiring, the voltage regulator, or the new alternator itself. Have the charging system professionally diagnosed.
- Serpentine Belt Squealing: This could be due to a loose belt or a worn belt. Tighten the belt or replace it if necessary.
Conclusion
Replacing the alternator on a 2011 Nissan Quest is a straightforward process for those with basic mechanical skills and the right tools. By understanding the charging system, diagnosing the problem correctly, and following the proper replacement procedure, you can save money on repair costs and ensure the reliable operation of your vehicle. Always remember to prioritize safety and consult your vehicle's service manual for specific instructions and torque specifications. A new alternator can breathe life back into your Quest, ensuring its electrical systems function flawlessly for years to come. Always use the correct replacement part as listed in your service manual.