2012 Nissan Altima O2 Sensor Replacement
Alright, so you're tackling an O2 sensor replacement on your 2012 Nissan Altima. Excellent! This is a job that can often be done at home with the right tools and a little patience, saving you a potentially hefty bill from the shop. This guide will walk you through the process step-by-step, assuming you've got some experience wrenching on cars. We'll cover the tools you'll need, how to locate the sensors, the replacement procedure, and some common troubleshooting tips.
Understanding O2 Sensors and Their Role
First, let's briefly recap what Oxygen (O2) sensors actually do. These little guys are crucial for your Altima's engine performance and fuel efficiency. They measure the amount of oxygen in the exhaust gases after combustion. This information is fed back to the Engine Control Unit (ECU), which then adjusts the air-fuel mixture to maintain optimal combustion.
There are typically two types of O2 sensors in your Altima: upstream and downstream. The upstream sensor (also called pre-catalytic converter sensor) is located *before* the catalytic converter. Its primary job is to ensure the engine is running at the ideal stoichiometric air-fuel ratio (around 14.7:1). The downstream sensor (also called post-catalytic converter sensor) is located *after* the catalytic converter. It monitors the converter's efficiency. If the downstream sensor detects too much oxygen, it indicates that the catalytic converter isn't functioning properly.
When an O2 sensor fails, it can lead to several issues, including:
- Poor fuel economy
- Rough idling
- Reduced engine performance
- Illumination of the "Check Engine" light
- Failed emissions test
That pesky "Check Engine" light (CEL) is often your first indicator of an O2 sensor problem. Use an OBD-II scanner to retrieve the diagnostic trouble code (DTC). Common codes related to O2 sensors include P0131, P0132, P0137, P0138, P0171, P0174, P0420, and others. The code will help you pinpoint which sensor is causing the issue.
Tools and Materials Required
Before you start, gather the following tools and materials:
- New O2 Sensor(s): Make sure you purchase the correct sensor(s) for your 2012 Nissan Altima. Check your VIN (Vehicle Identification Number) and refer to an online parts catalog or your local auto parts store to ensure you get the right part. Denso and NTK are generally good OEM-quality brands.
- O2 Sensor Socket: This is a specialized socket with a slot cut out to accommodate the sensor's wiring harness. Using a regular socket can damage the wiring.
- Wrench Set: A set of standard wrenches may be needed for some connections or to loosen stubborn sensors.
- Ratchet and Socket Set: For removing any heat shields or other components blocking access to the sensors.
- Penetrating Oil: A good penetrating oil like PB Blaster or Liquid Wrench is essential for loosening corroded sensors. Apply it generously a day or two before attempting the removal.
- OBD-II Scanner: To read and clear diagnostic trouble codes.
- Torque Wrench: To tighten the new sensor to the correct torque specification (usually around 30-35 ft-lbs). Overtightening can damage the sensor or the exhaust manifold.
- Gloves: Protect your hands from grease and grime.
- Safety Glasses: Protect your eyes from debris.
- Jack and Jack Stands: To safely lift the vehicle and gain access to the underside.
- Wheel Chocks: To prevent the vehicle from rolling.
- Wire Brush: To clean the threads of the O2 sensor port (optional).
- Anti-Seize Compound: Apply a small amount of anti-seize to the threads of the new sensor to prevent future corrosion. *Important: Many new sensors come pre-coated with anti-seize. Check before applying more.*
Locating the O2 Sensors on Your Altima
The location of the O2 sensors on your 2012 Altima can vary slightly depending on the engine (2.5L or 3.5L). However, the general principle remains the same. The upstream sensor is located on the exhaust manifold, before the catalytic converter. The downstream sensor is located after the catalytic converter, typically further down the exhaust pipe.
Important Safety Note: Always allow the exhaust system to cool completely before working on it. Working on a hot exhaust system can cause severe burns.
Here's how to locate the sensors:
- Safety First: Park your Altima on a level surface. Engage the parking brake and chock the rear wheels.
- Raise the Vehicle: Use a jack to lift the front of the vehicle (or both front and rear, depending on which sensor you're replacing). Securely support the vehicle with jack stands. Never work under a vehicle supported only by a jack.
- Locate the Exhaust Manifold: The exhaust manifold is connected directly to the engine. Follow the exhaust pipes from the engine to locate it. The upstream O2 sensor will be screwed into the exhaust manifold.
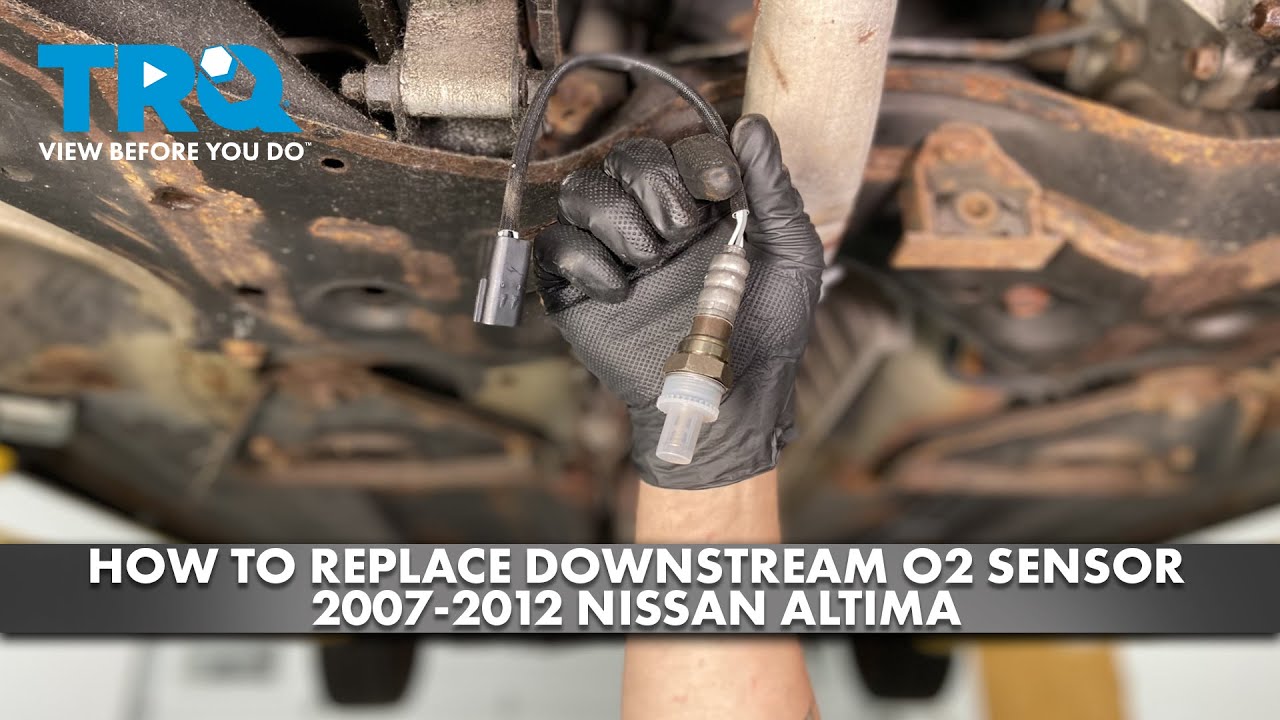
- Locate the Catalytic Converter: The catalytic converter is a large, cylindrical component located along the exhaust system. The downstream O2 sensor will be screwed into the exhaust pipe after the catalytic converter.
- Follow the Wiring: Each O2 sensor has a wiring harness that connects to the vehicle's electrical system. Follow the wiring harness to locate the sensor connector.
O2 Sensor Replacement Procedure
Now that you've located the sensor(s), here's how to replace them:
- Disconnect the Electrical Connector: Locate the O2 sensor's electrical connector. It's usually secured with a clip. Carefully disconnect the connector by pressing the clip and pulling the connector apart. Be gentle; the plastic can become brittle with age.
- Apply Penetrating Oil: Liberally spray penetrating oil onto the threads of the O2 sensor where it screws into the exhaust manifold or exhaust pipe. Let the oil soak in for at least 15-30 minutes (or even longer if possible). This will help loosen the sensor and prevent damage to the threads.
- Remove the Old Sensor: Use the O2 sensor socket to carefully remove the old sensor. Apply steady pressure and try to avoid rounding off the sensor's hex head. If the sensor is extremely stubborn, you may need to apply heat with a propane torch (use caution!) or try a specialized O2 sensor removal tool. Go slowly and be patient. Stripping the threads will make the job much harder.
- Clean the Threads (Optional): If the threads in the exhaust manifold or exhaust pipe are dirty or corroded, use a wire brush to clean them. Be careful not to damage the threads.
- Apply Anti-Seize Compound: Apply a small amount of anti-seize compound to the threads of the new O2 sensor. As mentioned earlier, check if the new sensor already has anti-seize pre-applied.
- Install the New Sensor: Carefully screw the new O2 sensor into the exhaust manifold or exhaust pipe by hand. Make sure the threads are properly aligned to prevent cross-threading.
- Tighten to Specification: Use a torque wrench to tighten the new sensor to the manufacturer's recommended torque specification (usually around 30-35 ft-lbs). Don't overtighten!
- Reconnect the Electrical Connector: Reconnect the O2 sensor's electrical connector, making sure it clicks securely into place.
- Repeat for Other Sensors: If you're replacing multiple sensors, repeat steps 1-8 for each sensor.
- Lower the Vehicle: Carefully lower the vehicle back to the ground.
- Clear the Diagnostic Trouble Codes: Use your OBD-II scanner to clear any diagnostic trouble codes related to the O2 sensor replacement.
- Test Drive: Take your Altima for a test drive to ensure the new sensors are functioning properly and the "Check Engine" light doesn't come back on.
Troubleshooting Tips
Here are some common issues you might encounter and how to address them:
- Sensor is Stuck: As mentioned before, penetrating oil is your best friend. Apply it liberally and be patient. You can also try heating the area around the sensor with a propane torch (use caution!). If all else fails, a specialized O2 sensor removal tool may be necessary.
- Stripped Threads: If you strip the threads in the exhaust manifold or exhaust pipe, you'll need to repair them. This can be done with a thread repair kit (like a Heli-Coil kit) or, in some cases, by welding a new bung (threaded fitting) onto the exhaust system. This is a more advanced repair that may require professional help.
- Check Engine Light Returns: If the "Check Engine" light comes back on after replacing the sensor, re-scan the vehicle for diagnostic trouble codes. Make sure you installed the correct sensor(s) and that the electrical connectors are properly connected. There may be other issues affecting your Altima's engine performance, such as a vacuum leak or a faulty mass airflow sensor.
- Incorrect Sensor: Always double-check that you have the correct O2 sensor for your specific vehicle and engine. Using the wrong sensor can cause performance problems and damage your engine.
Replacing O2 sensors is a fairly straightforward DIY project for many car owners. By following these steps and taking your time, you can save money and gain a better understanding of your Altima's engine management system. Good luck!