2012 Nissan Altima Passenger Side Mirror
Alright, let's dive into the passenger side mirror on a 2012 Nissan Altima. This isn't just about seeing what's beside you; these mirrors house important features like heating and turn signals, and understanding how they work is crucial for proper maintenance and repair. We'll cover everything from basic functionality to troubleshooting common issues and even replacement procedures.
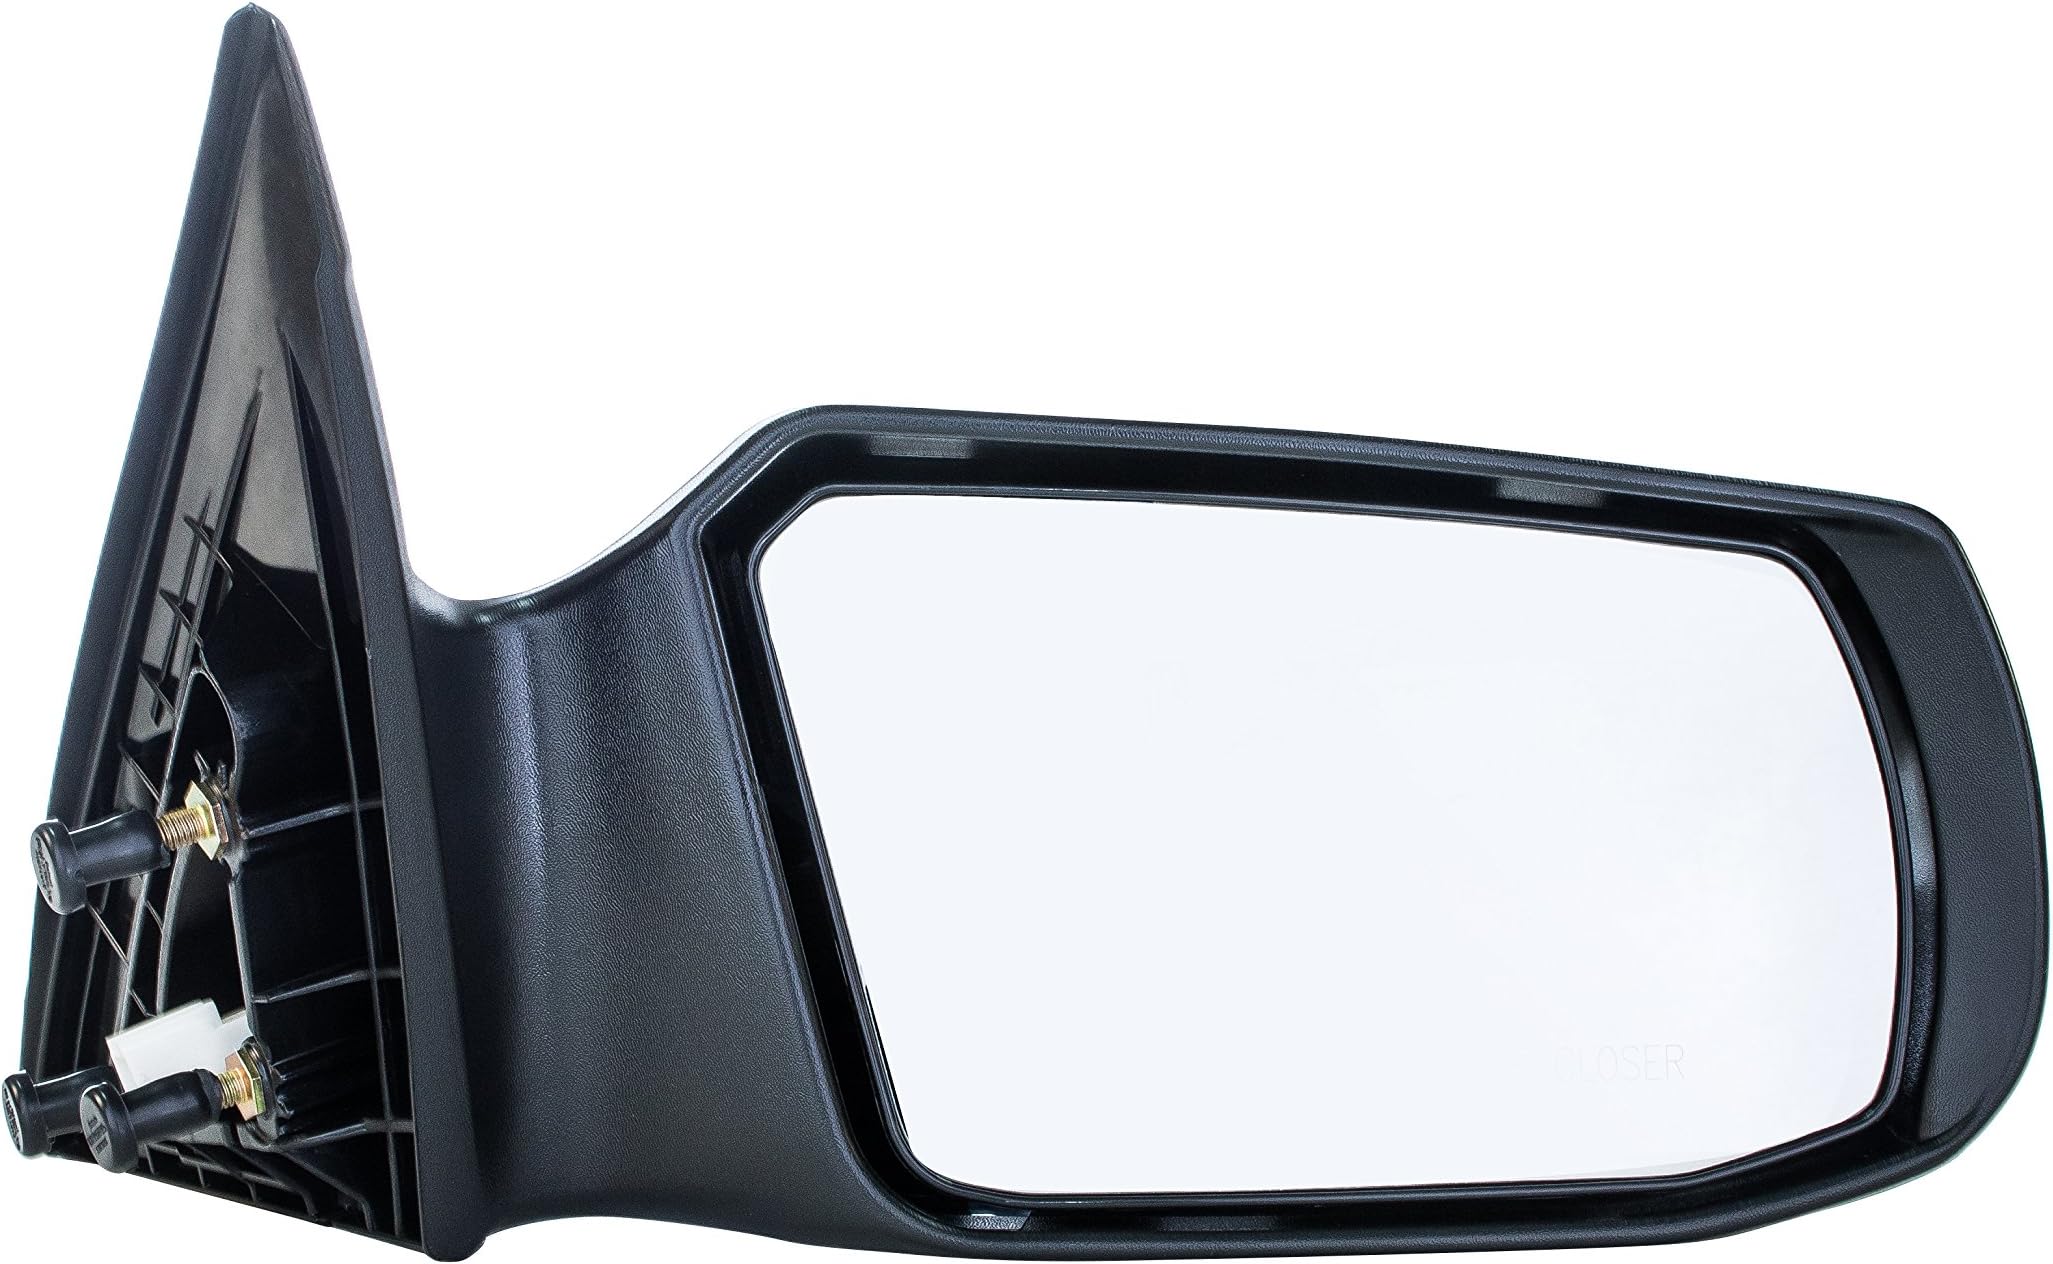
Mirror Components and Functionality
Before we get our hands dirty, let's break down the typical 2012 Altima passenger side mirror assembly. Generally, you'll find the following key components:
- Mirror Glass: Obviously, this is the part you look at. It's usually held in place with clips and sometimes an adhesive backing to a plastic support.
- Mirror Adjustment Motors: These small DC motors (Direct Current motors) are responsible for moving the mirror glass up/down and left/right. They're controlled by the switch on your door panel.
- Turn Signal Indicator (if equipped): Many Altimas of this vintage have a turn signal integrated into the mirror housing. This consists of a series of LEDs and associated circuitry.
- Heated Mirror Element (if equipped): A resistive heating element is bonded to the back of the mirror glass. When activated (usually with the rear defroster), it warms the glass to melt ice and frost.
- Housing and Mounting: The plastic housing protects the internal components and provides a mounting point to the door. This often includes a breakaway feature to minimize damage in minor impacts.
- Wiring Harness and Connector: This bundle of wires carries power and signals to the various components within the mirror. The connector is how the mirror assembly interfaces with the car's electrical system.
The primary function of the mirror is, of course, to provide rearward visibility. The adjustment motors allow you to fine-tune the mirror's position to eliminate blind spots. The turn signal indicator increases your visibility to other drivers when changing lanes or making turns. The heated mirror element enhances visibility in inclement weather.
Troubleshooting Common Issues
Let's tackle some of the most common problems you might encounter with your Altima's passenger side mirror:
Mirror Adjustment Not Working
If the mirror isn't moving when you use the adjustment switch, here's a logical troubleshooting process:
- Check the Adjustment Switch: Make sure the switch on your door panel is set to control the passenger side mirror. Sometimes it's accidentally switched to the driver's side.
- Inspect the Wiring: Start by examining the wiring harness and connector at the mirror. Look for any signs of damage, corrosion, or loose connections. Use a multimeter to check for voltage and continuity on the power and ground wires. Continuity refers to a complete and unbroken electrical path.
- Test the Motors: Accessing the motors usually requires removing the mirror glass (more on that later). Once you have access, you can directly test each motor by applying 12V DC power to its terminals. If a motor doesn't respond, it's likely faulty and needs replacement. Be very careful with polarity and only apply voltage for a short amount of time.
- Check Fuses: Refer to your owner's manual to locate the fuse(s) that power the mirror adjustment system. A blown fuse is a common cause of this issue.
- Control Module: In rare cases, the problem could be with the body control module (BCM), which controls various electrical functions in the car. Diagnosing a BCM issue often requires specialized diagnostic equipment.
Turn Signal Not Working
If the turn signal indicator in the mirror isn't working, follow these steps:
- Check the Bulb/LEDs: If your mirror uses a traditional bulb, check to see if it is burnt out. More likely, it will be an LED array. LEDs rarely fail all at once, so this could point to another issue.
- Inspect the Wiring: Again, carefully examine the wiring harness and connector for any signs of damage. Pay close attention to the wires specifically related to the turn signal circuit. Use a multimeter to check for voltage when the turn signal is activated.
- Check the Ground: Ensure the ground connection for the mirror assembly is clean and secure. A poor ground can cause all sorts of electrical problems.
- LED Driver/Circuit Board: If the LEDs are receiving power and the ground is good, the problem could be with the LED driver circuit board within the mirror housing. This is often integrated into the LED assembly and requires replacement of the entire turn signal unit.
Heated Mirror Not Working
If the heated mirror isn't defrosting the glass, try these checks:
- Check the Rear Defroster Switch: Make sure the rear defroster switch is activated. The heated mirrors are typically linked to this switch.
- Inspect the Wiring: Examine the wiring harness and connector, paying close attention to the wires for the heating element. Use a multimeter to check for voltage when the rear defroster is activated.
- Test the Heating Element: With the mirror removed from the car, use a multimeter to check the resistance of the heating element. A reading of infinity (open circuit) indicates a faulty element. A very low reading close to zero can suggest a short.
- Relay: Some vehicles use a relay to switch power to the heated mirrors. Check the relay to make sure it is functioning correctly.
Broken Mirror Glass
Replacing the mirror glass is a relatively straightforward process:
- Safety First: Wear gloves to protect your hands from sharp edges if the glass is already broken.
- Removal: Gently pry the old mirror glass away from the plastic backing. You can use a plastic trim tool or a flathead screwdriver (wrapped in tape to prevent scratching). Be careful not to damage the adjustment motors or the heating element (if equipped). Some mirrors have clips that need to be disengaged, while others are simply held in place with adhesive. Research your specific model before attempting removal.
- Disconnect Heating Element (if equipped): If your mirror has a heated element, carefully disconnect the wires from the terminals on the back of the glass.
- Installation: Attach the wires to the new heated mirror (if applicable). Align the new mirror glass with the plastic backing and press it firmly into place until it clicks or snaps into position.
Replacing the Entire Mirror Assembly
If the damage to your mirror is extensive, or if you suspect internal component failures that are difficult to diagnose or repair, replacing the entire mirror assembly might be the best option. Here's a general guide:
- Disconnect the Battery: To prevent any electrical shorts, disconnect the negative terminal of your car battery.
- Remove the Interior Door Panel: You'll need to access the wiring harness for the mirror, which is typically located behind the door panel. Consult your vehicle's repair manual or online resources for specific instructions on removing the door panel.
- Disconnect the Wiring Harness: Locate the connector for the mirror assembly and disconnect it.
- Remove the Mounting Bolts/Nuts: The mirror is usually held in place by a few bolts or nuts that are accessible from inside the door. Remove these fasteners.
- Remove the Old Mirror: Carefully pull the old mirror assembly away from the door.
- Install the New Mirror: Align the new mirror assembly with the mounting holes and install the bolts/nuts. Tighten them securely.
- Connect the Wiring Harness: Connect the wiring harness to the new mirror assembly.
- Reinstall the Door Panel: Reinstall the interior door panel.
- Reconnect the Battery: Reconnect the negative terminal of your car battery.
- Test the Mirror: Test all the mirror's functions (adjustment, turn signal, heating) to ensure everything is working properly.
Important Considerations
- OEM vs. Aftermarket: When replacing the mirror, you'll have the option of using an OEM (Original Equipment Manufacturer) part or an aftermarket part. OEM parts are generally more expensive but are guaranteed to fit and function correctly. Aftermarket parts can be more affordable but may not be of the same quality or have the same features.
- Color Matching: If you're replacing the entire mirror assembly, you'll need to make sure the new mirror matches the color of your car. You can either order a pre-painted mirror or have the mirror painted by a professional.
- Wiring Diagrams: For more in-depth troubleshooting, a wiring diagram for your specific Altima model year is invaluable. These diagrams show the location of fuses, relays, and wiring connections, allowing you to trace circuits and identify potential problems.
Repairing or replacing a side mirror on your 2012 Nissan Altima might seem daunting at first, but with a systematic approach, the right tools, and a little patience, it's a task that many DIYers can tackle. Always prioritize safety, take your time, and consult reliable resources when needed. Good luck!