2013 Nissan Altima Front Turn Signal Bulb
Alright, let's talk about the front turn signal bulb on your 2013 Nissan Altima. Replacing it is a pretty straightforward job, even if you're just getting comfortable working on your car. This guide will walk you through the process, covering everything from identifying the correct bulb type to troubleshooting common issues. We'll assume you have a basic understanding of automotive electrical systems and some familiarity with hand tools. Safety first, though – always disconnect the negative battery terminal before messing with any electrical components.
Understanding the 2013 Altima's Front Turn Signal System
Before we dive into the replacement process, let's quickly review how the turn signal system works in your Altima. When you activate the turn signal stalk, it sends a signal to the Body Control Module (BCM). The BCM then activates the corresponding turn signal relay, which sends power to the front and rear turn signal bulbs. The bulbs illuminate, indicating your intention to turn or change lanes.
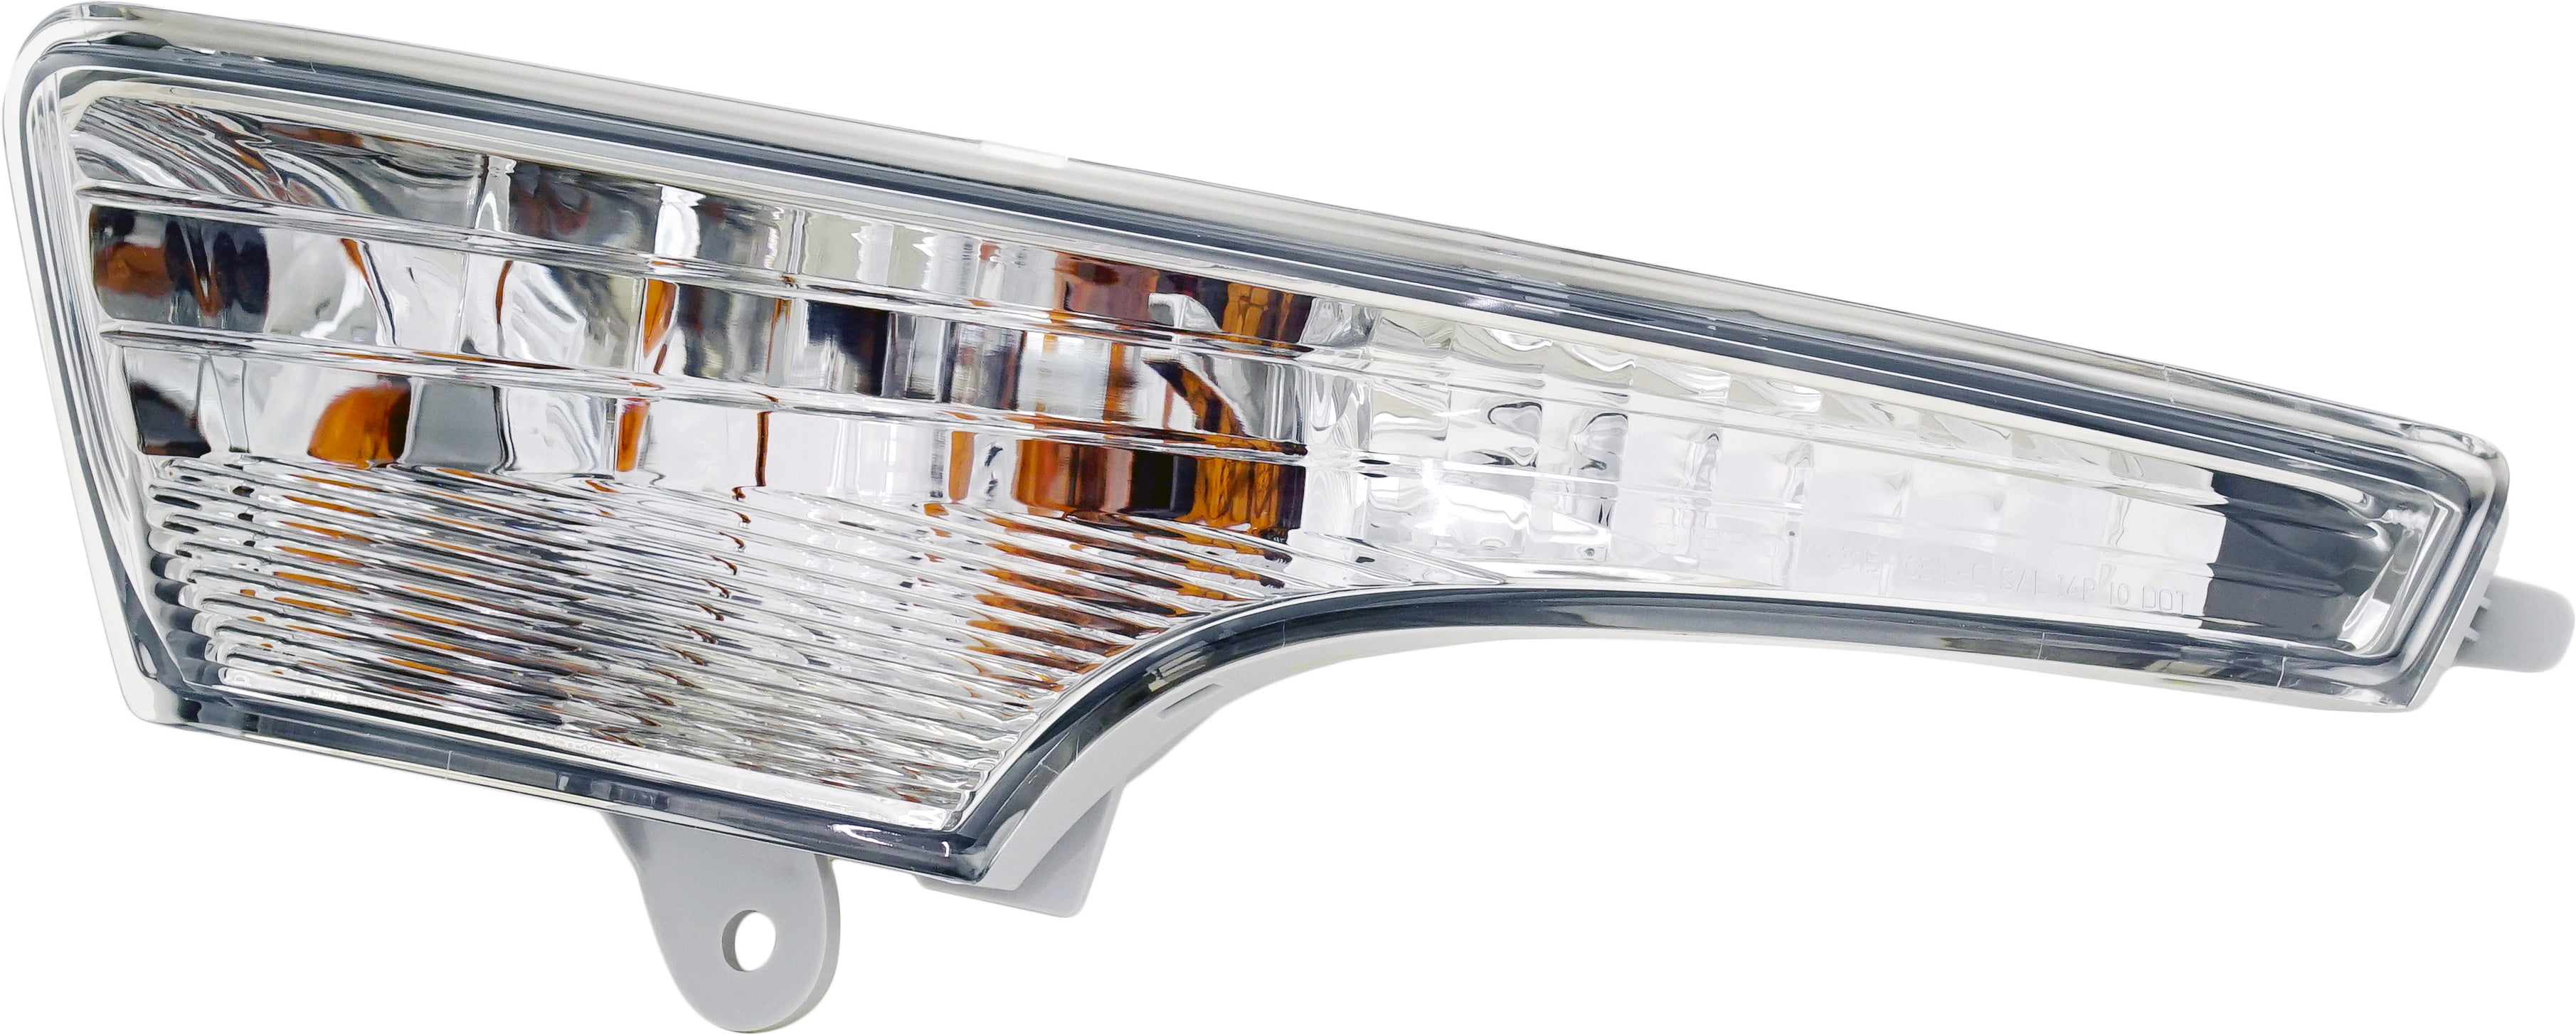
The 2013 Altima uses a specific type of bulb for its front turn signals, and getting the right one is crucial. We're talking about a 7440A type bulb. The "7440" designates the bulb size and base configuration, while the "A" often indicates that it is an amber bulb. Using a different bulb type could lead to poor illumination, flickering, or even damage to the electrical system. Always double-check the part number in your owner's manual or at a reputable auto parts store to ensure you're getting the correct replacement.
Tools and Materials You'll Need
Here's a list of the essential tools and materials you'll need to replace your Altima's front turn signal bulb:
- New 7440A turn signal bulb (amber)
- Flathead screwdriver (small to medium size)
- Needle-nose pliers (optional, but helpful)
- Gloves (to protect your hands)
- Safety glasses (to protect your eyes)
- A small towel or rag (to prevent scratching the paint)
Step-by-Step Replacement Procedure
Okay, let's get to the meat of the matter. Here's a step-by-step guide to replacing the front turn signal bulb on your 2013 Nissan Altima:
Step 1: Accessing the Bulb Housing
This is usually the trickiest part. On the 2013 Altima, you'll typically access the front turn signal bulb from behind the headlight assembly. You won't need to remove the entire headlight unit, but you will need to maneuver your hand into a relatively tight space.
- Open the hood of your Altima and locate the rear of the headlight assembly on the side where you need to replace the bulb.
- You'll see a plastic cover or access panel behind the headlight. This is often secured by a few plastic clips or screws.
- Use the flathead screwdriver to gently pry open or remove the access panel. Be careful not to break the clips or strip the screws. If you're having trouble, consult your owner's manual for specific instructions on removing the access panel.
- With the access panel removed, you should now be able to see the back of the bulb housing. The turn signal bulb housing is typically a separate, smaller housing within the larger headlight assembly.
Step 2: Removing the Old Bulb
Now it's time to remove the old bulb. This usually involves a simple twist-and-pull motion.
- Locate the turn signal bulb socket. It will have wires connected to it.
- Grasp the bulb socket firmly and twist it counterclockwise (usually about a quarter turn). You might feel a slight click when it releases.
- Once the socket is unlocked, gently pull it straight out of the headlight assembly.
- Now, you can remove the old bulb from the socket. The 7440A bulb is a wedge-based bulb, meaning it simply pulls straight out of the socket. If it's stuck, use the needle-nose pliers to gently grip the bulb (being careful not to crush it) and pull it out.
Step 3: Installing the New Bulb
Installing the new bulb is essentially the reverse of removal.
- Insert the new 7440A bulb into the socket. Make sure it's fully seated. Avoid touching the glass part of the bulb with your bare fingers, as the oils from your skin can shorten the bulb's lifespan. If you do accidentally touch it, wipe it clean with a lint-free cloth.
- Carefully align the bulb socket with the opening in the headlight assembly and push it in until it's fully seated.
- Twist the socket clockwise until it locks into place. You should feel a slight click when it's properly secured.
Step 4: Testing and Reassembly
Before you button everything up, it's essential to test the new bulb to make sure it's working correctly.
- Reconnect the negative battery terminal.
- Turn on the ignition and activate the turn signal on the side you just replaced the bulb.
- Verify that the new bulb is illuminating brightly and flashing correctly.
- If the bulb doesn't light up, double-check that the bulb is properly seated in the socket and that the socket is securely locked into the headlight assembly. Also, check the turn signal fuse in the fuse box (consult your owner's manual for the fuse location).
- If the bulb works, turn off the ignition and disconnect the negative battery terminal again.
- Reinstall the access panel behind the headlight assembly, making sure all clips or screws are properly secured.
- Reconnect the negative battery terminal.
Troubleshooting Common Issues
Even with careful attention, you might encounter some issues during the bulb replacement process. Here are a few common problems and how to troubleshoot them:
- Bulb Doesn't Light Up: As mentioned earlier, check the bulb seating, socket connection, and the turn signal fuse. A blown fuse is a common cause. Also, make sure you're using the correct 7440A bulb.
- Bulb Flickers or Lights Up Dimly: This could indicate a poor connection at the socket or a corroded contact. Try cleaning the contacts with a wire brush or electrical contact cleaner. It could also be a sign of a failing bulb, even a new one.
- Hyper Flashing: Hyper flashing (when the turn signals blink much faster than normal) usually indicates a burned-out bulb in the system. Since you just replaced one, double-check the other front turn signal bulb and both rear turn signal bulbs. If all bulbs are working, the problem could be with the turn signal flasher relay or the BCM, which might require professional diagnosis.
- Difficulty Accessing the Bulb Housing: Some models of the Altima might have a slightly different headlight assembly configuration, making access to the bulb housing more challenging. In these cases, consult your owner's manual or a repair manual for specific instructions on accessing the bulb. You might need to remove additional components or panels to gain access. Patience is key!
Upgrading to LED Turn Signal Bulbs
Many Altima owners consider upgrading to LED turn signal bulbs for their brighter output, longer lifespan, and more modern appearance. While LED bulbs can be a good upgrade, there are a few things to keep in mind.
- Compatibility: Make sure the LED bulb you choose is specifically designed as a 7440A replacement.
- Load Resistors: LED bulbs typically draw less current than incandescent bulbs. This can cause the BCM to think a bulb is burned out, resulting in hyper flashing. To prevent this, you'll need to install load resistors in parallel with the LED bulbs. Load resistors mimic the current draw of an incandescent bulb, tricking the BCM into thinking everything is normal.
- Quality: Opt for reputable brands of LED bulbs. Cheap LED bulbs can be unreliable and may not provide the desired brightness or lifespan.
Installing load resistors involves splicing into the turn signal wiring, so it's a bit more advanced than a simple bulb replacement. If you're not comfortable with electrical work, it's best to have a professional install the LED bulbs and load resistors.
Final Thoughts
Replacing the front turn signal bulb on your 2013 Nissan Altima is a manageable DIY project. By following these steps and taking your time, you can save money and gain valuable experience working on your car. Remember to prioritize safety, use the correct parts, and troubleshoot any issues that arise. With a little patience and attention to detail, you'll have your turn signals working perfectly in no time!