2013 Nissan Altima Rear Lower Control Arm
So, you're here because you're having some trouble with your 2013 Nissan Altima's rear suspension, specifically the rear lower control arm. Don't worry, you're not alone! This is a fairly common issue on this generation Altima, and while it might sound intimidating, understanding the problem and potential solutions can make the process much smoother.
The Problem: What's Wrong with Your Rear Lower Control Arm?
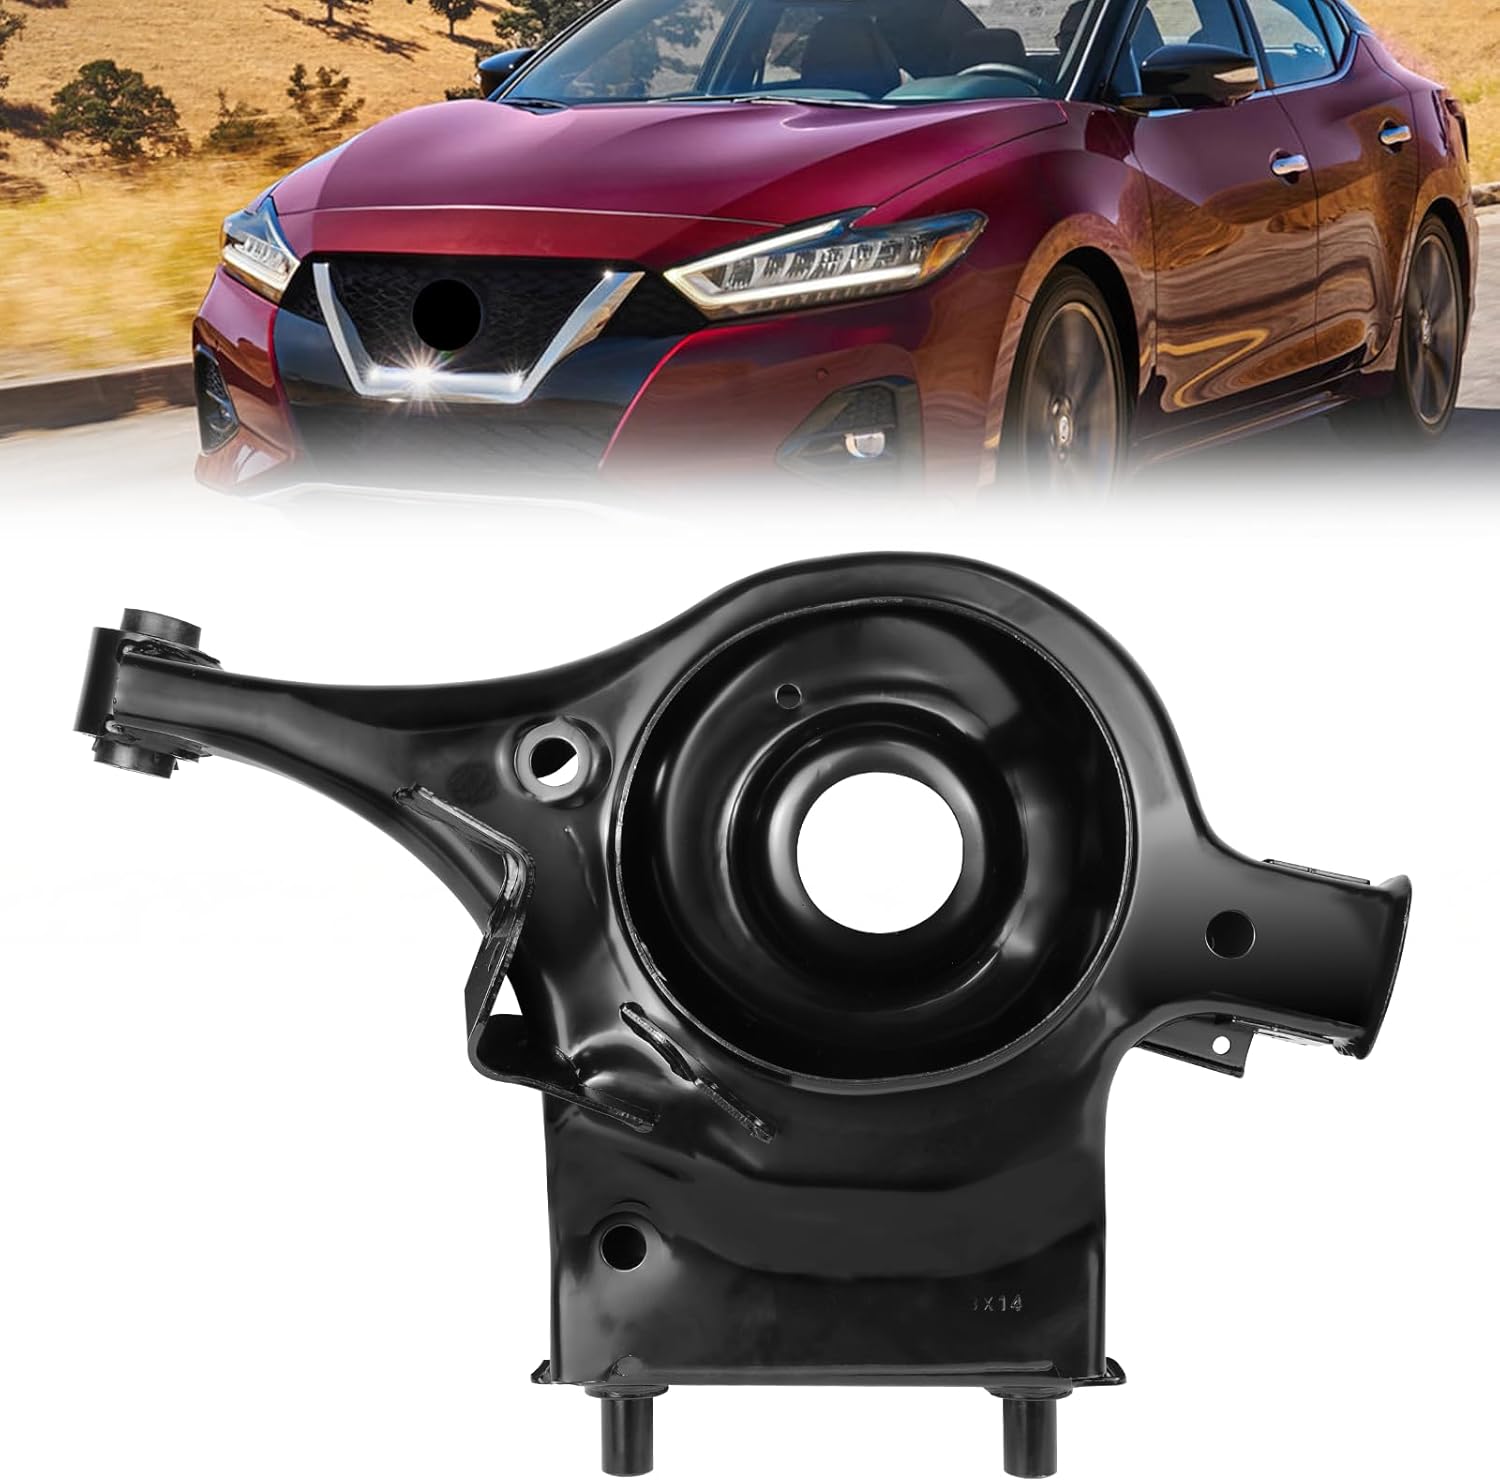
The rear lower control arm, sometimes called a trailing arm, is a crucial component of your Altima's rear suspension. It connects the rear wheel hub to the vehicle's chassis, playing a vital role in maintaining proper wheel alignment, stability, and ride quality. Over time, and particularly depending on driving conditions, these control arms can develop issues. Here's what to look out for:
- Rust and Corrosion: Road salt, moisture, and general wear and tear can cause the control arms to rust and corrode. This weakens the metal, making them susceptible to bending or even breaking. In areas with heavy winter road treatment, this is a major concern.
- Worn Bushings: The control arm connects to the chassis and hub via bushings. These bushings are made of rubber or polyurethane and are designed to absorb vibrations and allow for controlled movement. Over time, these bushings can dry out, crack, and wear down, leading to excessive play in the suspension. This is often the first symptom you'll notice.
- Bent or Damaged Control Arm: Hitting a pothole, curb, or other road debris can bend or damage the control arm. This can significantly affect your vehicle's alignment and handling.
- Accident Damage: Any rear-end collision can potentially damage the control arms, even if the damage appears minimal.
Symptoms of a Failing Rear Lower Control Arm
Recognizing the symptoms early can save you from more extensive (and expensive!) repairs down the line. Here are some common signs that your rear lower control arm might be failing:
- Clunking or Rattling Noises: This is a classic symptom, especially when driving over bumps or uneven surfaces. The noise is usually caused by worn bushings allowing the control arm to move excessively.
- Poor Handling: Your Altima might feel loose or unstable, especially when cornering. You might also notice a tendency for the rear end to sway or wander.
- Uneven Tire Wear: A misaligned rear suspension can cause uneven tire wear, particularly on the inside or outside edges of the tires. If you notice this, get your alignment checked immediately.
- Vibrations: In some cases, you might feel vibrations through the steering wheel or the floor of the car. This is more likely if the control arm is severely damaged.
- Visible Damage: A visual inspection of the control arm might reveal rust, corrosion, cracks, or other damage. If you can safely get under the car (using jack stands, of course!), take a look.
- Difficulty Aligning the Vehicle: If your mechanic is having trouble getting your Altima's rear alignment within specifications, it could be a sign that the control arm is bent or the bushings are shot.
The Solution: Replacing the Rear Lower Control Arm
Unfortunately, if your rear lower control arm is significantly damaged or the bushings are severely worn, the best solution is usually to replace the entire control arm assembly. While it might be possible to replace just the bushings in some cases, it's often more cost-effective and reliable to replace the entire unit, as pressing out the old bushings and pressing in the new ones can be a difficult and time-consuming process. Plus, you're getting a brand new component that should last for years to come.
DIY Replacement vs. Professional Installation
Whether you tackle this repair yourself or take it to a mechanic depends on your comfort level, mechanical skills, and access to tools. Here's a breakdown:
DIY Replacement (If You're Experienced):
If you're a seasoned DIYer and have experience working on suspension systems, you might be able to handle this repair yourself. Here's what you'll need:
- New Rear Lower Control Arm: Make sure you get the correct part for your 2013 Nissan Altima. Double-check the part number! Reputable brands include Moog, Mevotech, and Dorman.
- Jack and Jack Stands: Safety first! Always use jack stands to support the vehicle when working underneath.
- Wheel Chocks: To prevent the car from rolling.
- Socket Set and Wrenches: You'll need a variety of sizes to remove the bolts and nuts securing the control arm. Metric sizes are a must.
- Torque Wrench: Crucial for tightening the bolts to the correct specification.
- Penetrating Oil: To loosen rusted or seized bolts. Spray liberally and let it soak in.
- Ball Joint Separator (Pickle Fork or Ball Joint Press): You might need this to separate the ball joint from the hub. A pickle fork can damage the boot, so a ball joint press is preferred.
- Hammer: For gentle persuasion.
- Alignment After Replacement: Absolutely essential!
Approximate Cost for DIY: The control arm itself can range from $50 to $200, depending on the brand and quality. Add another $75-$150 for the alignment.
Professional Installation:
If you're not comfortable working on suspension components, or if you don't have the necessary tools, it's best to take your Altima to a qualified mechanic. They have the experience and equipment to do the job correctly and safely.
Approximate Cost for Professional Installation: Expect to pay anywhere from $200 to $500 in labor, plus the cost of the control arm and the alignment. This can vary depending on the shop's hourly rate and the complexity of the job. Get a quote from a few different shops before committing.
Steps for Replacing the Rear Lower Control Arm (Simplified):
Disclaimer: This is a simplified overview. Consult a repair manual or online resources for detailed instructions specific to your 2013 Nissan Altima.
- Loosen Lug Nuts: Loosen the lug nuts on the wheel of the side you're working on *before* lifting the vehicle.
- Raise and Secure Vehicle: Jack up the rear of the car and securely support it with jack stands. Never work under a vehicle supported only by a jack.
- Remove Wheel: Remove the wheel.
- Disconnect Brake Lines/ABS Sensor (If Necessary): Some models might require disconnecting these components. Be extremely careful not to damage them. Secure them out of the way.
- Separate Ball Joint (If Applicable): Use a ball joint separator to disconnect the ball joint from the hub.
- Remove Control Arm Bolts: Locate the bolts securing the control arm to the chassis and the hub. Use penetrating oil to loosen them if necessary.
- Remove Old Control Arm: Carefully remove the old control arm.
- Install New Control Arm: Install the new control arm in the reverse order of removal.
- Torque Bolts to Specification: Use a torque wrench to tighten all bolts to the manufacturer's specified torque values. This is crucial for safety and proper suspension function.
- Reconnect Brake Lines/ABS Sensor (If Disconnected): Carefully reconnect any brake lines or ABS sensors that you disconnected.
- Reattach Ball Joint (If Applicable): Reattach the ball joint to the hub.
- Reinstall Wheel: Reinstall the wheel and tighten the lug nuts to the correct torque specification.
- Lower Vehicle: Lower the vehicle to the ground.
- Tighten Lug Nuts Again: Give the lug nuts a final tightening once the vehicle is on the ground.
- Get a Wheel Alignment: Take your Altima to a qualified alignment shop immediately after replacing the control arm.
Important Considerations:
- Rust Penetration: Be prepared for rusted bolts. A good penetrating oil and patience are your best friends. You might even need to use a torch to heat stubborn bolts.
- Alignment is Crucial: Do not skip the wheel alignment! A proper alignment is essential for safe handling, tire wear, and fuel efficiency.
- Bushing Orientation: When installing the new control arm, pay attention to the orientation of the bushings. They should be installed correctly to ensure proper suspension function.
- Safety First: Always prioritize safety. Use jack stands, wear safety glasses, and be careful when working with tools.
- Consider Replacing in Pairs: If one rear lower control arm is failing, the other one might be on its way out too. Consider replacing both control arms at the same time to save on labor costs in the long run. This is especially true if your car has high mileage or lives in an area with harsh winters.
Replacing a rear lower control arm on your 2013 Nissan Altima can seem daunting, but with the right information and tools, it's a manageable task. Remember to prioritize safety, consult a repair manual, and don't hesitate to seek professional help if you're not comfortable doing the job yourself. Good luck!